Why You Should Prime Your Subfloor Twice Before Pouring Leveler
The subfloor secret that saves your floor
Most guys skip the leveling compound. They think the underlayment will hide the dip. It won’t. I spent three days grinding concrete on a job last month just so the floor wouldn’t click like a castanet. I have spent twenty five years on my knees with a moisture meter and a level. I have seen every flooring failure imaginable. If you do not prime your subfloor properly, specifically with a double coat, your self-leveling underlayment will eventually delaminate. It is not a matter of if, but when. Concrete is a sponge. It looks solid, but it is a network of microscopic straws. When you pour that expensive leveler over a single coat of primer, the thirsty concrete often sucks the moisture right out of the mix before the chemical bond can form. This creates pinholes and brittle spots. I have walked onto jobs where the leveler just popped off the slab in big, gray flakes because some hack wanted to save twenty minutes on the prep work. We do not do hack work here.
The structural reality of concrete capillaries
Subfloor priming involves sealing the porous surface of a concrete slab to prevent pinholing and outgassing during the self-leveling process. By applying two coats, you ensure a mechanical bond and a chemical barrier that keeps the water-to-cement ratio of the leveler stable. This prevents premature drying. Think about the physics of a slab. Concrete is full of air. When you pour a wet product over it, that air wants to come up. If your primer layer is thin or inconsistent, those air bubbles shoot through the leveler like tiny volcanoes. You end up with a surface that looks like the moon. Those craters are weak points. If you are installing LVP or hardwood, those craters will eventually cause the locking mechanisms to fail. You need a unified surface. The first coat of primer is for the concrete. It penetrates deep into the pores. The second coat is for the leveler. It creates the actual film that the new material grabs onto. I always tell my apprentices that the first coat is a conversation and the second coat is a contract. You cannot have one without the other if you want the floor to stay put for thirty years.
“A floor is only as good as the subfloor beneath it; deflection is the enemy of every joint.” – Master Flooring Axiom
Why air is the enemy of a flat floor
Air bubbles or outgassing occur when atmospheric pressure forces air out of the subfloor into the wet leveling compound. This happens because the substrate was not properly sealed with primer. A double application of acrylic primer creates a non-porous membrane that stops this movement. I have seen $20,000 installations of wide plank walnut ruined because the installer didn’t understand surface tension. When the leveler loses water to the subfloor, it shrinks at an uneven rate. This shrinkage creates internal shear stress. You might not see it the day you install the floor. You might not see it a month later. But as the seasons change and the house settles, that leveler will let go of the concrete. You will start hearing a crunching sound when you walk across the room. That is the sound of your money turning into dust. A second coat of primer costs maybe fifty bucks and an hour of time. A failure costs you the entire room. The math is simple, yet people still try to cut corners. It drives me crazy. You have to respect the chemistry of the materials you are using.
| Primer Phase | Function | Drying Time | Expected Result |
|---|---|---|---|
| First Coat | Substrate Penetration | 1 to 3 Hours | Sealed Capillaries |
| Second Coat | Film Formation | 2 to 4 Hours | Tacky Bonding Surface |
| No Primer | Failure Point | Instant | Pinholes and Cracks |
The bond between polymer and substrate
Polymer-modified primers use acrylic solids to bridge the gap between old concrete and new cementitious leveler. To achieve a high-strength bond, the surface profile must be CSP 3 or higher, and the primer film must be continuous. Any voids in the primer will lead to delamination. You have to look at the floor at an angle with a work light. If you see dull spots after the first coat, that is the concrete telling you it is still hungry. It ate your primer. If you pour leveler on that dull spot, the leveler will fail. The second coat should leave a consistent, slightly shiny sheen across the entire room. This is especially true if you are working in a dry climate like Phoenix. The heat there pulls moisture out of everything. In a high humidity environment like Houston, the moisture in the air might slow down your dry time, but the concrete is still thirsty. I never trust a slab just by looking at it. I use a moisture meter every single time. If that slab is pushing more than three pounds of pressure per thousand square feet, you need a moisture barrier anyway, but that is a different conversation. For a standard leveler job, the double prime is your insurance policy.
How to tell if your prep failed
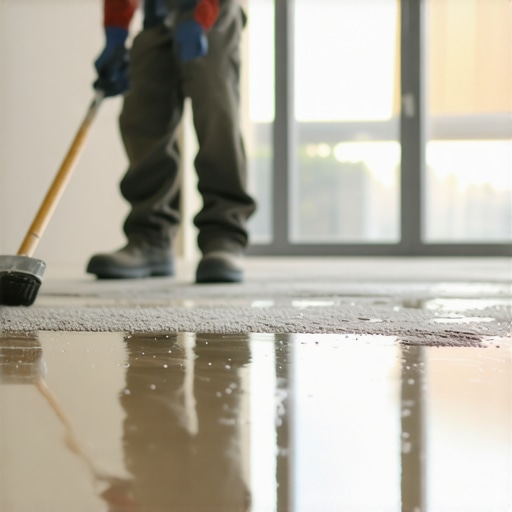
Subfloor preparation failure is identified by hollow sounds, surface powdering, or visual cracking in the cured leveler. These issues are almost always caused by insufficient priming or substrate contamination. Before you even think about the primer, you have to get the laitance off the concrete. Laitance is that weak, milky layer on top of new concrete. If you prime over that, you are just gluing your floor to a layer of dust. I use a diamond grinder for this. It is messy, it is loud, and it is the only way to do it right. Once the concrete is open, you vacuum it until you could eat off it. Then you prime. If you can scratch the primer off with a fingernail, you have a problem. It should be fused to the stone. I have seen guys try to use a shop vac and call it a day. That is not prep. That is a prayer. And I don’t build floors on prayers. I build them on mechanical profiles and chemical bonds.
- Grind the slab to a CSP 3 profile to remove all contaminants.
- Vacuum the floor twice with a HEPA filter to ensure no dust remains.
- Dilute the first coat of primer according to the manufacturer specs for porous surfaces.
- Apply the second coat of primer undiluted or at a lower dilution to build the film.
- Allow the primer to become tacky but not bone dry before pouring the leveler.
The ghost in the expansion gap
Expansion joints and perimeter gaps must be maintained to allow for thermal expansion and structural movement. When leveling a floor, you must use foam sill sealer or expansion strips to prevent the liquid leveler from bonding to the walls. This is a structural engineering requirement for floating floors. If you pour your leveler right up to the drywall, you have just created a giant, rigid raft that has nowhere to go. When the house moves, the floor will buckle. I have seen LVP pop up in the middle of a room like a mountain range because the installer forgot the perimeter. It has nothing to do with the quality of the vinyl. It has everything to do with the physics of the installation. You also have to worry about the leveler leaking down into the walls or the floor below. I once saw a guy ruin a finished basement ceiling because he didn’t seal the perimeter of the floor above before he poured his leveler. It was like a gray rain of cement. Seal your edges. Prime your floor. Twice. No excuses.
“A floor is only as good as the subfloor beneath it; deflection is the enemy of every joint.” – Master Flooring Axiom
The 1/8 inch that ruins everything
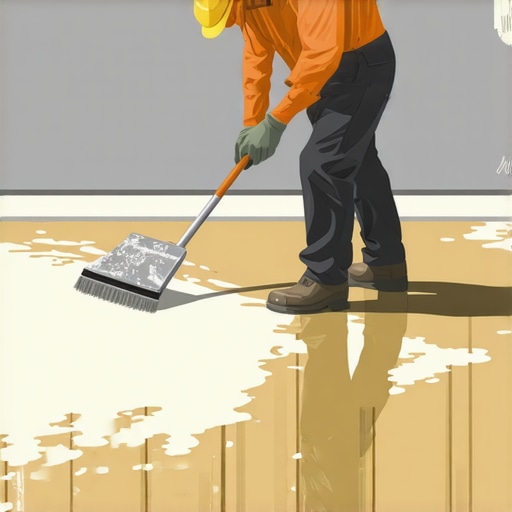
Floor flatness tolerances for large format tile or hardwood are typically 1/8 inch over 10 feet. To achieve this, the self-leveling underlayment must flow at its engineered viscosity, which is only possible on a properly primed subfloor. If the primer is insufficient, the leveler loses flowability. It stops being self leveling and starts being self clumping. You end up with ridges and valleys that are harder to fix than the original dip. I once spent an entire Saturday with a floor sander removing high spots from a leveler job where the guy didn’t prime. He thought he could just move the gunk around with a squeegee. It doesn’t work that way. The chemistry of the leveler requires that water stay in the mix for the full curing time. If the water leaves early, the flow stops. Then you have a mess. I tell people all the time that the floor you see is only the top five percent of the job. The other ninety five percent is the stuff you will never see again, but it is the only part that matters. Don’t be the guy who saves ten dollars on primer and loses five thousand on a callback. Prime it twice. Do it right. Go home and sleep well knowing that floor isn’t going anywhere.