The ‘Marble Test’ for Finding Low Spots in Your Kitchen Subfloor
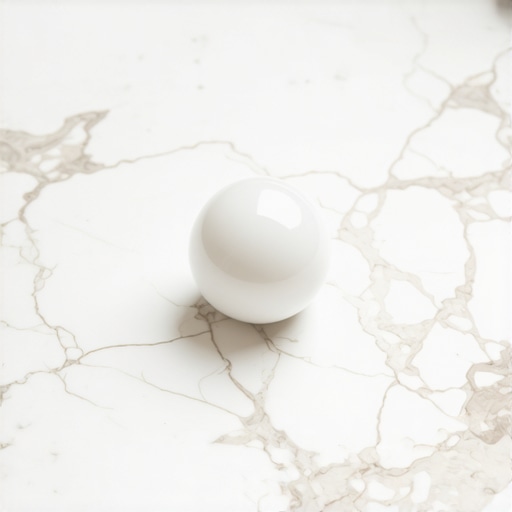
The physics of a flat floor starts with a simple glass sphere
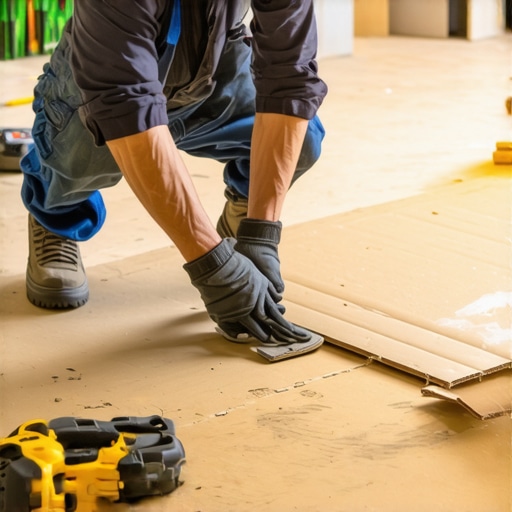
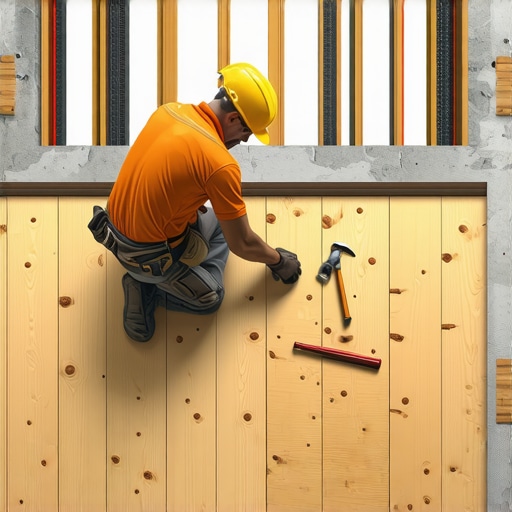
Most guys skip the leveling compound. They think the underlayment will hide the dip. It won’t. I spent three days grinding concrete on a job last month just so the floor wouldn’t click like a castanet. You can smell the oak dust in my hair and the WD-40 on my hands right now. I have been on my knees with a moisture meter for twenty five years and I can tell you that a subfloor is a structural engine, not a piece of furniture. If your subfloor has a dip, your expensive new laminate will fail. It is that simple. I once saw a homeowner lose twelve thousand dollars because they thought a little bit of carpet padding would fix a half inch valley in their kitchen. It did not work. The floor sounded like it was breaking with every step. These are the stakes when we talk about subfloor preparation.
The marble test identifies gravity driven movement toward subfloor depressions
The marble test is a diagnostic procedure where a glass marble is placed on a cleaned subfloor to detect low spots through kinetic movement. If the marble rolls and gains velocity toward a specific area, that location represents a dip that exceeds acceptable tolerances for floor leveling. This test provides a physical map of the topography that a standard level might miss over long spans. It is the most honest tool in my kit because gravity never lies about a slope. When I am prepping a kitchen for a laminate or hardwood install, I start with the marble because it finds the ghost in the expansion gap before the planks even arrive on the job site.
The ghost in the expansion gap
When you ignore a low spot, you are inviting structural failure into your home. A subfloor must be flat to within three sixteenths of an inch over a ten foot radius. If you have a valley, the locking mechanisms on your laminate will flex every time you walk over them. Eventually, that plastic tongue will snap. This is why floor leveling is not an optional step. It is the foundation of the entire system. People think that a thick underlayment is the solution, but that is a lie. While most people want the thickest underlayment, too much cushion actually causes the locking mechanisms on LVP to snap under pressure. You need a dense, flat surface, not a trampoline. I have seen countless showers and kitchens ruined because the installer thought they could fudge the numbers. They cannot. The physics of deflection will catch up to you.
“A floor is only as good as the subfloor beneath it; deflection is the enemy of every joint.” – Master Flooring Axiom
Why your subfloor is lying to you
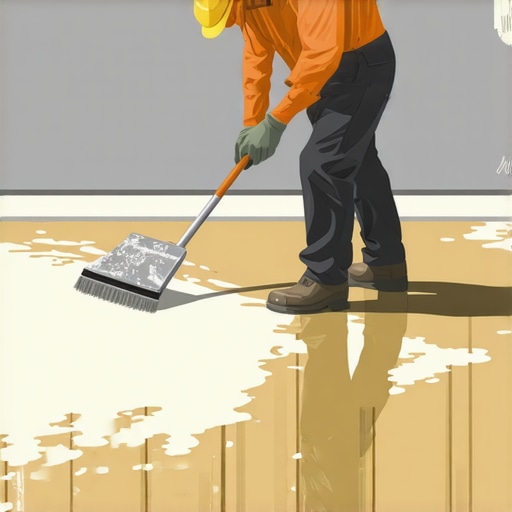
Subfloors often appear flat to the naked eye because of light diffusion and shadow masking in a room. The marble test strips away this optical illusion by using weight and momentum to map the actual surface. In many kitchens, the area near the refrigerator or the island is prone to sagging due to the concentrated weight of the appliances over time. This creates a bowl effect. If you try a carpet install over this, you might not notice, but if you put down a rigid core laminate, that floor will bounce. The chemistry of the bond matters here too. If you are using a self leveling compound, you need to understand the moisture vapor emission rate of the concrete. If the slab is too wet, the leveler will delaminate and turn into powder under your new floor. This is why I always carry a calcium chloride test kit. I do not guess. I measure.
| Material Type | Tolerance (10 ft) | Acclimation Time | Ideal Humidity |
|---|---|---|---|
| Solid Hardwood | 3/16 inch | 7 to 14 days | 35 to 50 percent |
| Laminate Planks | 1/8 inch | 48 hours | 30 to 60 percent |
| Engineered Wood | 3/16 inch | 72 hours | 35 to 55 percent |
| Vinyl Plank (LVP) | 1/8 inch | 24 hours | 35 to 65 percent |
The one eighth inch that ruins everything
Precision in floor leveling is measured in tiny increments that determine the long term viability of the locking system. If your subfloor deviates by more than one eighth of an inch over a six foot span, you are in the danger zone. I have seen guys try to use layers of roofing felt to shim a floor. It is a hack move that leads to squeaks. You need a high quality Portland cement based leveler with a polymer additive for the best bond. The polymers allow the material to flex slightly without cracking. This is especially vital in regions like the swampy humidity of Houston where solid wood is a death wish. In those climates, you need engineered cores and a perfectly flat base to handle the inevitable expansion of the materials. Without that flat base, the floor has nowhere to go but up, resulting in a peaked seam that looks like a tiny mountain range in your kitchen.
- Clear the room of all furniture and baseboards before testing.
- Sweep and vacuum the floor twice to remove any grit or sawdust.
- Mark every spot where the marble stops or changes direction with a wax pencil.
- Check the perimeter for expansion gaps required by the manufacturer.
- Use a moisture meter to verify the subfloor is dry before applying any leveler.
The microscopic reality of adhesive chemistry
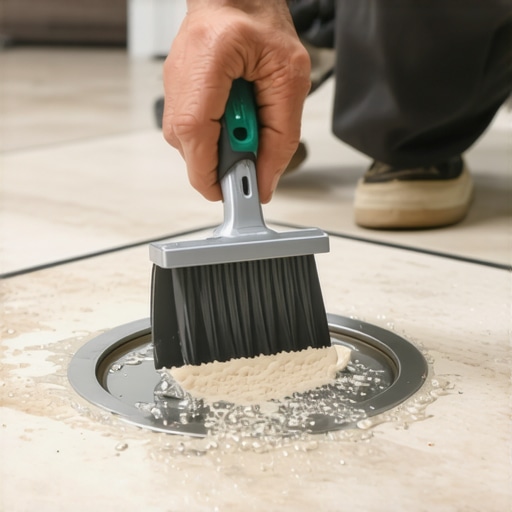
The chemical bond between your subfloor and the leveling compound depends on the surface porosity and the absence of contaminants. If there is old adhesive from a previous carpet install, the new leveler will not stick. It will pop off like a scab. I spend more time with a floor scraper and a vacuum than I do actually laying planks. That is the secret of a master. We care about the parts you will never see. If you are prepping for tile near showers, you need to follow TCNA standards for waterproofing. You cannot just slap leveler down and hope for the best. You need a primer that acts as a bridge between the old substrate and the new material. This primer fills the microscopic pores in the concrete and creates a mechanical lock. Without it, the leveler will shrink and curl at the edges. I have seen it happen a hundred times. It is a mess to fix.
“Deflection is the measurement of the vertical displacement of a structural member under a load.” – Structural Engineering Standard
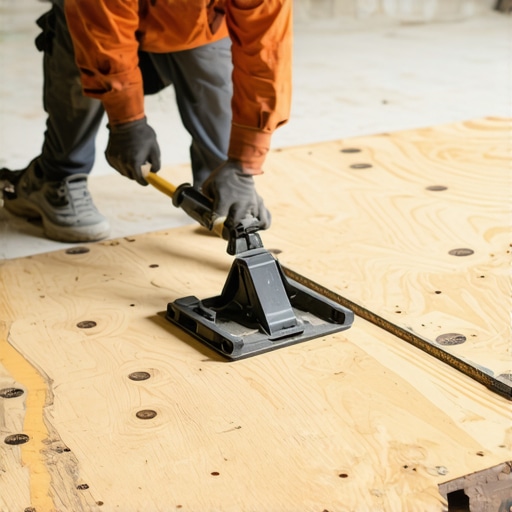
The toolkit for a flat floor
A successful installation requires a specific set of tools including a ten foot straight edge, a glass marble, and a high speed mixer for leveler. You cannot mix leveler by hand with a stick. You need a paddle mixer that can handle the torque required to break down the clumps. If you leave clumps in the leveler, they will create bumps that are just as bad as the dips you were trying to fix. I use a spiked roller to release air bubbles from the wet compound. Those air bubbles turn into pinholes that weaken the structure. It is all about the details. If you take shortcuts, the floor will tell on you. It will creak. It will pop. It will fail. I do not take shortcuts because I do not want to come back and fix a floor for free. Do it right the first time or do not do it at all. That is the only way to survive in this business for twenty five years. The marble test is your first step toward a floor that lasts a lifetime.