How to Level a Plywood Subfloor Without Overloading the Joists
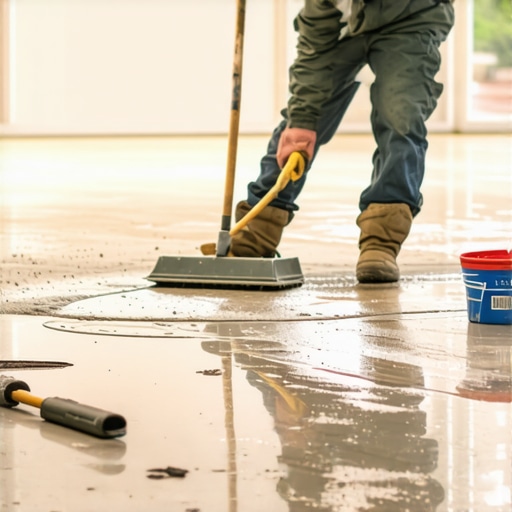
Most guys skip the leveling compound. They think the underlayment will hide the dip. It won’t. I spent three days grinding concrete on a job last month just so the floor wouldn’t click like a castanet. That job was a wake-up call for the homeowner. They had purchased a high-end wide-plank floor but failed to account for a massive valley in the center of their living room. If I had just laid the boards, the locking mechanisms would have snapped within six months. Subfloor preparation is not about aesthetics, it is about structural integrity. You cannot build a house on sand, and you cannot lay a performance floor on a wavy subfloor. I have seen fifteen thousand dollar walnut floors ruined because the installer was too lazy to pull out a straightedge. You smell the oak dust and the floor wax on these jobs, and you know immediately when someone cut corners. This guide is for those who want to do it right without making their house cave in under the weight of too much leveling compound.
The 1/8 inch that ruins everything
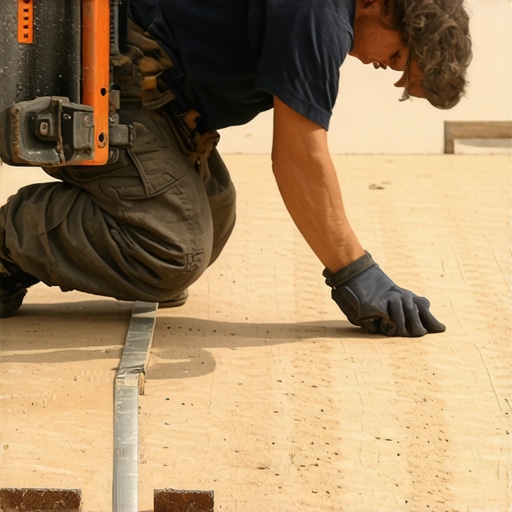
Achieving a flat subfloor requires meeting the NWFA standard of 1/8 inch deviation over a 6-foot radius or 3/16 inch over 10 feet. This structural flatness prevents locking mechanism failure in laminate or LVP and ensures carpet install longevity by removing subfloor telegraphing through the padding. People often confuse level with flat. A floor can be out of level, meaning it slopes one way, and still be perfectly flat. Problems arise when there are dips or humps. When you step on a floating floor over a dip, the boards flex. That constant movement fatigues the tongue and groove. Eventually, the joint fails. You hear that annoying clicking sound. Then the gap opens up. Then you are calling me to fix a mess that should have been handled before the first plank was laid. It is a avoidable disaster. You need to be meticulous. Use a 10-foot straightedge. Mark the low spots with a pencil. Do not guess. Your eyes will lie to you, but the straightedge will not.
“A floor is only as good as the subfloor beneath it; deflection is the enemy of every joint.” – Master Flooring Axiom
Weight limits and the physics of joist deflection
The dead load capacity of standard floor joists is typically 10 to 20 pounds per square foot, and self-leveling compound weighs approximately 5 pounds per square foot at a 1/2 inch thickness. Exceeding the L/360 deflection limit will cause structural sagging and potentially crack tile showers or hardwood joints. You have to do the math. If you have a two-inch dip and you try to fill that entire thing with liquid stone, you are adding 20 pounds of weight to every square foot in that area. If your joists are already at their limit, you are asking for a structural failure. I have seen ceilings downstairs crack because a guy poured thirty bags of leveler without checking the span tables. You need to look at the species of your wood joists. Douglas Fir has different properties than Spruce-Pine-Fir. If the span is too long, the joist is already bouncing. Adding weight makes the bounce worse. It is a vicious cycle. If you have a deep hole, you do not just pour. You look for ways to lighten the load. Use plywood shims or sister the joists first. Do not be the person who collapses a floor because they wanted it flat.
The chemistry of the bond
A high-quality primer is mandatory to manage plywood porosity and ensure the chemical bond between the subfloor and the leveling agent. Without acrylic latex primers, the wood pulls moisture out of the compound too fast, leading to shrinkage cracks and delamination. Wood is a living material. It breathes. It expands and contracts. If you pour a cementitious product directly onto dry plywood, the wood acts like a sponge. It sucks the water out of the mix before the cement can properly hydrate. This results in a brittle, chalky mess that will eventually break loose. I use a soft-bristle broom to work the primer into the wood grain. I want that primer to penetrate deep. It seals the pores and creates a bridge. This is not the place to save twenty dollars. Buy the manufacturer-recommended primer. If you are using a specific brand of leveler, use their primer. They are designed to work together at a molecular level. Mixing brands is a recipe for a phone call from an angry client three years down the road.
Structural joist reinforcement vs liquid compound
When the subfloor sag exceeds 1/2 inch, sistering joists provides a lighter structural fix compared to the high density of liquid leveling compounds. This method involves mechanical fastening of new lumber to existing structural members to reset the subfloor plane without adding excessive mass. It is more work. You have to rip up the subfloor. You have to get in there with a jack and some new 2x10s. But it is the only way to fix a truly structural problem. If the house has settled and the joists are bowed like a rocking chair, no amount of liquid is going to fix the underlying weakness. You want a floor that feels solid underfoot. Not a floor that feels like a trampoline. When I sister a joist, I use plenty of construction adhesive and a specific nailing pattern. Every six inches. You want those two pieces of wood to act as one. This is how you build a floor that lasts a century. It is the difference between a handyman and a craftsman. One hides the problem, the other solves it.
The checklist for a perfect subfloor
- Inspect the subfloor for any loose fasteners or squeaks.
- Drive 2.5-inch screws into every joist to stop movement.
- Clean the surface of all dust, oil, and drywall mud.
- Apply the primer with a brush or roller and let it get tacky.
- Seal all perimeter gaps with spray foam or caulk to prevent leaks.
- Mix the leveling compound with a high-torque drill to avoid air bubbles.
- Pour from the deepest point outward to the edges.
- Use a spiked roller to release trapped air from the wet mix.
Comparison of subfloor flat solutions
| Method | Weight per Sq Ft | Best for | Cost |
|---|---|---|---|
| Self-Leveling Compound | 5 lbs at 1/2 inch | Deep dips and complex contours | High |
| Plywood Shims | Negligible | Large gentle slopes across rooms | Low |
| Sistering Joists | Structural weight only | Significant structural sag | Medium |
| Feather Finish Patch | 1 lb at 1/8 inch | Minor transitions and seams | Low |
Why the click-lock fails
The locking mechanisms on LVP and laminate floors are the most vulnerable components of the installation. A flat subfloor is the only way to prevent vertical deflection that causes the plastic or wood tongues to snap under pressure. Most people buy the thickest underlayment they can find, thinking it will cushion the floor. That is a mistake. Too much cushion is actually a bad thing. It allows the floor to move too much. When the floor moves, the joint moves. When the joint moves, it breaks. I have seen brand new floors ruined in weeks because the installer used a 1/4 inch foam pad over a wavy subfloor. The pad compressed into the dips, and the weight of a person walking across it snapped every joint in the room. You want a firm base. You want the floor to be supported across its entire surface area. This is why flattening is more important than the quality of the floor itself. A cheap floor on a flat subfloor will outlast an expensive floor on a bad one.
“Deflection in the subfloor is the primary cause of ceramic tile failure and grout cracking.” – TCNA Handbook for Ceramic, Glass, and Stone Tile Installation
The ghost in the expansion gap
Leaving an expansion gap of 1/4 to 1/2 inch at the perimeter is essential for thermal expansion and moisture-related movement. If a floating floor is pinch-pointed against a wall or a heavy kitchen island, the subfloor levelling efforts will be wasted as the floor buckles and peaks. I have seen it a thousand times. The installer does a great job leveling the floor, but then they run the boards tight to the baseboards. The first time the humidity jumps, the floor has nowhere to go. It bows up in the middle of the room. It looks like a bubble. You can jump on it and feel the air underneath. It is a disaster. You have to respect the wood. You have to give it room to breathe. The same goes for heavy furniture. If you pin a floating floor down with a massive island, you are asking for trouble. The floor needs to move as a single unit. If one side is pinned, the movement is forced to the other side, often resulting in separated joints or buckled planks.
Moisture barriers and the crawlspace reality
A vapor barrier is a critical component when leveling a subfloor over a crawlspace to prevent moisture migration into the plywood. High relative humidity causes subfloor swelling, which can destabilize the leveling compound and lead to mold growth or rot. You have to get under the house. I know it is dirty. I know there are spiders. But if you do not check the crawlspace, you are guessing. If the dirt is wet, that moisture is coming up into your joists. It is warping your subfloor from the bottom up. You can spend a week getting the top perfectly flat, but if the bottom is rotting, it is all for nothing. I always recommend a 6-mil poly barrier on the ground. Tape the seams. Seal the vents if necessary. Get the humidity under control. A dry house is a stable house. When the subfloor is stable, the leveling compound stays put. When everything stays put, the floor stays beautiful. It is all connected. From the dirt in the crawlspace to the finish on the oak, it is one single system. Treat it that way and you will never have a failure.