The ‘Stair Tool’ Secret for Tight Carpet Tucks Against Baseboards
The ‘Stair Tool’ Secret for Tight Carpet Tucks Against Baseboards
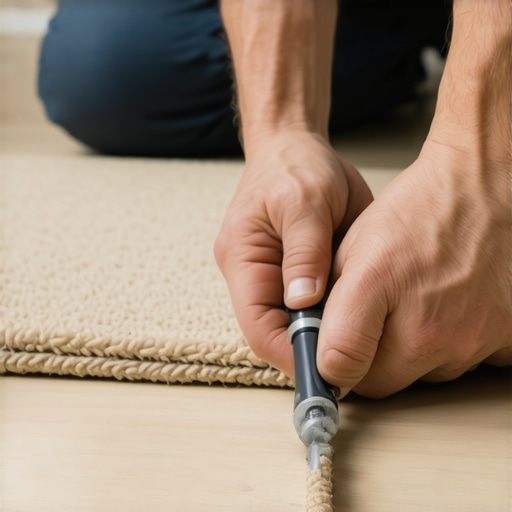
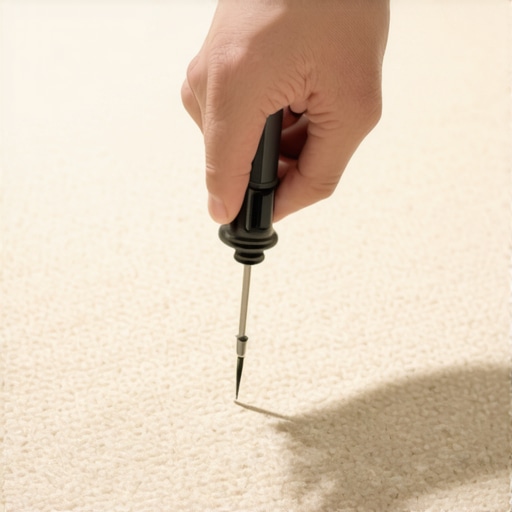
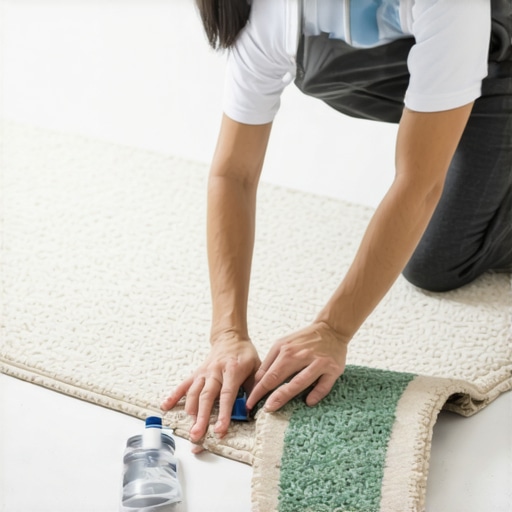
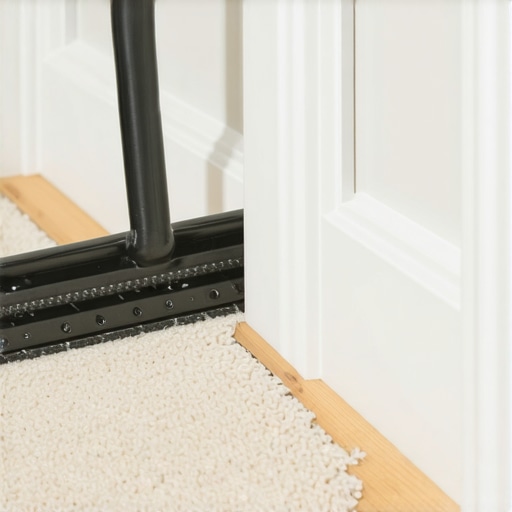
Carpet install perfection is not found in the middle of the room. It is found at the edges. A professional carpet install lives or dies by the perimeter tuck. If you see a gap where the fibers meet the wood, the installer was lazy. I have spent 25 years on my knees with a moisture meter and a level. I have seen every shortcut in the book. Most guys think a stair tool is only for stairs. That is their first mistake. The stair tool is the primary weapon for achieving a tight, mechanical lock against baseboards. It provides the leverage needed to force the carpet backing into the gully between the tack strip and the trim without damaging the baseboard paint. Most guys skip the leveling compound. They think the underlayment will hide the dip. It won’t. I spent three days grinding concrete on a job last month just so the floor wouldn’t click like a castanet. If your subfloor is not flat, your carpet tuck will eventually pull away. This is the structural reality of flooring.
The physics of the perimeter tuck
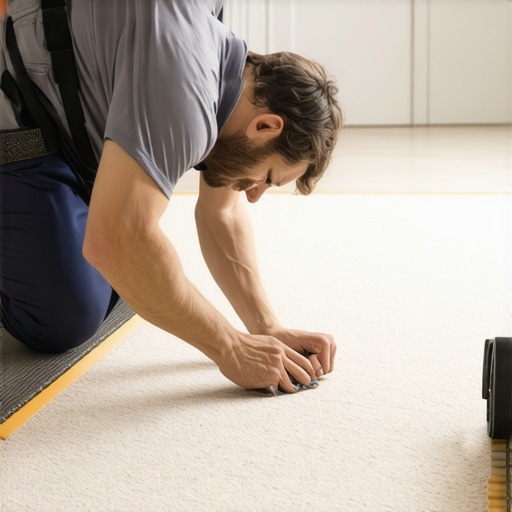
The stair tool technique involves using a heavy, blunt steel blade to create a permanent crease in the carpet backing at the wall line. This carpet install secret relies on the friction between the latex-infused backing and the wood of the baseboard. When you use a knee kicker to stretch the carpet onto the tack strip, you create tension. That tension wants to pull the carpet back toward the center of the room. The stair tool acts as a wedge. It drives the excess material into the gap, creating a Z-fold that locks the carpet in place. This prevents the unsightly ‘smile’ where the carpet sags away from the wall. Without this step, the carpet remains loose. Loose carpet ripples. Ripples lead to premature wear. It is a simple chain of failure that starts with a missing tool.
“A floor is only as good as the subfloor beneath it; deflection is the enemy of every joint.” – Master Flooring Axiom
Why your subfloor is lying to you
Floor leveling is the most ignored phase of any residential project. Whether you are prepping for a carpet install or laying laminate, the subfloor must be within 1/8 inch of level over a 10-foot radius. Most installers trust their eyes. The human eye cannot detect a 1/16 inch dip that will cause a laminate plank to flex and eventually snap its locking mechanism. When I walk onto a job site, I bring a 10-foot straightedge. I look for light passing under the bar. If I see light, I see a future failure. We use self-leveling underlayments composed of calcium aluminate cement. This chemistry allows for a high-flow rate and rapid hydration. It creates a surface with a compressive strength exceeding 4,000 PSI. This is necessary because even soft surfaces like carpet require a stable foundation to prevent the tack strips from pulling out of the wood or concrete.
The chemical reality of wet area transitions
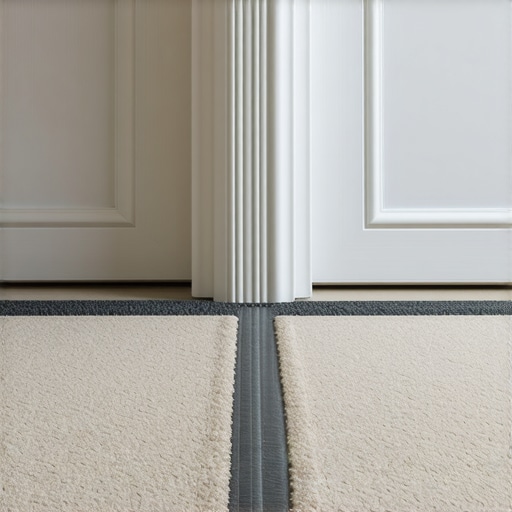
Showers and bathrooms present a unique challenge when they meet carpet or laminate. You cannot simply butt a carpet up to a tiled shower curb and expect it to last. Moisture is a silent killer. In showers, the waterproofing membrane must extend under the transition point to prevent capillary action from drawing water into the carpet padding. I have seen $10,000 master baths ruined because the installer didn’t use a proper transition strip at the wet-dry line. For laminate, the danger is even higher. Laminate is essentially compressed sawdust and resin. If it absorbs moisture from a shower area, the core will swell. This is called ‘peaking.’ Once the edges peak, they become trip hazards and the floor is effectively destroyed. You need a 100% silicone sealant at every transition in a wet area. No exceptions.
| Material Type | Acclimation Time | Max Moisture Content | Expansion Gap Requirement |
|---|---|---|---|
| Solid Hardwood | 7-14 Days | 6-9% | 3/4 Inch |
| Engineered Wood | 3-5 Days | 7-10% | 1/2 Inch |
| Laminate Flooring | 48 Hours | Standard Ambient | 3/8 Inch |
| LVP (Vinyl) | 24 Hours | Waterproof | 1/4 Inch |
The 1/8 inch that ruins everything
Precision cutting is where the ‘stair tool’ secret becomes a necessity. If you cut the carpet too short, you have no material to tuck. If you cut it too long, you get a bulge. The professional standard is to leave exactly 1/8 inch of carpet overage beyond the baseboard before you begin the tuck. This allows the stair tool to drive the edge down into the gully. If you are working with laminate, that 1/8 inch is your enemy. You need a massive expansion gap. People hate the look of quarter-round molding, but it exists for a reason. Laminate moves. It expands and contracts with every change in humidity. If you lock it tight against a wall, it will buckle in the center of the room. I have seen entire floors lift 4 inches off the ground because an installer forgot the expansion gap. It looked like a pup tent. It is a physics problem, not a cosmetic one.
The engineering of carpet padding
Underlayment selection is often based on the ‘squish’ factor. This is a mistake. Too much cushion is a death sentence for carpet seams. If the padding is too soft, the carpet flexes too much when you walk on it. This puts immense stress on the heat-bond tape at the seams. Eventually, the seam splits. We look at density, measured in pounds per cubic foot. For a high-traffic carpet install, you want an 8-pound rebond pad. It provides enough support to keep the primary and secondary backings from delaminating. In showers or basements, you must use a pad with an integrated moisture barrier. Without it, the pad acts like a sponge, holding onto spills and humidity, which leads to mold growth that you will never see until you rip the floor up ten years later.
“Thermal expansion and moisture-related dimensional change are the primary causes of flooring system failures.” – NWFA Technical Guidelines
- Check the subfloor for moisture using a pin-type meter before any carpet install.
- Ensure all floor leveling compounds are fully cured before applying adhesives.
- Use a power stretcher for all rooms over 10 feet to prevent future ripples.
- Seal all showers transitions with high-grade silicone to protect adjacent flooring.
- Maintain a consistent humidity level between 35% and 55% for laminate longevity.
Molecular zooming into adhesive bonds
Adhesive chemistry is what keeps your floor from moving. When we talk about floor leveling, we aren’t just talking about making it flat. We are talking about porosity. If a concrete slab is too dense, the adhesive cannot penetrate. It just sits on the surface. We call this ‘glassing.’ To get a proper bond for laminate glue-down or carpet pressure-sensitive adhesive, the surface must be mechanically profiled. This means grinding the concrete to an ICRI Concrete Surface Profile of 2 or 3. This creates tiny anchors for the glue. If you skip this, the floor will fail. I don’t care how expensive the glue was. If the molecules can’t hold onto the substrate, the floor is floating. And if it’s not a floating floor by design, that is a disaster. Professional flooring is a series of chemical bonds and mechanical locks. If you understand the physics, the floor lasts forever. If you just care about the color, you’ll be calling me back in two years to fix it.