The Proper Slope for a Curbless Shower Entry
The Physics of the Curbless Shower Entry and Structural Integrity
Most guys skip the leveling compound. They think the underlayment will hide the dip. It won’t. I spent three days grinding concrete on a job last month just so the floor wouldn’t click like a castanet. That job was a reminder that the floor you see is only as honest as the subfloor you hide. When we talk about a curbless shower entry, we are not talking about a simple design choice. We are discussing a complex engineering feat that requires a deep understanding of fluid dynamics and structural load. A curbless entry, or a zero-entry shower, removes the traditional curb that acts as a dam. Without that dam, you are relying entirely on the geometry of the floor to keep water from ruining your home.
The mechanics of the quarter inch rule
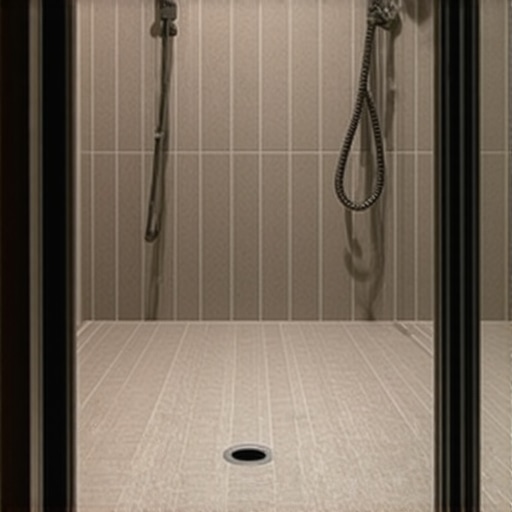
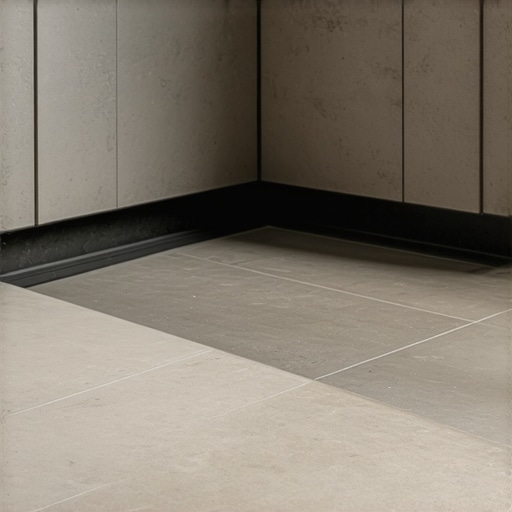
The proper slope for a curbless shower entry must maintain a minimum pitch of one quarter inch per foot toward the drain. This specific gradient ensures that the surface tension of water is overcome by gravity. If the slope is too shallow, water will pool due to its own cohesive properties. If the slope is too steep, the tile becomes a slip hazard and the transition to the main floor becomes impossible to manage without a trip hazard. The National Tile Contractors Association is very clear on this requirement. You must create a recessed zone that allows the pitch to begin well outside the wet area. This often involves sistering joists or using a recessed subfloor system to lower the starting point of the shower floor itself.
“A floor is only as good as the subfloor beneath it; deflection is the enemy of every joint.” – Master Flooring Axiom
The structural truth of floor levelness
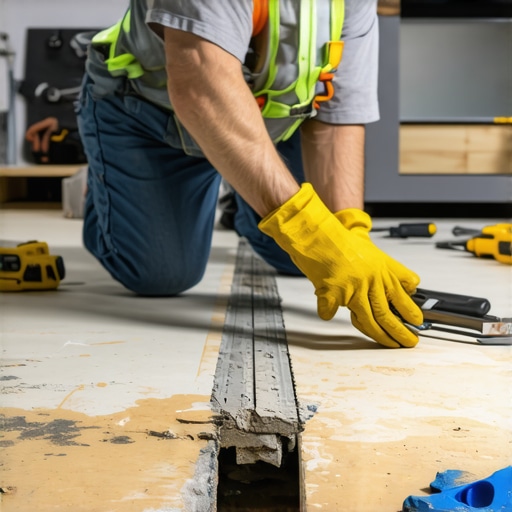
Floor leveling is the most overlooked phase of a curbless shower project but it dictates the success of the entire wet room. Before a single tile is laid, the entire subfloor must be checked for flatness. We are looking for a tolerance of 1/8 inch over 10 feet. If the main bathroom floor is not level, the zero-entry transition will fail. You cannot hide a hump in the plywood with a thin-set mortar. The physics of the bond simply will not allow it. I have seen installers try to build up the floor with extra underlayment. While most people want the thickest underlayment, too much cushion actually causes the locking mechanisms on LVP to snap under pressure. For a shower transition, you need a rock-solid, flat substrate that meets the shower slope at a perfect, flush line. This often requires a self-leveling underlayment that has a compressive strength of at least 3,000 psi.
| Distance from Drain | Minimum Drop Requirement | Maximum Safe Pitch |
|---|---|---|
| 1 Foot | 0.25 Inches | 0.50 Inches |
| 2 Feet | 0.50 Inches | 1.00 Inches |
| 3 Feet | 0.75 Inches | 1.50 Inches |
| 4 Feet | 1.00 Inches | 2.00 Inches |
A subfloor secret that saves the joists
The structural integrity of your joists determines if your curbless shower will leak in five years. When you remove a portion of the subfloor to create a recess, you are potentially compromising the stiffness of the floor system. Most homes are built to an L/360 deflection standard. For natural stone or large format tile, you really want L/720. This means the floor should bend half as much as the code requires. If the floor bounces when you walk on it, the waterproofing membrane will eventually fatigue and crack. I always recommend adding blocking between the joists and using a high-quality structural adhesive to bond the new recessed subfloor to the existing structure. This creates a monolithic platform that resists the micro-movements caused by seasonal humidity changes.
The chemistry of polymer modified mortars
The bond between your tile and the waterproofing membrane depends on the chemical composition of your thin-set. In a curbless entry, the transition point is under constant stress from both moisture and foot traffic. A standard dry-set mortar is not enough. You need a polymer-modified thin-set that meets ANSI A118.4 or A118.15 standards. These polymers act as bridge-builders on a molecular level. They allow the mortar to remain flexible enough to handle the expansion and contraction of the subfloor while maintaining a tenacious grip on the tile. If you use a cheap, unmodified mortar, the water will eventually find its way into the microscopic gaps between the mortar and the tile, leading to delamination. This is especially true at the edge where the shower tile meets the dry area floor material.
- Verify subfloor deflection meets L/720 standards
- Apply a high-quality primer to the plywood or concrete
- Install a topical waterproofing membrane that extends 12 inches past the wet zone
- Ensure the linear drain is perfectly level across its length
- Check the moisture content of the wood subfloor to ensure it is below 12 percent
The transition from tile to carpet install
A carpet install next to a curbless shower requires a specific capillary break to prevent moisture wicking. When you transition from a wet tile environment to a carpeted bedroom, you cannot just butt the carpet up to the tile. Water that splashes onto the tile can travel through the grout lines and into the carpet pad. This creates a breeding ground for mold. I always install a metal or plastic L-bead at the transition. This bead should be sealed with a high-grade silicone sealant. This creates a physical barrier that prevents water from moving horizontally. For the carpet side, ensure the tack strip is set back at least half an inch from the tile edge to allow for a clean tuck that hides the transition without creating a bump.
The failure of the laminate approach
Laminate flooring is a dangerous choice for areas adjacent to a curbless shower entry. Even though many modern laminates are marketed as waterproof, the core is still typically made of high-density fiberboard. If the slope of your curbless shower is off by even a fraction of an inch, water will escape the wet zone and find the seams of the laminate. Once moisture enters the click-lock system, the edges will swell. This swelling is irreversible. If you must use a wood-look product near a curbless entry, an engineered hardwood with a waterproof core or a high-quality LVP is a much better engineering choice. Even then, the perimeter expansion gap is the most important part of the install. You must leave at least a quarter inch gap at all vertical surfaces and fill it with a color-matched 100 percent silicone caulk, never grout.
“Water follows the path of least resistance; your job is to make that path lead to the drain.” – TCNA Handbook Wisdom
The physics of water surface tension
Surface tension allows water to defy gravity on flat surfaces, which is why the slope is the only thing that matters. When water hits a flat tile, it forms droplets that cling to the surface. These droplets can build up and flow backward if the slope is not aggressive enough to break that tension. In a curbless shower, the large format tiles often used can hinder drainage because there are fewer grout lines to break up the flow of water. This is why many master installers prefer a linear drain located at the entry or the far wall. A linear drain allows for a single, consistent plane of slope. This simplifies the geometry and ensures that every drop of water is pulled toward the exit point. If you use a center drain with large tiles, you are forced to use an envelope cut, which is functionally superior but aesthetically challenging.
The heavy cost of a weak transition
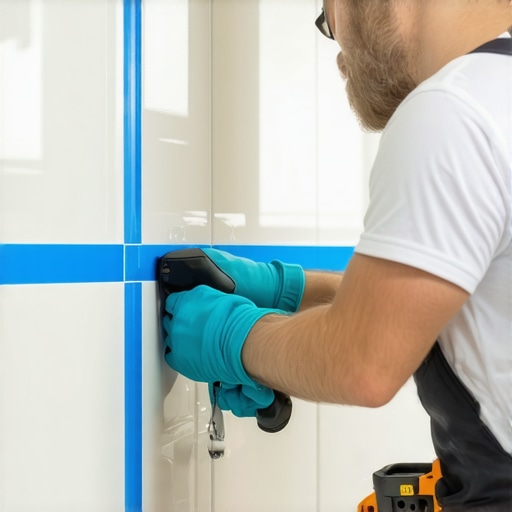
The transition point where the sloped shower floor meets the level bathroom floor is the most likely failure point of the system. This line is where the waterproofing membrane is under the most tension. It is also where the most foot traffic occurs. If the subfloor is not perfectly rigid, this transition will flex, causing the grout to crack. Once the grout cracks, water enters the system. I always reinforce this transition with a layer of alkali-resistant mesh embedded in the waterproofing. This adds tensile strength to the joint. It is also the area where you must be most precise with your floor leveling. If there is a dip at the transition, water will sit there, slowly eating away at the adhesive bond until the tile pops loose.