The ‘Blue Tape’ Rule for Perfectly Level Shower Wall Tiles
Why subfloor leveling dictates the success of every tile installation
Subfloor leveling involves the mechanical process of ensuring a substrate is flat and level within a specific tolerance of 1/8 inch per 10 feet. This practice requires a straightedge, moisture meter, and self-leveling underlayment to eliminate deflection and lippage in the final finish. Most guys skip the leveling compound. They think the underlayment will hide the dip. It won’t. I spent three days grinding concrete on a job last month just so the floor wouldn’t click like a castanet. The homeowner thought I was crazy for the dust I created, but when they walked on that dead-silent floor, they understood. A floor is a structural assembly, not a piece of furniture. If the foundation is out of plane, the surface will fail. It is a matter of physics, not a matter of opinion.
The physics of a perfectly flat shower wall
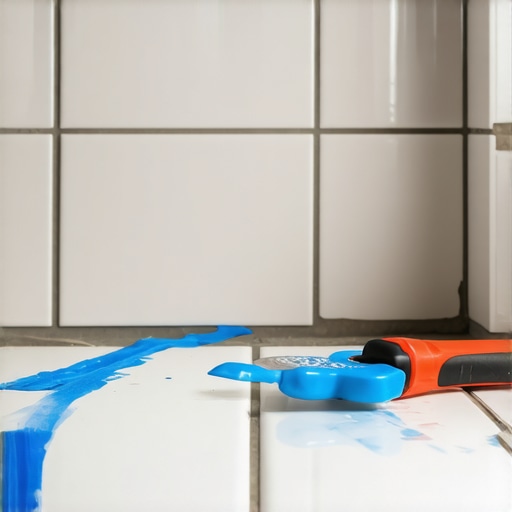
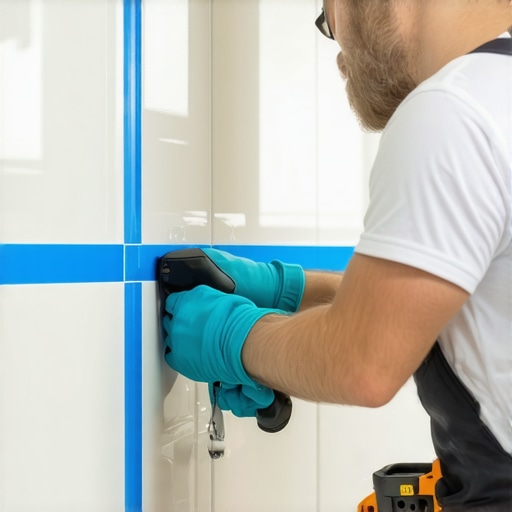
Shower wall tile requires a plumb and square substrate to ensure grout lines remain consistent across the vertical plane. Using a laser level and waterproof membrane like Kerdi or GoBoard ensures the thin-set mortar creates a permanent bond without voids or water intrusion. The blue tape rule is my secret weapon for these vertical challenges. You strike your laser line for the second row of tiles. You apply blue painter tape exactly to that line. This tape acts as a physical boundary for your thin-set. It prevents the mortar from obscuring your reference point. You can see immediately if a tile starts to sag or drift. It is the difference between a grid that looks like a graph paper and one that looks like a distorted mess. When you are dealing with large format tiles, even a tiny shift at the bottom creates a massive gap at the ceiling. Gravity is always pulling on your installation. The tape gives you a visual baseline that stays clean and sharp throughout the process. It is about control over the materials.
“A floor is only as good as the subfloor beneath it; deflection is the enemy of every joint.” – Master Flooring Axiom
Why laminate floors fail when the subfloor is not prepared
Laminate flooring requires a substrate flatness of 3/16 inch over 10 feet to prevent the locking mechanisms from snapping under dynamic loads. The use of a high-density foam underlayment provides acoustic dampening but cannot compensate for structural dips or peaks in the plywood or concrete. People think the foam is magic. They think it fills the holes. In reality, the foam just compresses. When you step on a low spot, the tongue and groove joint of the laminate flexes. Do that ten thousand times, and the plastic or HDF core snaps. Now you have a floor that separates. You have a floor that peaks. I have seen thousand-dollar floors ruined because the installer was too lazy to pour five bags of leveler. In humid environments like Houston, this failure is accelerated. Moisture causes the subfloor to move, and if there is a void, that movement is amplified. You must treat the subfloor like the most important part of the job because it is. You are building a system, not just laying planks.
The chemical bond between thin-set and waterproof membranes
Modified thin-set mortar contains polymers that increase shear strength and flexibility when bonding ceramic or porcelain to non-porous membranes. Understanding ANSI A118.15 standards is necessary for high-performance wet areas where thermal expansion and moisture exposure are constant. The chemistry here is fascinating. Traditional mortar relies on mechanical grip. It reaches into the pores of the stone or the cement board. Modern membranes are often smooth and waterproof, so there are no pores. The polymers in the thin-set create a chemical bridge. They glue the materials together at a molecular level. If you use the wrong mortar, the tile will simply pop off the wall like a scab. I always tell people to check the bag. If it does not say it is rated for the specific membrane you are using, do not touch it. I have seen entire showers delaminate because someone used cheap, unmodified mud on a plastic-faced membrane. It is an expensive mistake that requires a total tear-out. You cannot fix a bad bond once the grout is dry.
| Floor Type | Substrate Tolerance | Recommended Underlayment | Acclimation Time |
|---|---|---|---|
| Large Format Tile | 1/8 inch in 10 feet | 1/2 inch Cement Board | None |
| Laminate | 3/16 inch in 10 feet | 2mm High-Density Foam | 48 Hours |
| Solid Hardwood | 1/4 inch in 10 feet | 15lb Asphalt Felt | 7 to 14 Days |
| Engineered Wood | 3/16 inch in 10 feet | Acoustic Rubber | 72 Hours |
The 1/8 inch that ruins everything
Precision measurement and straightedge testing are the only ways to identify deviations in the subfloor before the finish material is applied. A 10-foot straightedge reveals valleys and humps that are invisible to the naked eye but will cause floor failure over time. Here is a contrarian point for you. While most people want the thickest underlayment, too much cushion actually causes the locking mechanisms on LVP to snap under pressure. You want a firm base. If the floor feels like a trampoline, it is going to break. I prefer a high-compression rubber underlayment. It provides the sound rating without the vertical movement. You have to think about the PSI being exerted by a refrigerator or a heavy bookshelf. That weight focuses on the tiny plastic tracks of your floor. If there is a 1/8 inch gap under that track, the plastic will fatigue and fail. It is simple engineering. You cannot fight the laws of physics with a piece of foam. You fight them with a flat surface. This is why I spend more time with a grinder and a level than I do with a saw. The prep is the profit.
- Check subfloor for moisture content using a pin-less meter
- Grind down all high spots and ridges in concrete or wood
- Vacuum all dust to ensure the primer bonds to the substrate
- Apply a high-quality primer to prevent the leveler from drying too fast
- Mix self-leveling underlayment with a high-speed drill to remove lumps
- Pour the leveler and use a spiked roller to release trapped air
The ghost in the expansion gap
Expansion gaps are the perimeter spaces left around the edges of a floating floor to allow for natural expansion and contraction caused by humidity and temperature. Failure to provide a 1/4 inch to 1/2 inch gap results in buckling, tenting, and structural damage to the locking system. I see this all the time with DIY jobs. They run the floor right up to the drywall. It looks clean for a week. Then the seasons change. The humidity rises. The wood or laminate expands. Because it has nowhere to go, it pushes against the wall. The only way it can move is up. Suddenly you have a hump in the middle of your living room. You have to pull the baseboards and cut the floor back with a oscillating tool. It is a nightmare. Always use spacers. If you are in a place like Phoenix, the dry heat will shrink those boards. If you did not acclimate them properly, you will see gaps between the planks that you could lose a credit card in. You have to respect the material. Wood is alive. It breathes. It moves. If you try to trap it, it will win every time.
“Wood flooring will perform best when the environment is controlled to stay within a relative humidity range of 30 to 50 percent.” – NWFA Technical Manual
Carpet installation secrets that professionals never share
Carpet installation relies on power stretching and tack strip placement to ensure the backing remains under tension and does not ripple over time. A knee kicker is for positioning, but only a power stretcher can provide the long-term stability required for high-traffic areas. Most budget installers only use a knee kicker. It is faster. It is easier on their backs. But it does not get the carpet tight enough. Within two years, you will have ripples. Those ripples are not just ugly. They are a trip hazard. They cause the carpet to wear out faster because the yarn is being bent in ways it was not designed for. I always use a power stretcher. It anchors to one wall and pushes against the other. It stretches the backing to its limit. When I am done, that carpet is like a drum head. You could bounce a quarter off it. That is the only way to do it. If you see an installer walk in without a long pole and a heavy head unit, send them home. They are not doing you any favors by skipping the stretch. It is the difference between a ten-year floor and a three-year floor.