The Nickel Test for Shower Floor Drainage Slope
The Nickel Test for Shower Floor Drainage Slope
I spent three days grinding concrete on a job last month just so the floor would not click like a castanet. Most guys skip the leveling compound. They think the underlayment will hide the dip. It won’t. I have spent twenty-five years on my knees with a moisture meter and a level, and I can tell you that a floor is a performance surface, not a decoration. When it comes to showers, the stakes are even higher. I once walked into a job where a homeowner thought their waterproof laminate was fine for a walk-in shower. It was a bloated, moldy mess within three weeks. If you do not understand the physics of the slope, you are just building a very expensive bathtub that never empties. Most people fail to realize that water is a destructive force that looks for any microscopic weakness in your installation. If your subfloor is out of level by even a fraction of an inch, your finish material will eventually fail, whether it is tile, stone, or a topical membrane. I smell like WD-40 and oak dust most days because I do the work that others find tedious. Grinding, leveling, and testing are the only ways to ensure a lifetime of performance.
The physics of water movement on tile surfaces
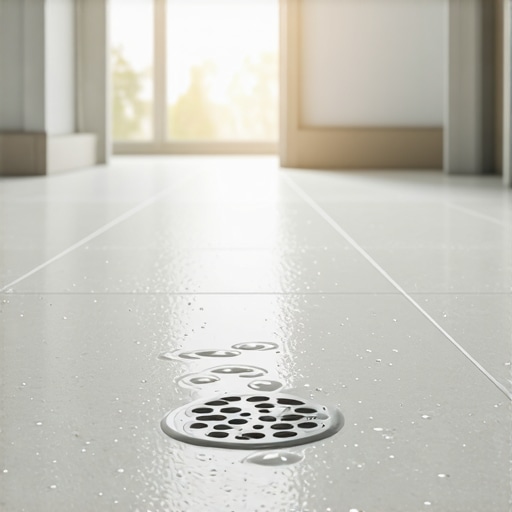
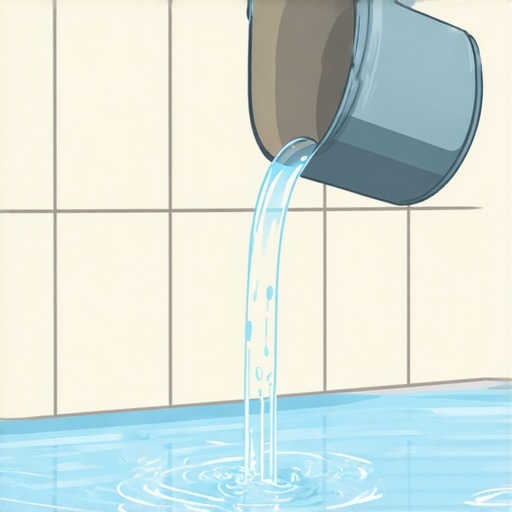
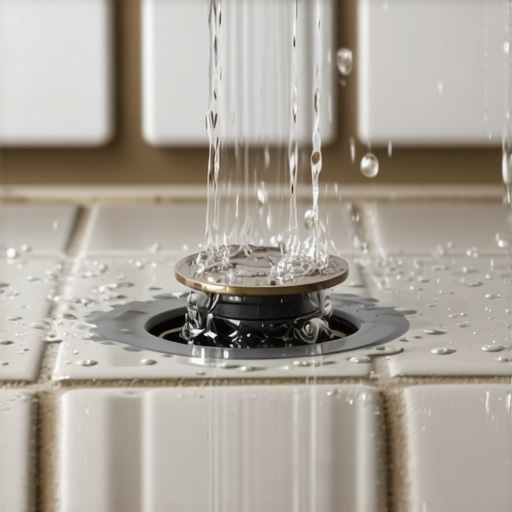
Shower floor drainage slope requires a minimum pitch of one quarter inch per foot toward the drain to ensure gravity overcomes the surface tension of water on tile and grout. This geometric requirement is non-negotiable under TCNA guidelines. When water sits on a flat spot, it creates a birdbath that leads to efflorescence and mold growth. The nickel test is a field diagnostic where you place a nickel on the floor to identify stagnant pools. If the water depth reaches the height of the nickel, your slope is insufficient. Water molecules are polar, meaning they stick to each other and to the surface of your tile. To break that bond and get the water moving toward the waste pipe, you need a consistent angular decline. Any deviation in the subfloor, such as a hump or a valley, will trap that water regardless of how expensive your tile is. This is why floor leveling is the most important step in the process. If the substrate is not perfect, the finished product will be a failure. You cannot fix a bad slope with more thin-set mortar. In fact, adding extra mortar creates shrinkage issues that can pull the tile away from the substrate during the curing process.
Why your subfloor is lying to you
A subfloor may look flat to the naked eye but contains microscopic undulations and deflection points that ruin the structural integrity of a shower pan. You must use a straightedge to verify that the surface is within one eighth of an inch over ten feet. If you find a dip, you must use a high-quality floor leveling compound. I have seen installers try to use carpet install tack strips to gauge height, which is a recipe for disaster. The subfloor is a living breathing entity that reacts to humidity and load. In a shower environment, the subfloor must be rigid enough to support the weight of the mud bed, the tile, and the occupant without flexing.
“A floor is only as good as the subfloor beneath it; deflection is the enemy of every joint.” – Master Flooring Axiom
Moisture in a concrete slab must be tested using calcium chloride or in-situ probes. If the slab is emitting too much vapor, your adhesive will emulsify and the bond will break. This is why I insist on grinding the surface to open up the pores of the concrete. It allows the primer to penetrate and create a mechanical lock that no amount of chemical adhesive can match on its own. If you are working over plywood, you need to ensure the joist spacing meets the L/360 deflection standard for ceramic tile or L/720 for natural stone. Anything less will result in cracked grout lines and compromised waterproofing.
The 1/8 inch that ruins everything
Precision in shower drainage is measured in eighths of an inch because water will find the lowest point in any system and pool there until it evaporates or seeps into the structure. When you are setting your pre-slope, you are creating the foundation for the entire waterproofing system. Many rookies try to shortcut this by building the slope in the tile layer itself. This is a mistake. The slope must exist in the substrate. If you are using a laminate product in an adjacent room, the transition must be perfectly flat to avoid a trip hazard, but inside the shower, the transition must be a hard break that contains the water. I often see people ignore the perimeter expansion gap. Every floor needs room to breathe. Without a gap at the walls, the tile will tent as the house settles. This movement ruins the pitch of your floor. The nickel test proves this. If you place a nickel near the wall and it stays dry while the center of the floor is wet, your perimeter is too high. This often happens because installers build up too much thin-set at the edges. You have to be precise. You have to be mechanical. You have to be disciplined.
| Measurement Type | Standard Requirement | Acceptable Variance |
|---|---|---|
| Primary Slope | 0.25 inch per foot | +/- 0.0625 inch |
| Subfloor Flatness | 0.125 inch over 10 feet | None for stone |
| Drain Flange Recess | 0.0625 inch | Flush to 0.125 inch |
| Adhesive Thickness | 0.125 to 0.25 inch | Per manufacturer spec |
Chemistry of the bond and mortar hydration
Modified thin-set mortars use ethylene vinyl acetate polymers to create a flexible but incredibly strong bridge between the tile and the substrate. This chemical bond is what keeps your floor from shifting under thermal expansion. When you mix your mortar, the water triggers a hydration reaction that forms calcium silicate hydrate crystals. These crystals grow into the microscopic nooks and crannies of your tile and subfloor. If you add too much water to the mix, you weaken the crystal structure, leading to a brittle bond that will snap under foot traffic. This is why I hate seeing guys eyeball the water. Use a measuring bucket. The showers we build today are heavy. Large format tiles add significant weight, and the mortar must be able to support that load without slumping. If the mortar slumps, your floor leveling efforts are wasted. You will end up with lippage, which is where one tile is higher than the next. This creates a dam that stops water from reaching the drain. Even a tiny lip can trap enough water to cause a slip hazard or a mold colony. I always back-butter my tiles to ensure one hundred percent coverage. If you have air pockets under your tile, water will fill them. That water will sit there, grow bacteria, and eventually rot the system from the inside out.
The ghost in the expansion gap
Expansion gaps are the silent protectors of a flooring system, allowing for the natural movement caused by temperature changes and structural settling. If you caulk your corners instead of using a hard grout, you allow the shower to move without cracking. Many homeowners hate the look of a silicone joint, but it is the only thing that keeps the water inside the pan.
“Waterproofing is a system, not a single product; the failure of one component is the failure of the whole.” – Master Flooring Axiom
When I am doing a carpet install in a bedroom, I do not worry about water, but as soon as I cross that threshold into the bathroom, the rules change. You have to think like a plumber and an engineer. The laminate flooring in the hallway might be fine with a bit of a wave in the subfloor, but tile is unforgiving. If the floor moves, the tile cracks. It is that simple. The nickel test also helps identify if a tile has moved during the curing process. If you check it twenty-four hours later and the nickel is now catching water where it didn’t before, your substrate moved or your mortar shrank unevenly. This is usually due to poor mixing or a subfloor that was not properly primed.
- Clean the subfloor of all dust, wax, and oil before applying leveler.
- Verify the drain height matches the intended tile thickness.
- Apply a pre-slope of mortar before the waterproofing membrane.
- Check the floor with a ten foot straightedge in multiple directions.
- Perform a twenty-four hour flood test to ensure no leaks exist.
- Use the nickel test to find any low spots in the finished tile.
The reality of moisture and mold
Moisture management is the difference between a floor that lasts fifty years and one that lasts five. In the humid climates of the south, moisture is your primary enemy. Even in dry areas, a shower is a localized swamp. If you do not have a proper vapor barrier or a liquid applied membrane, that moisture will penetrate the subfloor. Once it gets into the wood or the concrete, it is very hard to get out. I have seen beautiful bathrooms torn out because someone forgot to seal the screw holes in the backer board. It seems like a small thing, but it is the 1/8 inch that ruins everything. We are talking about molecular level protection. The mil thickness of your waterproofing membrane must be consistent. If you roll it on too thin, it will pinhole. Those tiny holes are all water needs to start the destruction process. I always use a wet film gauge to make sure I am hitting the manufacturer’s requirements. This is not about aesthetics. This is about structural engineering. You are building a machine that handles thousands of gallons of water every year. Treat it with that level of respect. Do not let a salesperson talk you into a cheaper underlayment or a shortcut method. They are not the ones who will be on their knees in five years tearing out a moldy subfloor. I will be. And I will tell you the same thing I am telling you now. Do it right the first time or do not do it at all.