How to Fix a Spongy Shower Curb Without Tearing Out the Whole Pan
You step on the curb and it gives just a fraction of an inch. That is the sound of your bank account screaming. A spongy shower curb is not just a nuisance. It is a structural failure signaling that water has bypassed your primary waterproofing layer and is now feasting on the wooden skeleton of your bathroom. Most contractors will tell you that the only way to fix this is to rip out the entire shower pan, the glass doors, and the first two rows of wall tile. They are often wrong. If the failure is localized to the curb itself, you can perform a surgical strike. This requires a deep understanding of capillary action, the hydrostatic pressure of standing water, and the specific gravity of modified thin-set mortars. You are not just replacing tile. You are re-engineering a dam.
Why your shower curb feels like a wet sponge
A spongy shower curb indicates moisture saturation within the internal wood framing or the mortar bed of the curb. This usually occurs because of a punctured liner, improper fastener placement, or failed grout joints. Fixing it involves removing the tile, drying the core, and applying liquid waterproofing membranes to prevent future leaks.
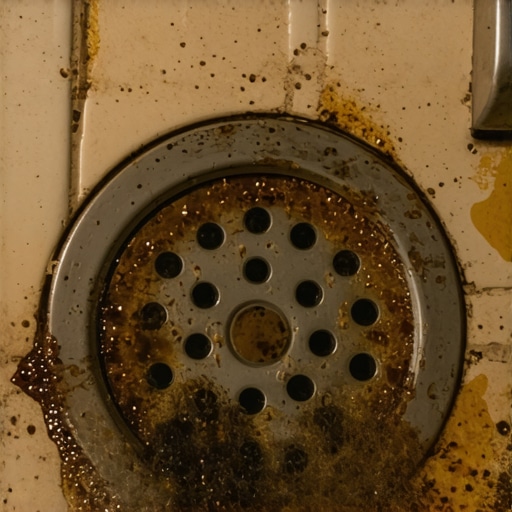
Most guys skip the leveling compound. They think the underlayment will hide the dip. It won’t. I spent three days grinding concrete on a job last month just so the floor wouldn’t click like a castanet. That same job taught me about the danger of shortcuts. The homeowner had a shower curb that felt like a marshmallow. When I pulled the first tile, a smell of stagnant pond water and rotting pine hit me like a physical wall. The previous installer had driven screws through the top of the curb to secure the cement board. Every screw hole became a straw, sucking soapy water directly into the 2×4 studs. Within three years, those studs were the consistency of wet cardboard. This is why we never, ever penetrate the top or inside face of a curb with a mechanical fastener. It is the golden rule of the Tile Council of North America.
“A floor is only as good as the subfloor beneath it; deflection is the enemy of every joint.” – Master Flooring Axiom
The physics of a shower curb are simple yet unforgiving. The curb acts as a dam. It must contain the weight of the water and the weight of the person stepping over it. When you use 2×4 lumber for a curb, you are using a material that expands and contracts with humidity. Wood is organic. It wants to rot. If your tile job has even a microscopic pinhole in the grout, or if the silicone at the base of the glass door has pulled away, water will find its way in. Once water reaches the wood, the wood swells. This swelling puts pressure on the tile from the inside out, often cracking the grout and inviting even more water. It is a feedback loop of destruction. If your bathroom shares a wall with a bedroom featuring a carpet install or laminate, you might start seeing dark stains on the floorboards or damp spots in the closet before you even notice the curb is soft.
The 1/8 inch that ruins everything
Success in shower curb repair depends on maintaining a 1/8 inch per foot slope back toward the shower drain. This ensures that water cannot pool on the flat surface of the curb. Without this precise pitch, gravity works against your waterproofing, forcing moisture to sit on grout lines until it eventually penetrates the membrane.
When we talk about structural zooming, we have to look at the bond. Modern thin-set is not just mud. It is a complex chemical mixture of Portland cement, fine sand, and polymers like ethylene-vinyl acetate. These polymers allow the mortar to flex without snapping. However, no mortar is truly waterproof. Grout is even less so. Many people think grout is a seal. It is not. Grout is a filter. Water passes through it. The real work is done by the liner or the liquid membrane beneath the tile. In a spongy curb, that membrane has been breached. To fix it without a full tear-out, you must identify the exact height of the liner. Most old-school builders used a PVC liner that wraps over the curb. If you are lucky, only the top wood is rotted, and the liner itself is intact. You can remove the tile and the cement board, replace the wood with a solid material like brick or a pre-formed high-density foam curb, and then tie the new waterproofing into the existing pan liner.
| Material | Water Absorption | Compressive Strength | Vapor Permeability |
|---|---|---|---|
| Pressure Treated Pine | High | Moderate | High |
| Solid Clay Brick | Low | Extreme | Moderate |
| High-Density Foam | Zero | High | Zero |
| Cement Mortar Bed | Moderate | High | Low |
The regional climate plays a massive role in how fast this rot spreads. In the swampy humidity of Houston, a small leak in a shower curb can lead to a full-blown mold colony in weeks. The air is already saturated, so the wood never has a chance to dry out. In the dry heat of Phoenix, the wood might shrink and pull away from the tile, creating gaps that look like harmless settling but are actually invitations for water. Regardless of where you live, the solution remains technical. You need to use a moisture meter to check the surrounding floor leveling and the wall studs. If the moisture content is above 16 percent, you cannot seal the curb back up. You will be trapping a ticking time bomb of fungal growth.
The ghost in the expansion gap
An expansion gap is mandatory where the shower curb meets the bathroom floor to prevent tiles from buckling. When water wicks from a spongy curb into the subfloor, it causes the plywood or OSB to swell, closing this gap and forcing the tile to tent. Maintaining this gap is the only way to protect the integrity of the room.
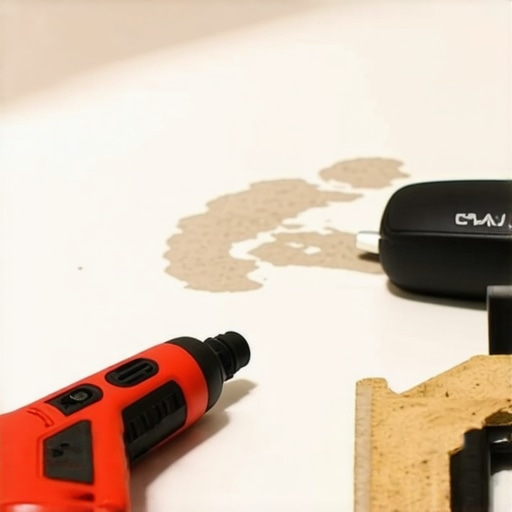
To perform the repair, you will need a specific set of tools. An oscillating multi-tool is your best friend here. It allows you to make surgical cuts in the grout lines without vibrating the entire pan and breaking the bond of the surrounding tiles. You need to remove the tiles from the top and the front face of the curb. Be extremely careful when you reach the inside face where the curb meets the shower floor. If you nick the pan liner there, the game is over and you are looking at a full replacement. Once the tile is gone, peel back the cement board. If the wood underneath is dark, soft, or smells like a basement, it has to go. Dig it out. I often replace the wood with three stacked bricks set in a bed of thin-set. Bricks do not rot. They do not swell. They are the ultimate structural foundation for a curb.
- Oscillating multi-tool with a diamond grit blade
- Moisture meter with pin sensors
- Liquid waterproofing membrane like Hydro Ban
- Alkali-resistant mesh tape for the corners
- Polymer-modified thin-set mortar
- Non-shrink grout matching the original color
- 100 percent silicone caulk for the transitions
“The Tile Council of North America requires a slope of 1/4 inch per foot for the floor, but the curb itself must also be pitched to shed water.” – TCNA Handbook Standards
The chemistry of the bond
Applying a liquid membrane over a reconstructed curb requires a clean, dry substrate to ensure a chemical bond. The membrane should be applied in two coats, reaching a total dry film thickness of approximately 20 to 30 mils. This creates a rubberized, monolithic barrier that is impervious to water and vapor.
Once the new structural core of the curb is in place, you must waterproof it. Do not rely on the old PVC liner alone. Use a liquid-applied membrane. This stuff is incredible. It goes on like thick paint and dries into a rubber sheet. You must bridge the gap between the new curb and the old shower pan. This is where most DIY fixes fail. You need to use reinforcing fabric or mesh tape at every change of plane. If you have a 90-degree angle, that is a stress point. As the house settles, those angles will want to pull apart. The mesh tape gives the membrane the tensile strength to resist that movement. After the membrane is dry, you can set your new tile. Use a 1/4 inch notched trowel and ensure you have at least 95 percent coverage on the back of the tile. In a wet area, air pockets under the tile are just tiny swimming pools for bacteria.
Why your subfloor is lying to you
The subfloor may appear dry on the surface while the underside of the plywood is rotting from trapped moisture. In bathrooms where the curb has failed, the water often travels along the top of the joists, bypassing the top layer of the floor. Always inspect the crawlspace or the ceiling below to confirm the full extent of the damage.
When you finish the tile work, do not use grout in the corners. This is a common mistake. Grout is rigid. The junction where the curb meets the wall and where the curb meets the floor is a transition between two different planes of movement. You must use 100 percent silicone caulk here. Silicone is flexible. It acts as a gasket. If you use grout, it will crack within six months, and you will be right back where you started with water entering the curb. This is especially true if you have a heavy glass door sitting on top of the curb. The weight of that glass causes the curb to flex every time the door is opened and closed. Only silicone can handle that dynamic load. If you follow these steps, you can save the shower and avoid a five thousand dollar renovation bill. Just remember that the curb is a structural element. Treat it with the respect that a dam deserves. Keep your pitch correct, keep your membranes continuous, and never, ever trust a piece of wood in a wet environment without a secondary line of defense.