Why Your Shower Drain Grate is Discoloring After One Month
The hidden chemistry behind your discolored shower drain grate
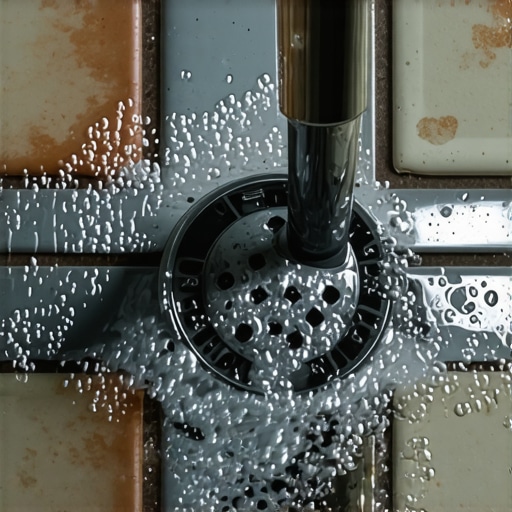
Most homeowners believe that a shower drain is a simple piece of metal. They are wrong. It is the final exit point for a complex slurry of minerals, surfactants, and biological waste that interacts with the metallurgical properties of the grate. If your drain is changing color within weeks, you are witnessing a chemical failure that usually points to structural issues or improper material selection. I spent three days grinding concrete on a job last month just so the floor wouldn’t click like a castanet, and that same level of precision is required to understand why your finishes are failing. A floor is a system. When one part of the system, like the drain slope or the subfloor levelness, fails, the aesthetic components are the first to show the damage.
The harsh reality of galvanic corrosion in wet areas
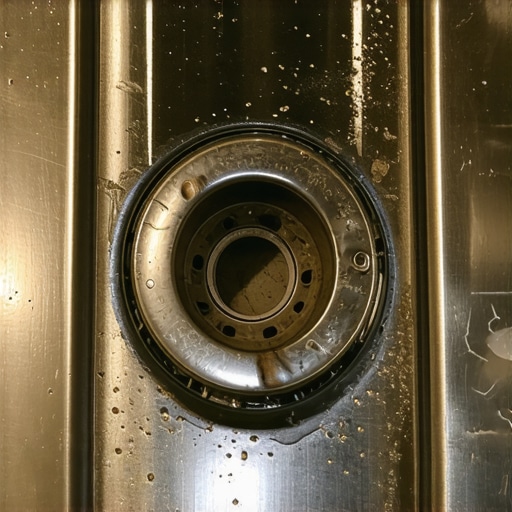
Galvanic corrosion occurs when two dissimilar metals make contact in the presence of an electrolyte like water. This electrochemical process causes the more anodic metal to corrode at an accelerated rate, leading to the dark spotting, pitting, or rust colored stains you see on your drain grate within the first thirty days of use.
When we talk about the physics of a shower, we are talking about a miniature chemical plant. Your water contains dissolved ions, calcium, magnesium, and often trace amounts of copper. When these ions sit on a cheap chrome-plated plastic or a low-grade stainless steel grate, they begin to pull electrons from the surface. This is not just a stain. It is a molecular breakdown. If your installer used a galvanized screw to secure a stainless steel drain assembly, you have created a battery. The current flowing between those metals in the damp environment of the subfloor will ruin the finish before the first month of showers is even over. This is why I always insist on 304 or 316 grade stainless steel. Anything less is just a countdown to disappointment.
How improper floor leveling traps stagnant water
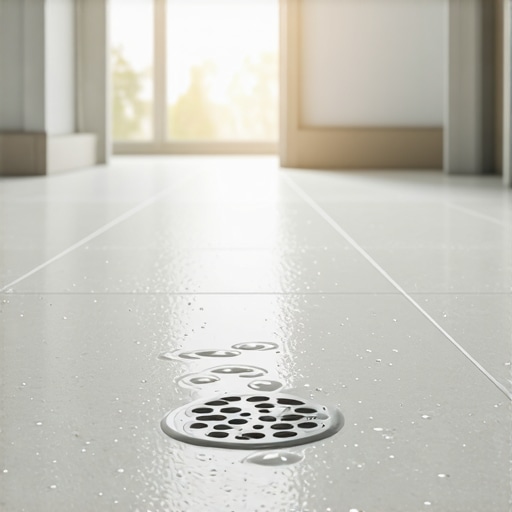
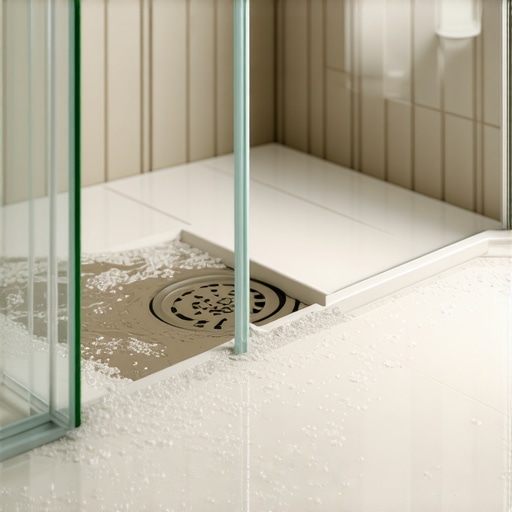
A shower drain grate discolors when stagnant water sits on the metal surface for extended periods. If the floor leveling process was skipped or executed poorly, the pitch toward the drain will be insufficient, causing water to pool around the grate rather than disappearing down the weep holes of the drain assembly.
I have seen it on every third job. A guy thinks he can eyeball a 2 percent slope. He can’t. Without a proper pre-slope under the liner and a perfectly screeded mortar bed on top, you get birdbaths. These small depressions in the tile work keep the drain grate submerged in a shallow pool of soapy, acidic water. As that water evaporates, the concentration of chemicals increases. This caustic soup eats through the PVD coating or the lacquer. If you want a drain that stays pretty, you need a subfloor that is dead level before you even start your slope. I don’t care if you are doing a carpet install in the bedroom next door, the floor leveling in the wet area is the only thing standing between you and a moldy, discolored mess.
“A floor is only as good as the subfloor beneath it; deflection is the enemy of every joint.” – Master Flooring Axiom
The hidden chemical warfare of cleaning agents
Harsh cleaning chemicals containing bleach or hydrochloric acid destroy the protective oxide layer on metal grates. Many homeowners try to scrub away early signs of hard water buildup with aggressive cleaners, which actually strips the finish and exposes the raw metal to rapid atmospheric oxidation and staining.
You think you’re cleaning, but you’re actually de-passivating the steel. Stainless steel relies on a thin layer of chromium oxide to stay shiny. When you hit that with a heavy bleach solution or a generic bathroom spray, you are stripping that shield. Once that shield is gone, the oxygen in the air and the moisture in the shower start a dance that ends in brown spots. I always tell my clients to use pH-neutral cleaners. If you treat your shower like a laboratory, it will look like one. If you treat it like a scrub bucket, it will look like junk in thirty days.
Why laminate and showers are a recipe for disaster
Installing laminate flooring near a shower is a structural mistake that contributes to high ambient humidity. Laminate is essentially compressed sawdust and glue, which absorbs the moisture that evaporates from a poorly drained shower, leading to warped planks and persistent dampness that accelerates metal corrosion on drains.
I get the phone calls every week. Someone wants to put a waterproof laminate in their master bath. I tell them there is no such thing as a waterproof floor, only water-resistant surfaces. When that laminate sits in a bathroom with a drain that is already discoloring, it means the moisture levels are off the charts. The expansion gaps at the perimeter start to swell. The locking mechanisms fail because the subfloor is holding too much vapor. You should be looking at LVP with a rigid core or, better yet, a properly bonded tile system. If you see your drain turning black, check your transition strips. I bet the laminate is already starting to peak at the edges because of the humidity. [image placeholder]
The physics of the weep hole and drainage failure
Weep holes are the secondary drainage path located inside the drain assembly. If these holes are clogged with thin-set or grout during the tile installation, water remains trapped in the mortar bed, keeping the drain grate permanently damp and leading to rapid discoloration through mineral leaching.
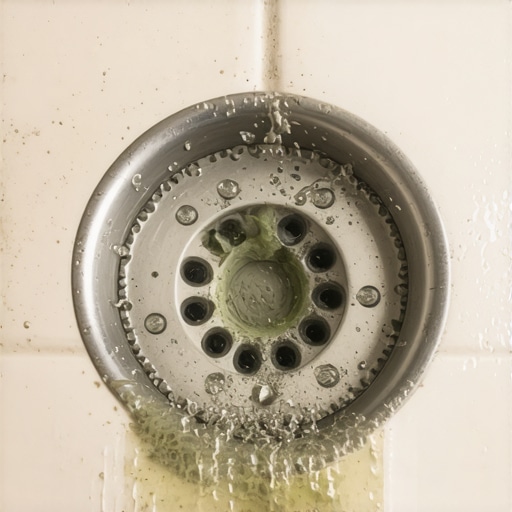
This is where the amateurs get caught. They slap the mortar down, they don’t protect the drain, and they plug those tiny holes. Now, the water that gets under your grout has nowhere to go. It sits in the mud bed. It gets stagnant. It gets gross. Then, through capillary action, it crawls back up to the grate. That is why you see that weird green or orange crust around the edges of the metal. It is the sound of your shower failing from the inside out. You have to be surgical with your grout. You have to keep those weep holes clear with pea gravel or a dedicated drainage disk.
Material performance comparison
When selecting your hardware, do not look at the price tag first. Look at the chemistry. A chrome-plated plastic grate will fail in a high-use shower within months if the water is hard. A solid brass grate with a PVD finish is the gold standard, but it requires a subfloor that doesn’t move. Use the table below to understand what you are putting in your home.
| Material | Corrosion Resistance | Ideal Subfloor Type | Expected Lifespan |
|---|---|---|---|
| 316 Stainless Steel | Excellent | Rigid Concrete/CBU | 25+ Years |
| Chrome Plated Plastic | Poor | Any | 1-3 Years |
| PVD Coated Brass | Superior | Leveled Mortar Bed | 20+ Years |
| Anodized Aluminum | Moderate | N/A (Avoid in Showers) | 5 Years |
A checklist for a permanent bathroom floor installation
- Verify the subfloor deflection meets L/360 standards for ceramic tile or L/720 for natural stone.
- Ensure the floor leveling compound is fully cured and moisture tested before applying the waterproofing membrane.
- Check that the pre-slope toward the drain is a minimum of 1/4 inch per foot.
- Protect the drain weep holes during the mortar bed installation to prevent stagnant water buildup.
- Select a grate material that matches the plumbing environment, preferably 304 stainless steel or higher.
- Apply a high-quality sealant to any natural stone tiles to prevent mineral leaching onto the metal.
The ghost in the expansion gap
Most installers forget that metal expands and contracts at a different rate than tile. If you grout the metal grate directly into the tile, you are asking for trouble. The stress of thermal expansion can micro-fracture the finish of the grate, giving a foothold for corrosion to start. I always leave a tiny gap and use a color-matched 100 percent silicone caulk. This allows the drain to breathe. It prevents the metal from being choked by the cementitious grout.
“A floor is only as good as the subfloor beneath it; deflection is the enemy of every joint.” – TCNA Handbook for Ceramic, Glass, and Stone Tile Installation
Concrete moisture and its effect on metal finishes
High alkalinity in a fresh concrete slab can migrate through the tile assembly. If the concrete hasn’t had enough time to reach a stable relative humidity, the lime and salts will travel upward, attacking the underside of the drain grate and causing the finish to peel or darken from the bottom up.
You cannot rush the pour. If you are doing a floor leveling job on a new slab, you need to wait. I have seen guys throw a moisture barrier down on green concrete and think they’re safe. They’re not. That moisture is still there. It’s looking for a way out. The drain assembly is the biggest hole in your floor, so that’s where the moisture goes. It carries all those salts right to your shiny new grate. One month later, it looks like it’s a hundred years old. Do the calcium chloride test. Use a pinless meter. Know your numbers or don’t start the job. Discoloration is just a symptom of a deeper structural sickness. Fix the subfloor, manage the moisture, and buy the right metal. That is the only way to win in the long run.