The ‘Masking Tape’ Secret for Grouting Hard-to-Reach Shower Corners
I spent three days grinding concrete on a job last month just so the floor wouldn’t click like a castanet. Most guys skip the leveling compound. They think the underlayment will hide the dip. It won’t. If you do not get the substrate flat within an eighth of an inch over ten feet, you are building a failure. This same obsessive focus on the foundation is what separates a shower that lasts forty years from one that leaks in four. Grouting a corner is not just about aesthetics. It is about the structural integrity of the water envelope. I have seen fifteen thousand dollar walnut floors cup like potato chips because of moisture, and I have seen shower corners crumble because the installer was too lazy to reach into the tight spots. This guide is about doing it right. There are no shortcuts in the physics of water.
The structural physics of a corner joint
The structural physics of a corner joint requires an understanding of plane changes and movement. In shower construction, corners represent the most vulnerable point for stress fractures. Proper grouting using masking tape ensures that the sealant or grout maintains a consistent depth and width, preventing moisture from bypassing the primary waterproofing layer. When two planes of tile meet at a ninety degree angle, they are under constant stress from the house settling. If you just shove grout in there with a float, you are leaving air pockets. Those air pockets are where mold starts its life. Masking tape allows you to pack the joint tight without creating a mess on the tile face. It is a mechanical boundary that forces the grout where it needs to go. I do not care if you are an architect or a weekend warrior. You cannot argue with the chemistry of Portland cement and the way it shrinks during the hydration process. If the joint is not packed to its full depth, it will fail. Period.
Why subfloor leveling dictates shower success
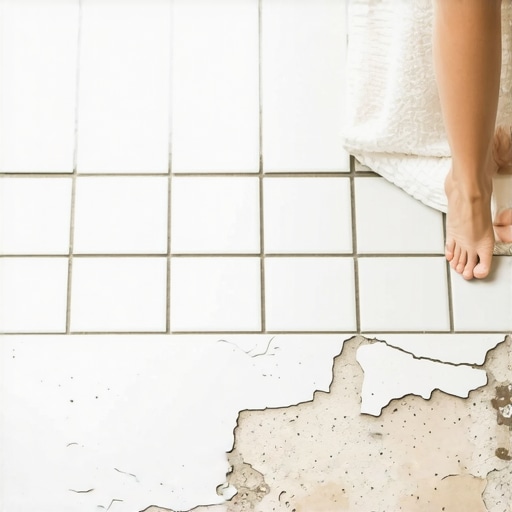
Subfloor leveling is the silent partner of any successful shower installation. If the floor leveling is ignored in the adjacent rooms where you might have a carpet install or laminate, the transition to the shower curb becomes a trip hazard. A flat subfloor ensures the shower pan sits perfectly level, preventing uneven stress on corner grout joints. You might think that a carpet install in the hallway has nothing to do with the tile in the master bath. You would be wrong. The entire floor is a system. If the subfloor is bouncing because you did not use enough screws or failed to use a self-leveling underlayment, that vibration travels. It hits the shower pan. It stresses the corners. I have walked into homes where the laminate in the bedroom was clicking, and the shower tile in the ensuite was cracking. It is all connected. Leveling is not optional. It is the law of the job site. I use a straightedge on every square foot. If I see a dip, I fill it. If I see a hump, I grind it. This is the only way to ensure that your shower corners do not separate under the weight of use.
“A floor is only as good as the subfloor beneath it; deflection is the enemy of every joint.” – Master Flooring Axiom
The precision of the masking tape technique
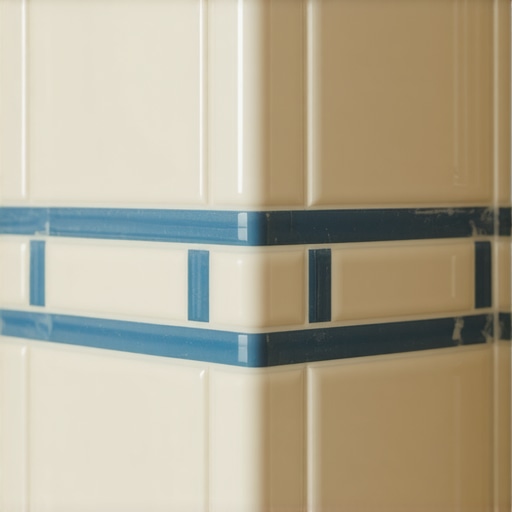
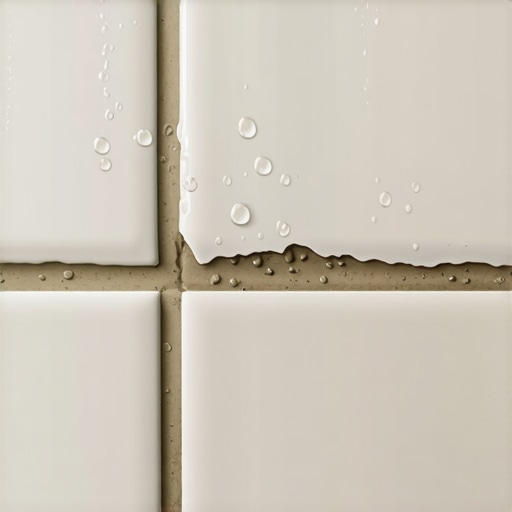
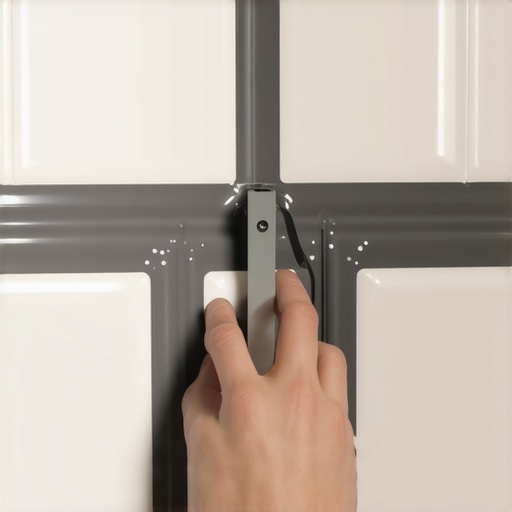
The precision of the masking tape technique involves applying tape to both sides of the corner joint before the application of grout or silicone. This method creates a crisp line and protects the tile texture from grout haze in difficult areas. It is particularly effective for textured tiles where cleaning excess grout is a nightmare. You start by cleaning the joint. Use a vacuum. Do not leave a single grain of sand in there. Then, apply your tape exactly one sixteenth of an inch back from the edge of the tile. This creates a shoulder for the grout. When you pull that tape, the line is so sharp it could cut paper. This is how you get professional results in corners where a standard grout float is too bulky to fit. I see guys trying to finger-smear grout into corners all the time. It looks like a five year old did it. The tape method allows you to use a small putty knife or a specialized corner tool to force the material deep into the gap. This is the structural zoom I talk about. You are not just looking at the surface. You are looking at the bond at the molecular level.
Materials for a professional corner finish
| Tool Name | Purpose | Requirement |
|---|---|---|
| Blue Painter Tape | Edge Protection | Low Tack |
| Small Putty Knife | Grout Injection | Stainless Steel |
| Epoxy Grout | Waterproofing | ANSI A118.3 |
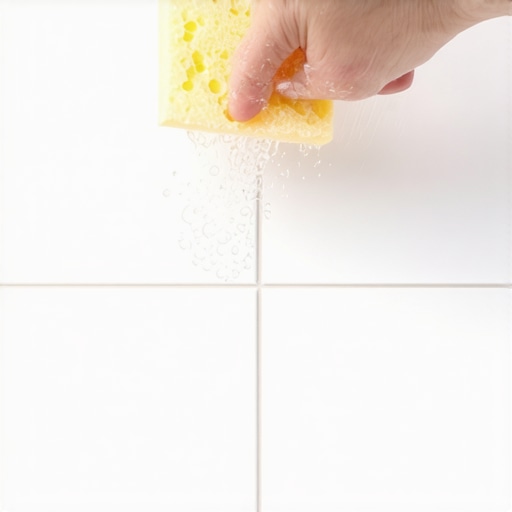
| Microfiber Sponge | Cleaning | Non-abrasive |
| Acetone | Joint Preparation | Pure Grade |
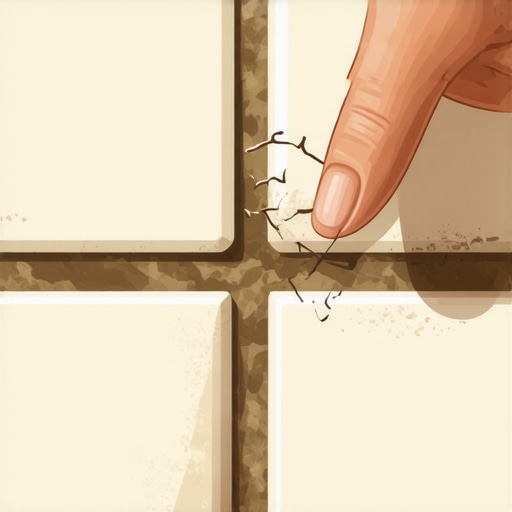
- Clean all debris from the corner joint using a shop vac and a thin pick.
- Wipe the tile edges with denatured alcohol to ensure the tape adheres perfectly.
- Apply tape to both walls, leaving only the joint width exposed.
- Force grout into the joint using a stiff-bladed tool rather than a soft float.
- Strike the joint with a rounded tool to create a slight concave profile.
- Remove the tape while the grout is still slightly plastic to prevent chipping.
The chemistry of grout and moisture resistance
The chemistry of grout and moisture resistance depends on the water to cement ratio and the presence of polymers. When working in hard to reach corners, the grout often dries faster due to restricted airflow, making the masking tape method essential for a clean finish before the material sets. If you use too much water, you are weakening the crystalline structure of the cement. The grout will be porous. It will suck up water like a sponge. This is why I prefer epoxy grout for shower corners, even though it is a pain to work with. Epoxy does not rely on hydration; it is a chemical reaction. It is waterproof. It is also sticky as hell. If you do not use the masking tape secret with epoxy, you will be scrubbing tile for a week. The tape acts as a sacrificial barrier. You get the benefits of the strongest bond in the industry without the aesthetic ruin of epoxy haze. Most people do not realize that the mil thickness of the grout in the corner needs to be consistent. Any variation creates a weak point where the grout can pop out. The tape ensures that thickness is uniform from the floor to the ceiling.
“The integrity of a tile installation is found in the preparation of the transition zones and the density of the grout pack.” – TCNA Technical Manual
Finalizing the transition to other flooring types
Finalizing the transition to other flooring types like laminate or carpet requires a focus on elevation and expansion. While the shower is a wet environment, the exterior floor must be protected from moisture migration through the subfloor. Proper leveling and transitions are the only way to ensure long term performance across different materials. When I finish a shower, I am already thinking about the carpet install that comes next. I make sure the transition strip is not just a piece of cheap plastic. I want a solid metal or stone threshold that is bedded in thin-set. If you have laminate coming up to the bathroom, you need to leave that expansion gap. But you also need to seal that gap so that when someone drips water coming out of the shower, it does not get under the laminate and blow up the edges. I have replaced too many floors because someone forgot a bead of caulk at the transition. It is the little things. It is the eighth of an inch. It is the tape in the corner. If you do not care about the details, you should not be in this business. A floor is a machine. If one part fails, the whole thing is junk. Keep your corners tight, your subfloors level, and your tape lines straight. That is how you build a floor that lasts a lifetime.