The Masking Tape Method for Perfect Grout Caulk Lines
Most guys skip the leveling compound. They think the underlayment will hide the dip. It won’t. I spent three days grinding concrete on a job last month just so the floor wouldn’t click like a castanet. That same obsession with the foundation applies to the very last thing you do in a bathroom which is the caulking. If your subfloor moves, your tile moves. If your tile moves, your grout cracks. If your grout cracks, water gets into the framing. I have seen fifteen thousand dollar wide plank walnut floors turn into potato chips because of moisture issues that started with a single failed caulk joint in an adjacent shower. This is not about aesthetics. This is about structural preservation.
The mechanical failure of a sloppy bead
Silicone sealant and elastomeric caulk function as the primary defense mechanism against water intrusion in showers and wet areas. These materials must maintain a flexible bond between disparate surfaces like ceramic tile and acrylic tubs while accommodating structural shift. A sloppy bead lacks the cross-linking density to survive the expansion and contraction cycles of a typical home. When you apply caulk without a strategy, you are essentially gambling with the integrity of your floor leveling and the longevity of your carpet install in the hallway. I have spent twenty five years watching people treat caulk like toothpaste. It is a precision engineering component. The goal is to create a concave profile that allows for maximum elongation without adhesive failure at the edges. This requires a clean substrate, the right chemistry, and a masking technique that prevents the spread of excess material into the microscopic pores of the tile.
The ghost in the expansion gap
Expansion joints are mandatory in any installation exceeding twenty five feet in any direction according to TCNA guidelines. These gaps must remain free of hard grout to allow the floor system to breathe and shift without tenting or cracking. If you fill a change of plane with grout, it will fail. It is a mathematical certainty. The physics of 1/8 inch of movement will shred a rigid cementitious joint every time. I recall a project where the homeowner insisted on grout in the corners of a large steam shower. Six months later, the tiles were popping off the wall because the house settled and the grout acted like a wedge. We had to go back, rake out all the hard material, and replace it with a color matched 100 percent silicone. That is why the masking tape method is the only way to ensure the joint is deep enough to handle the stress while looking professional.
“A floor is only as good as the subfloor beneath it; deflection is the enemy of every joint.” – Master Flooring Axiom
Why your subfloor is lying to you
Concrete slabs and plywood subfloors are rarely flat despite what the builder claims. A floor leveling process using self-leveling underlayment is the only way to guarantee that your laminate or tile does not experience vertical deflection. Deflection is the silent killer of caulk. When you step on a tile that has a void underneath it, that tile moves downward. That downward force puts a shear stress on the caulk bead. If that bead is too thin or poorly bonded, it will unzip from the substrate. This creates a path for water. Before you even touch a roll of tape, you need to ensure the surface is stable. I have walked off jobs where the subfloor was bouncing like a trampoline because the joist spacing was wrong. You cannot fix bad framing with a tube of silicone.
The chemistry of bond breakers
Three sided adhesion is a primary cause of caulk failure because it restricts the material from stretching properly. A backer rod or bond breaker tape should be used in deep joints to ensure the sealant only sticks to the two sides of the gap. This allows the material to act like a rubber band. When you use the masking tape method, you are defining the exact boundaries of that rubber band. You are ensuring that the mil thickness of the sealant is consistent across the entire run. This consistency is what prevents localized stress points that lead to premature tearing. I prefer 100 percent silicone for any area involving water. Siliconized acrylics are fine for baseboards in a bedroom, but they shrink too much for a high moisture environment. You need the high solids content of a professional grade silicone to handle the chemistry of modern soaps and cleaners.
The 1/8 inch that ruins everything
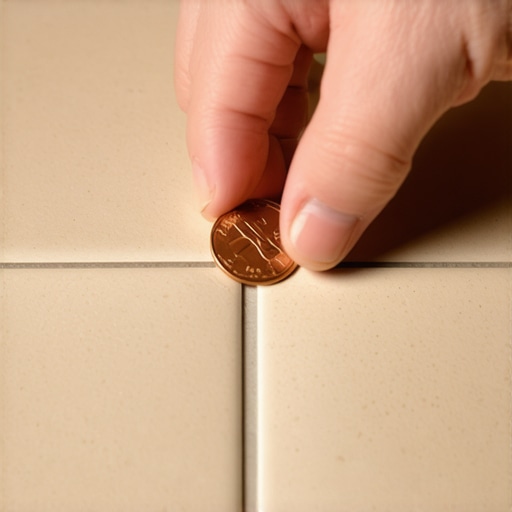
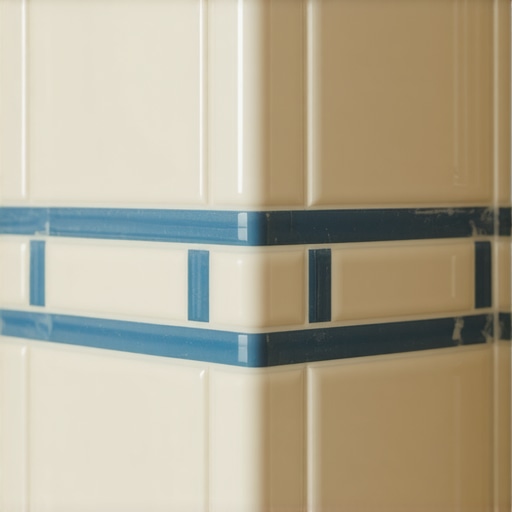
Masking tape must be applied with surgical precision to both sides of the grout line or transition. The gap between the tape lines determines the final width of the silicone bead and should be slightly wider than the joint itself. If you leave a gap that is too narrow, the caulk will be too thin to survive any structural movement. If it is too wide, it looks amateurish and collects grime. I use a high quality blue or green painter tape. Cheap masking tape leaves adhesive residue that prevents the silicone from bonding. You want to press the edges of the tape down firmly with a plastic tool or your fingernail to prevent the caulk from bleeding underneath. This is the difference between a line that looks like it was factory installed and one that looks like a DIY disaster.
| Material Type | Movement Capacity | Cure Time | Best Use Case |
|---|---|---|---|
| 100% Silicone | 25% to 50% | 24 Hours | Showers and Sinks |
| Siliconized Acrylic | 12.5% | 4 to 6 Hours | Baseboards and Trim |
| Polyurethane | 25% | 48 to 72 Hours | Exterior Expansion Joints |
| Advanced Polymer | 50% | 24 Hours | Commercial Flooring |
The mechanical ritual of tooling
Tooling the joint involves compressing the sealant into the gap to ensure maximum wetting of the bond surfaces. You should never use your bare finger if you can avoid it. The oils from your skin can contaminate the silicone and the uneven pressure of a fingertip creates a wave pattern in the bead. I use a set of dedicated caulk profiling tools with specific radii. After you apply a steady bead of material between your tape lines, you drag the tool at a consistent angle. This forces the material into the joint and lops off the excess. The beauty of the masking tape is that all that excess mess ends up on the blue paper, not on your expensive tile or your new laminate flooring.
- Clean the joint with denatured alcohol to remove all dust and oils.
- Apply high quality painter tape exactly 1/16 inch back from the edge of the joint.
- Cut the caulk tube nozzle at a 45 degree angle to match the width of the gap.
- Apply a continuous bead with steady pressure to avoid air pockets.
- Tool the bead immediately before the material begins to skin over.
- Remove the tape by pulling it away from the bead at a 45 degree angle.
- Do not touch the wet caulk for at least twelve hours.
The microscopic reality of adhesion
Surface energy and molecular bonding are the invisible forces that determine if your shower seal will last a decade or a week. When you apply silicone to a non-porous surface like glazed porcelain, the material relies on a chemical attraction. If there is even a single layer of dust or a film of hard water deposits, that attraction is severed. I have seen guys try to caulk over old silicone. It never works. Silicone does not even stick to itself very well once it is cured. You have to strip the joint down to the raw substrate. I use a sharp pull scraper and then a chemical silicone remover to get every last molecule off. Only then can you expect the new bead to survive the humidity of a bathroom. This is the same level of prep I demand for a carpet install where the tack strips must be anchored into solid, clean wood. Shortcuts are just failures in slow motion.
“Consistency in the bead profile is the hallmark of a master; variation is the mark of a novice.” – Master Flooring Axiom
The moisture trap in laminate transitions
Laminate flooring requires a specific expansion gap at the perimeter which is often covered by baseboards or quarter round. However, in areas where laminate meets a shower base or a sliding glass door, that gap must be filled with a flexible sealant. This is where most people fail. They jam the laminate tight against the transition. When the humidity rises in the summer, the floor expands and has nowhere to go. It buckles. I have seen entire living rooms lifted three inches off the subfloor because of a tight transition. You must leave the gap and then use the masking tape method to create a clean, waterproof bridge between the floor and the vertical surface. This protects the core of the laminate from water while allowing the floating floor to move as it was designed to do.
The inevitable removal of the tape
Timing the tape removal is the most critical step in the entire process to avoid jagged edges or stringing. You must pull the tape while the caulk is still wet. If you wait until it starts to cure, the tape will tear the edge of the bead and leave a mess. I pull the tape immediately after I finish tooling a single run. Do not try to tape the whole bathroom and then caulk the whole bathroom. Work in small sections. Pull the tape slowly and fold it over on itself as you go to keep the wet side from touching the walls. If you see a small peak or a ridge left by the tape edge, you can very lightly strike it with a finger dipped in a bit of glass cleaner, but only with the lightest touch imaginable.
The hidden cost of cheap materials
Big box retailers often sell economy grade sealants that have high solvent content. As these solvents evaporate, the caulk shrinks. This shrinkage pulls the material away from the edges, leading to those tiny cracks that let water through. Professional grade 100 percent silicone has almost zero shrinkage. It costs three times as much, but it saves you the thousands of dollars it costs to remediate mold in a subfloor. I tell my clients that I am not just selling them a floor. I am selling them a system. That system includes floor leveling, proper carpet install techniques, and the highest grade sealants available. If you want a floor that lasts thirty years, you don’t use five dollar caulk.
The atmospheric impact on curing
Ambient temperature and relative humidity significantly influence the cross-linking speed of silicone. In a dry climate like Phoenix, the material will skin over much faster than in a humid place like Houston. You have to adjust your speed accordingly. If you are working in a hot, dry room, your window for tooling and pulling tape might only be five minutes. In a damp basement, you might have twenty. I always check the technical data sheet for the specific batch I am using. It tells you the service temperature and the tack free time. Ignore these numbers and you will find yourself fighting a gummy mess that refuses to tool smoothly.