The ‘Water Bead’ Test for Knowing When to Reseal Your Shower Grout
Most guys skip the leveling compound. They think the underlayment will hide the dip. It won’t. I spent three days grinding concrete on a job last month just so the floor wouldn’t click like a castanet. That is the reality of this business. If you do not get the foundation right, the finished product is just a countdown to a callback. It is the same thing with showers. People look at a beautiful tile job and see the aesthetics. I look at it and see a hydraulic system that is constantly under attack by gravity and soap scum. I have seen fifteen thousand dollar bathroom remodels fail because someone forgot a simple five minute test. You can have the best floor leveling job in the world and a perfect carpet install in the adjacent bedroom, but if that shower grout fails, the subfloor is going to rot out from under you before you even know there is a leak.
The water bead test and its role in shower maintenance
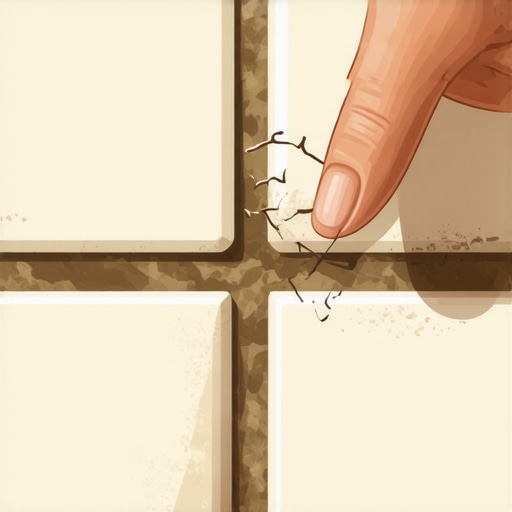
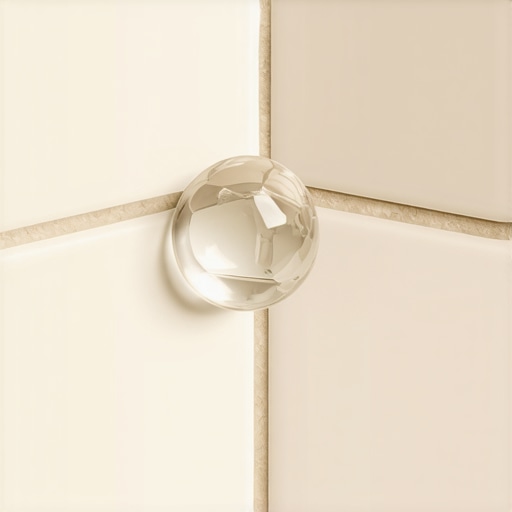
The water bead test is the primary diagnostic tool for assessing the integrity of your grout sealer. By placing small droplets of water on the grout line, you can observe the surface tension to determine if the sealer is effectively repelling moisture or if the grout is absorbing liquid. When you perform this test, you are looking for the water to sit on top of the surface like a marble. This is the behavior of a hydrophobic surface. If the grout darkens or the water disappears within a few minutes, your protection is gone. It is not just about aesthetics. It is about the structural physics of the shower pan. In my twenty five years of fixing failed tile, the culprit is almost always a lack of maintenance on the grout. Cementitious grout is a mixture of portland cement and sand. Under a microscope, it looks like a sponge. It is full of tiny pores and capillaries. Without a sealer, water travels through those capillaries through a process called wicking. Once that moisture gets behind the tile, it starts feeding mold and rotting your backer board.
The molecular reality of porous cementitious grout
Grout is a porous material composed of cement and aggregate that naturally absorbs liquids through capillary action. When left unsealed, moisture can penetrate the surface and reach the thinset or the subfloor, leading to catastrophic structural failure over several years of repeated use in high moisture environments. You have to understand that grout is not waterproof. It is water resistant at best. Even the high performance modified grouts have a level of porosity that requires attention. When I am doing a floor leveling job for a laminate or carpet install, I am worried about height. When I am in a shower, I am worried about molecules. Water molecules are incredibly small and they are polar. They want to stick to things. A good sealer changes the surface energy of the grout so the water is more attracted to itself than to the grout. This is why it beads up. If your sealer is a decade old, those chemical bonds have broken down. The mechanical wear of scrubbing the floor and the chemical wear of harsh cleaners strips the sealer away. You are left with an open door for moisture.
“Cementitious grout is inherently porous and requires a penetrating sealer to resist moisture and staining in wet environments.” – Master Flooring Axiom
The physics of water tension and sealer failure
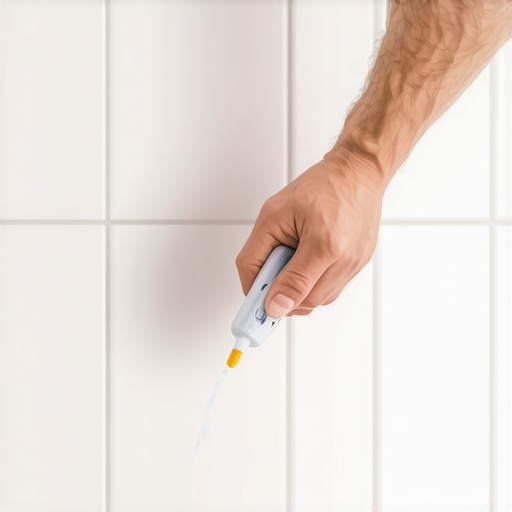
Sealer failure occurs when the hydrophobic barrier on the grout surface degrades, allowing the surface energy of the grout to exceed the surface tension of the water. This transition leads to immediate absorption and potential moisture migration into the wall cavity or the subfloor assembly beneath the tile. I have seen guys try to eyeball it. They think if the grout looks clean, it is fine. That is a mistake. I always tell my clients to keep a small spray bottle of water in the bathroom. Every few months, give the grout a squirt. If the water beads up, you are golden. If it starts to soak in, call me or get a bottle of high quality sealer. I prefer the solvent based penetrating sealers myself. They smell like a chemical plant and you need a respirator, but they get deep into the pores. The water based stuff is easier to work with, but it does not always have the same lifespan. If you are dealing with a natural stone like marble or travertine, you have to be even more careful. Those materials are just as porous as the grout. You are not just sealing the lines; you are sealing the whole face of the tile.
Comparing grout types and maintenance requirements
| Grout Type | Composition | Porosity Level | Sealing Required | Lifespan of Sealer |
|---|---|---|---|---|
| Sanded Grout | Portland Cement and Sand | Very High | Yes | 1 to 2 Years |
| Unsanded Grout | Portland Cement | High | Yes | 1 to 2 Years |
| Epoxy Grout | Resin and Hardener | Near Zero | No | Lifetime |
| Urethane Grout | Pre-mixed Polymer | Low | No | 5 to 7 Years |
As the table shows, the material you choose dictates the work you have to do later. Most builders use standard sanded grout because it is cheap and easy to install. But it is the highest maintenance option available. I always try to talk people into epoxy grout for showers, even though it is a nightmare to spread. It does not need a sealer because it is basically plastic. But if you have the standard stuff, you are on the clock. You cannot just ignore it. I have seen subfloors that were so wet they felt like wet cardboard because the homeowner thought the grout was fine for ten years without a single application of sealer. That leads to a total tear out. You are not just replacing grout at that point. You are replacing the floor leveling compound, the backer board, and the joists.
A checklist for performing the water bead test
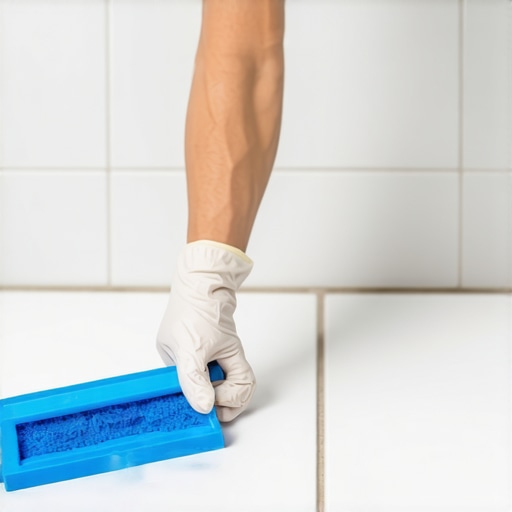
- Clean the shower thoroughly with a pH neutral cleaner to remove soap scum.
- Allow the grout to dry completely for at least twenty four hours before testing.
- Use a dropper or a spray bottle to apply clean water to several different spots in the shower.
- Wait five minutes and observe the behavior of the water droplets.
- Wipe away the water and check if the grout has darkened in color.
- Document any areas where the water was absorbed for targeted re sealing.
The impact of floor leveling on shower drainage
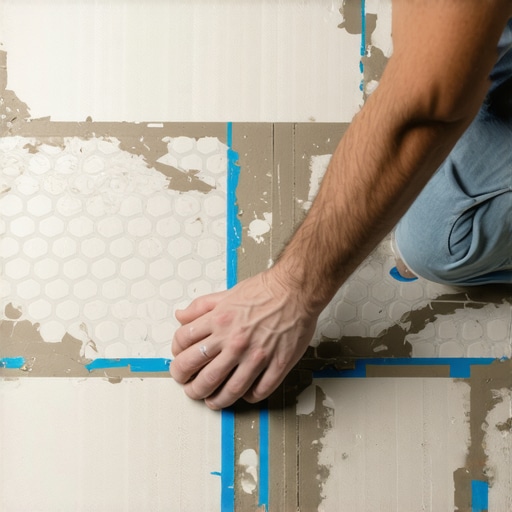
Proper floor leveling is a prerequisite for effective shower drainage and the longevity of grout sealers. If a subfloor is not level, water will pool in certain areas of the shower pan, putting localized hydrostatic pressure on the grout joints and accelerating the breakdown of the sealer. When I talk about floor leveling, people usually think about a flat floor for a laminate or carpet install. But in a shower, leveling is about creating the perfect slope. If your installer was lazy and left a birdbath in the corner, that spot is going to fail first. Standing water is the enemy. It gives the water more time to find a microscopic crack or a weak spot in the sealer. This is why I spend so much time on the prep work. If the concrete slab is not right, I am not putting tile down. I have spent days with a grinder and a vacuum just to get the substrate within the one eighth inch tolerance required by the TCNA. If the substrate is wavy, the tile will have lippage. Lippage creates edges that catch the mop and the scrub brush, wearing down the sealer on the high spots while the low spots sit in a puddle of water.
“A floor is only as good as the subfloor beneath it; deflection is the enemy of every joint.” – Master Flooring Axiom
The 1/8 inch that ruins everything
Structural deflection and substrate unevenness exceeding one eighth of an inch over ten feet can lead to grout cracking and the immediate bypass of any applied sealer. This mechanical failure allows bulk water to enter the assembly, rendering the water bead test secondary to structural repair. I have seen it a hundred times. A guy installs a beautiful shower, but the floor joists are undersized. The floor flexes every time someone steps in it. That flex is called deflection. Grout is brittle. It does not like to bend. When the floor moves, the grout cracks. Once you have a crack, a sealer is useless. You are now dealing with a structural leak. This is why I am so obsessed with the subfloor. If I am doing a laminate or carpet install in the bedroom next door, I can get away with a little bit of movement. But in a wet area, movement is a death sentence. You have to ensure the subfloor is stiff enough to meet the L over three hundred sixty standard. If it is not, you are wasting your money on sealer and tile.
The laminate and carpet install mistake near wet areas
Installing laminate or carpet directly adjacent to a shower without a proper moisture transition or a zero threshold drainage system often leads to perimeter rot and subfloor degradation. These materials are highly sensitive to the humidity and occasional spills that occur when a shower grout system begins to fail. I hate seeing carpet right up against a bathroom door. It is a recipe for disaster. The carpet acts like a wick for any moisture that escapes the bathroom. If the shower grout is leaking, that moisture travels under the tile and into the carpet padding. You will not even see it until the smell starts. Laminate is even worse. Most laminate is just compressed sawdust with a picture of wood on top. If it gets wet from a failing shower, it will swell up like a sponge and ruin the whole floor leveling job you just paid for. You need a solid transition, usually a marble or granite threshold, that is properly caulked. This creates a dam that keeps the bathroom moisture where it belongs. If you do not have that, the water bead test is your only line of defense against ruining the rest of your house.