Why Your Tile Grout Is Cracking in the Corners
I spent three days grinding concrete on a job last month just so the floor wouldn’t click like a castanet. Most guys skip the leveling compound. They think the underlayment will hide the dip. It won’t. When I walk into a bathroom where the homeowner is complaining about grout lines crumbling in the corners of their showers or where the floor meets the baseboard, I already know what I am going to find. It is never just a bad batch of grout. It is a failure of physics and a total disregard for structural movement. A floor is a living, breathing mechanical system. If you treat it like a static painting, it will break. Most people think tile is indestructible, but it is actually brittle. It has zero tensile strength. When the house settles or the humidity spikes, that tile wants to move. If you have locked it into a corner with rigid cement, something has to give. Usually, it is the grout joint that shatters into a million pieces.
The ghost in the expansion gap
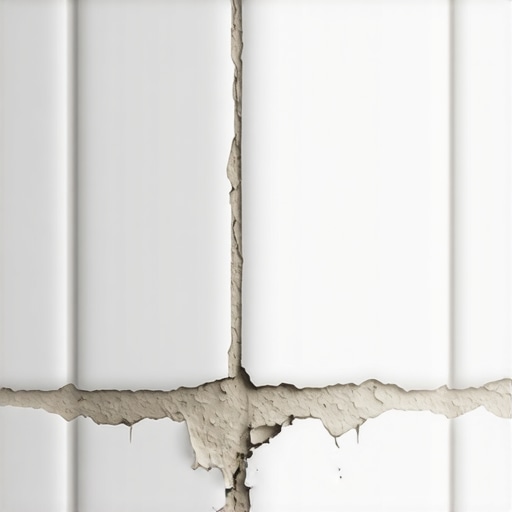
Tile grout cracks in corners because of differential movement between two planes. When a floor meets a wall, they move at different rates due to settling, temperature, or moisture changes. Rigid grout cannot handle this stress, leading to hairline fractures or total crumbling at the joint. This is the primary reason the Tile Council of North America (TCNA) mandates that all changes of plane must be treated as movement joints. You cannot just shove cement into a 90 degree angle and expect it to stay there. The floor is sitting on joists that flex. The wall is attached to studs that shrink as they dry out. These two surfaces are dancing in different directions. If you do not provide a soft joint, you are basically asking the grout to hold the house together. It is not designed for that. I see this mistake in 90 percent of DIY showers and even in high end new builds where the installers were rushing to get to the next paycheck. They ignore the movement joint because it is faster to just grout the whole thing and leave. Six months later, the homeowner is looking at a crack that lets water seep into the wall cavity, rotting out the studs and creating a mold farm.
Why your subfloor is lying to you
A subfloor might look flat but can still suffer from excessive deflection. If the joists are spaced too far apart or the plywood is too thin, the floor flexes under weight. This vertical movement snaps the grout bonds in the weakest spots, which are usually the corners. Deflection is the silent killer of tile installations. We measure this using the L over 360 standard for ceramic and L over 720 for natural stone. This means the floor should not bend more than the length of the span divided by 360. If you are standing on a floor and you can feel the china cabinet rattle when you walk by, your grout is going to crack. It does not matter how expensive your thin-set was. I have seen guys try to fix this by adding more grout, but that is like putting a band-aid on a broken leg. You have to address the floor leveling and the structural rigidity first. If the subfloor is bouncing, the tile is moving. If the tile is moving, the grout is cracking. This is why carpet install or laminate can sometimes hide sins that tile will expose in a heartbeat. Laminate is a floating system. It does not care if the floor moves a bit. Tile is a bonded system. It cares about every millimeter of movement.
“A floor is only as good as the subfloor beneath it; deflection is the enemy of every joint.” – Master Flooring Axiom
The chemistry of the bond failure
Grout failure at the molecular level often stems from improper hydration or the use of non-modified cements in high-stress areas. When water evaporates too quickly from the grout mixture, it leaves behind microscopic voids that weaken the overall structure and make it susceptible to cracking. Portland cement grout is a crystalline structure. As it cures, it forms a matrix that locks the tiles together. However, if the tile is highly porous and sucks the water out of the grout before it can cure, or if the installer used too much water in the bucket, that matrix is compromised. In corners, where the grout is often applied thicker to hide gaps, the shrinkage is more pronounced. This is why I always tell people to look at the chemistry. Modern high-performance grouts use polymers to increase flexibility and reduce porosity, but even these have limits. They are not rubber. They are still cementitious. If you have a corner joint that is cracking, it is a sign that the shear forces at that junction have exceeded the bond strength of the material. You are trying to fight geology with a bucket of sand and lime.
The shower pan failure sequence
Showers are particularly vulnerable to corner cracking because of the extreme temperature swings and constant moisture exposure. The expansion and contraction of the waterproofing membrane and the tile itself create constant stress on the corner joints that rigid grout cannot survive. I have torn out showers where the grout looked fine in the middle of the wall but was completely missing in the corners. Beneath that missing grout, the thin-set was saturated. This is a recipe for disaster. When you are doing a shower install, you have to realize that the heat from the hot water causes the tiles to expand. When the water turns off, they contract. This thermal cycling is like a hammer hitting the grout joints over and over. If you do not have a 100 percent silicone sealant in those corners, you are failing the installation. I do not mean siliconized acrylic caulk from the discount bin. I mean 100 percent architectural grade silicone that matches the grout color. It stays flexible for decades. It stretches when the house moves and compresses when the tiles expand. It is the only way to ensure a watertight seal in a change of plane.
| Material Type | Flexibility Rating | Water Resistance | Best Application |
|---|---|---|---|
| Standard Sanded Grout | Very Low | Moderate | Main floor fields |
| Polymer-Modified Grout | Low | High | High traffic floors |
| Epoxy Grout | Medium | Maximum | Commercial kitchens |
| 100 Percent Silicone | Maximum | Maximum | Corners and wet areas |
The 1/8 inch that ruins everything
Proper joint sizing is the most overlooked aspect of flooring. A joint that is too narrow cannot hold enough material to withstand structural movement, while a joint that is too wide is prone to excessive shrinkage and cracking during the curing process. I see people trying to do 1/16 inch joints on large format tiles because they want that seamless look. They are setting themselves up for a nightmare. The smaller the joint, the less room there is for movement. If you have a massive 24 by 48 inch porcelain tile, that piece of clay is going to expand when it gets warm. If the grout joint is tiny, all that pressure is concentrated on a very small area. In a corner, this pressure has nowhere to go but out, which pops the grout right out of the joint. You need at least an 1/8 inch joint for most installations to allow the grout to do its job. And in the corners, you need that same gap to be filled with something that can actually move. If you cram your tiles tight into the corner with no gap at all, you are creating a pressure point that will eventually crack the tile itself, not just the grout.
“Movement joints are not optional; they are the difference between a lifetime floor and a five-year failure.” – TCNA Technical Manual
A checklist for a permanent fix
- Verify that the subfloor meets L/360 deflection standards before any tile is laid.
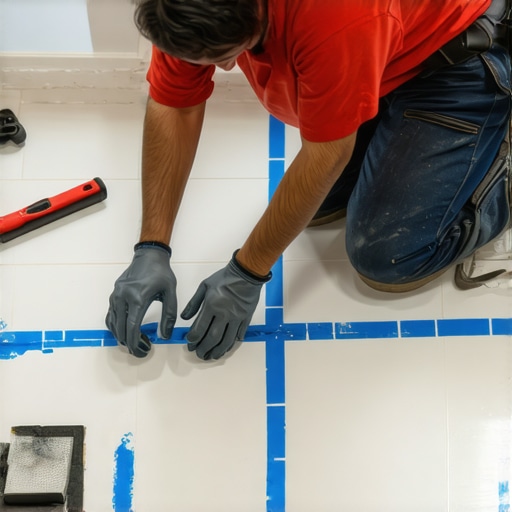
- Ensure all changes of plane have a minimum 1/8 inch gap for movement.
- Use a high-quality floor leveling compound to eliminate dips and humps.
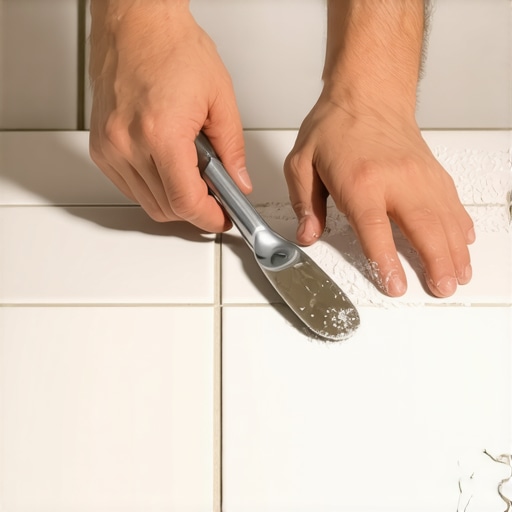
- Remove all old, cracked grout from corners using a multi-tool or hand saw before repairing.
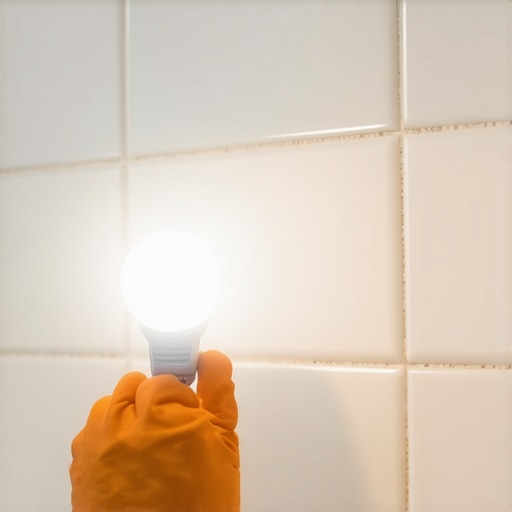
- Vacuum the joints thoroughly to ensure the new sealant has a clean bond surface.
- Apply a 100 percent silicone sealant that matches your grout color in all vertical and horizontal corners.
- Allow the silicone to cure for at least 24 hours before exposing it to moisture.
The regional reality of humidity
In places like Houston or New Orleans, the humidity is a constant battle for a floor installer. The wood subfloors in these regions are constantly expanding and contracting as the seasons change. If you are installing tile in a swampy climate, you better be using a high-quality uncoupling membrane. These membranes allow the tile to move independently from the subfloor. Without it, the moisture in the air will cause the plywood to swell, and that force will travel right up through the thin-set and shatter your grout lines. I have seen guys try to skip the membrane to save a few bucks, but in a high-humidity environment, that is a death wish for your floor. You are essentially building a house on a shifting foundation. The same logic applies to showers. The moisture level behind the tile is always higher than the air in the room. This vapor pressure wants to push out. If your grout is the only thing stopping it, and that grout is cracked, you are going to have a saturated wall assembly in no time.
Final technical requirements for longevity
Fixing cracked grout is not about buying a better grout. It is about understanding that grout was never meant to be a structural adhesive. It is a filler. When you see those cracks, stop looking at the bag of grout and start looking at the framing. Check for bounce in the floor. Check for missing expansion joints. If you find that the grout is cracking because the installer didn’t leave a gap at the perimeter, you have to cut that gap in. Use a toe-kick saw or a dremel to create that space. Once the floor has room to breathe, the cracking will stop. Then, and only then, can you go back in with your color-matched silicone and finish the job right. Professional flooring is about managing movement. It is about knowing that the house is going to shift and planning for it before you ever mix a single bucket of mud. If you ignore the physics, the physics will eventually ignore your design and break your floor. It is as simple as that. Respect the change of plane, manage your deflection, and use the right chemistry for the job. That is how you build a floor that lasts a century instead of a season.