Why Your Floor Leveler Is Bubbling Like a Science Project
Most guys skip the leveling compound. They think the underlayment will hide the dip. It won’t. I spent three days grinding concrete on a job last month just so the floor wouldn’t click like a castanet. I have seen a lot of disasters in twenty five years of flooring, but nothing quite matches the frustration of pouring three hundred dollars of self-leveling underlayment only to watch it turn into a lunar landscape of tiny craters and popping bubbles. It looks like a science project gone wrong. You smell the wet cement, you feel the humidity rising in the room, and you know the next eight hours will be spent with a diamond grinder fixing a mistake that should have never happened. If you want a floor that actually stays flat and quiet, you have to understand the physics of the pour. Flooring is not a cosmetic layer. It is a structural engineering challenge that starts at the molecular level of the substrate.
The chemistry of the outgassing disaster
Bubbles in self-leveling underlayment occur because of outgassing from a porous substrate where air trapped in the concrete pores escapes as the wet compound enters. When you pour a liquid cementitious product over a dry, porous slab, gravity pulls the liquid down into the microscopic voids of the concrete. As the liquid goes in, the air must come out. This air travels upward through the viscous leveler. If the leveler has already begun its initial set or if the surface tension is too high, the air remains trapped as a bubble. When the bubble eventually pops, the leveler is too thick to flow back into the hole, leaving a pinhole or a crater. This is a sign of a failed prep stage. Concrete is essentially a hard sponge. If you do not seal the pores of that sponge before you pour, the air will fight you every single time. It is a battle of pressure and displacement that the air always wins if you are lazy with your primer.
Why a primer is non-negotiable
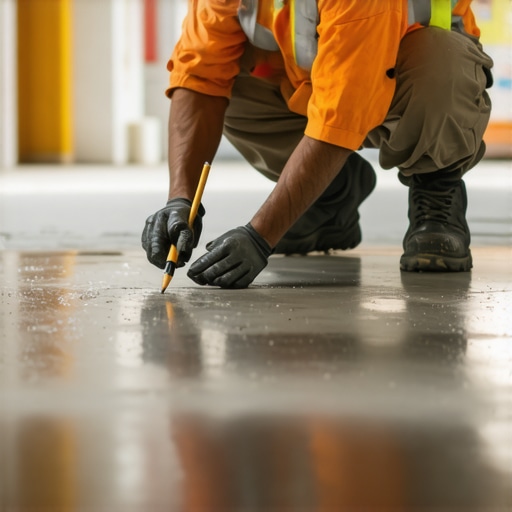
Priming the concrete slab seals the pores and prevents air from escaping into the wet leveler while improving the chemical bond between the old and new material. Think of primer as the gatekeeper. It penetrates the surface of the slab and creates a film that stops the air flow. I have seen installers try to use watered-down wood glue or even just plain water to prep a floor. That is a recipe for a callback that will cost you your profit. A high-quality acrylic or epoxy primer is necessary to handle the high pH of the concrete and the weight of the leveler. Without it, the dry concrete will suck the moisture out of your leveler too fast. This causes the compound to crack, curl, and delaminate. You need that moisture to stay in the mix so the polymers can cross-link properly. If the water leaves the leveler before the chemical reaction is complete, the floor will be brittle. I always tell my crew that if the slab is not shiny from primer, do not even touch the mixing bucket.
“A floor is only as good as the subfloor beneath it; deflection is the enemy of every joint.” – Master Flooring Axiom
The moisture trap in the slab
Moisture vapor transmission from the subfloor can push air and water through the leveler if the slab has not reached an acceptable relative humidity level. Even if you prime perfectly, a slab with a high moisture content will cause issues. You need to use a calcium chloride test or an in-situ probe to check the moisture levels. If the slab is emitting more than three pounds of vapor per thousand square feet, you are in trouble. This vapor pressure acts like a slow-motion volcano. It pushes against the bottom of your leveler. If the leveler is not rated as a moisture barrier, it will eventually bubble or flake off. This is especially true in a shower where the constant presence of water creates a saturated environment. You must ensure the slab is dry and the ambient humidity is controlled before you ever start mixing. If you ignore the moisture, the floor will fail within six months.
Mixing ratios and the vortex effect
Correct mixing ratios and low-speed agitation are vital to prevent air entrainment within the leveler mix itself which leads to surface bubbling. Most guys use a high-speed drill and a standard mud paddle. That is a mistake. A high-speed drill at 1000 RPM acts like a whisk, folding air into the cement. You want a low-speed, high-torque mixer around 650 RPM. You should use a heavy-duty egg-beater style paddle that stays submerged. If you lift the paddle out of the liquid while it is spinning, you create a vortex that sucks air into the bucket. That air stays in the mix and ends up on your floor. You also need to follow the water-to-powder ratio exactly. If you add too much water, you get a weak surface and segregation. If you add too little, the mix won’t flow, and the bubbles will never escape. Precision is the difference between a glass-smooth floor and a gritty mess.
| Substrate Condition | Primer Requirement | Max Thickness Per Lift | Drying Time for Laminate |
|---|---|---|---|
| Porous Concrete | 2 Coats Acrylic | 1.5 Inches | 24 Hours |
| Non-Porous Tile | 1 Coat Epoxy | 0.5 Inches | 48 Hours |
| Plywood Subfloor | Reinforced Primer | 0.75 Inches | 36 Hours |
The 1/8 inch that ruins everything
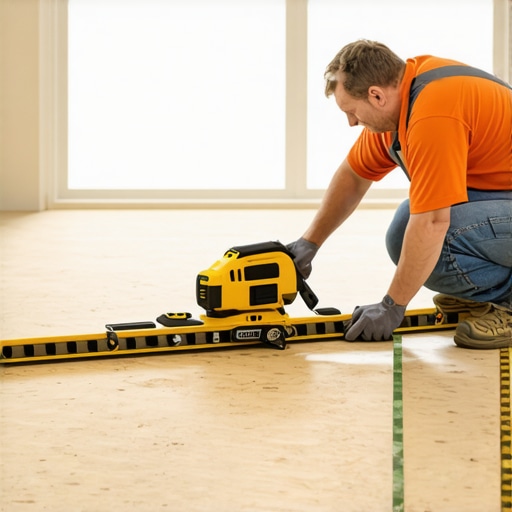
Leveling a subfloor to within one eighth of an inch over a ten foot radius is required by most flooring manufacturers to prevent joint failure. If your floor has a dip deeper than this, a floating laminate or LVP floor will flex every time you step on it. That flex is what causes the clicking sound homeowners hate. It also puts immense stress on the locking mechanism. Eventually, the plastic tongue will snap, and the boards will separate. I have seen $10,000 laminate jobs ruined because the installer thought a thick foam underlayment would bridge a quarter-inch gap. It won’t. The underlayment compresses, the floor sinks, and the joint breaks. You have to fill those voids with a high-strength leveler before the flooring goes down. Do not trust the underlayment to do the work of the leveler. It is a different tool for a different job.
Shower pans and the slope requirement
Proper floor leveling in showers requires a precise slope of one quarter inch per foot toward the drain to ensure adequate drainage and prevent mold. While we often talk about making floors flat, in a shower, we are making them perfectly un-flat. If the leveler is not handled correctly here, you get birdbaths. These are small depressions where water sits and never drains. Over time, that standing water will eat through the grout and cause the thin-set to fail. You need a stiff, polymer-modified mortar for the pre-slope. If you use a self-leveler in a shower area, it must be specifically rated for wet environments. Most standard levelers will turn back into mush if they are constantly saturated. You must read the bag. If it does not say it is for submerged use, keep it in the hallway.
“Every tile installation is a system where the substrate must be rigid and the adhesive must be compatible with both the tile and the base.” – TCNA Handbook Insight
Carpet install over a failed pour
Installing carpet over a bubbled or pitted leveler leads to premature wear of the carpet pad as the grit from the failed surface acts as an abrasive. People think carpet is forgiving. It is not. If your leveler has popped bubbles and craters, those sharp edges will eventually grind against the bottom of the carpet pad. Every time someone walks across the room, the pad is being sanded down from the bottom. Within a year, you will see fine gray dust coming up through the carpet fibers. That is your floor leveler turning back into sand. You need a smooth, solid surface even for soft goods. If your leveler failed, you have to scrape it down and skim coat it with a feather-finish patch before the tack strips go down. Do not hide your mistakes under a pad and hope for the best.
- Check the slab for moisture using an RH probe.
- Grind the surface to a Concrete Surface Profile of 3.
- Vacuum every speck of dust before priming.
- Apply primer and let it get tacky but not dry.
- Mix the leveler at exactly the RPM suggested by the manufacturer.
- Use a spiked roller to help release any remaining air bubbles.
The ghost in the expansion gap
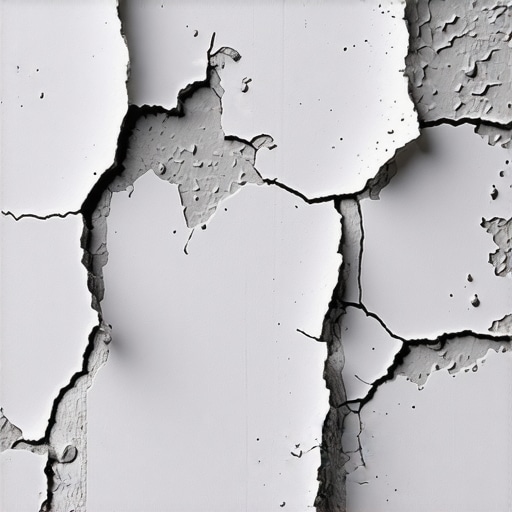
Expansion gaps at the perimeter of the room allow the new leveler and the finished floor to move independently of the walls to prevent buckling. I see guys pour leveler right up against the drywall all the time. That is a mistake. The leveler and the slab move differently than the wood framing of the house. You need to use foam expansion strips around the perimeter. If the leveler locks the floor to the walls, the whole system will crack when the seasons change. The dry winter air shrinks the wood while the summer humidity expands it. If there is no gap, something has to give. Usually, it is the bond between the leveler and the slab. You will hear a loud pop one night, and suddenly your floor has a hollow spot the size of a dinner plate. That is the sound of your hard work detaching because you didn’t leave a quarter-inch of breathing room. Use the foam strips. They are cheap insurance against a total failure.