Why Your Floor Leveler Is Bubbling Like a Science Project
Why Your Floor Leveler Is Bubbling Like a Science Project
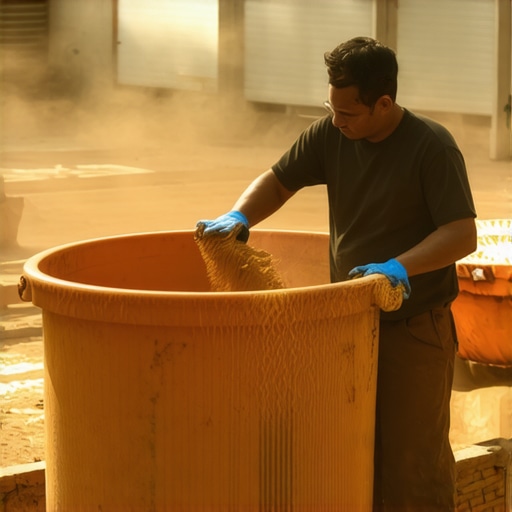
Most guys skip the leveling compound. They think the underlayment will hide the dip. It won’t. I spent three days grinding concrete on a job last month just so the floor wouldn’t click like a castanet. I once walked into a house where a $15,000 wide-plank walnut floor was cupping so bad it looked like a potato chip because the installer didn’t check the crawlspace humidity. Most homeowners think they can just dump a bag of self-leveling underlayment onto the floor and walk away. When they come back and see a surface that looks like the moon, they panic. Those bubbles aren’t just an eyesore. They are structural failures in the making. If you have sawdust under your nails, you know that the subfloor is the only thing that matters. The rest is just jewelry. I have seen laminate floors snap at the tongue and groove because a single air bubble created a void the size of a nickel. That is a failure of physics, not the product. We are going to look at why your subfloor is betraying you and how to stop the air from ruining your installation.
The invisible oxygen trap within your slab
Floor leveler bubbles because of outgassing from porous concrete or wood subfloors. When the wet, dense leveling compound is poured over a dry and unprimed surface, the air trapped within the microscopic pores of the substrate is forced out. As this air rises through the liquid leveler, it creates surface bubbles and pinholes. This process is known as outgassing. Concrete is a sponge. It may look solid, but it is a network of capillaries and voids. When you introduce a liquid, the air must go somewhere. If the surface is not sealed, that air moves up. This ruins the bond. It creates a brittle surface. A floor is only as good as the subfloor beneath it. You cannot ignore the physics of the pour. If you see bubbles, your primer failed or was never there to begin with.
“A floor is only as good as the subfloor beneath it; deflection is the enemy of every joint.” – Master Flooring Axiom
The chemical betrayal of cheap primer
Primer acts as a vital sealant to prevent air from escaping the subfloor into the leveler. If the primer is over-diluted or applied to a dirty surface, it will not form the necessary film to block outgassing. Many installers treat primer as an afterthought, but it is the chemical bridge between your old floor and your new one. Without a proper film, the water in your leveler is sucked into the slab too fast. This causes the leveler to dry prematurely and trap air. You need a primer that is compatible with your specific leveling compound. Using a different brand is a gamble. The polymers must match. If you are working in a high-humidity area like Houston, the moisture in the air can even affect how that primer skins over. You need to wait for it to be tacky, not wet, and certainly not bone dry and dusty. Dirty floors kill primer. If there is drywall dust or oil, the primer sits on top like water on a waxed car. Then the bubbles start.
The high speed drill of destruction
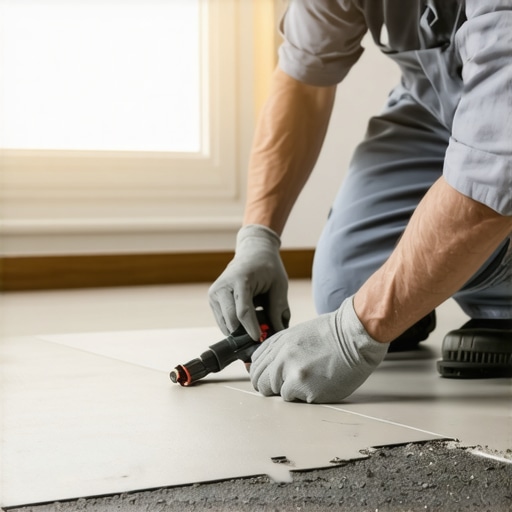
Mixing floor leveler at too high an RPM introduces mechanical air into the bucket. If you use a standard high-speed drill rather than a low-RPM specialized mixer, you are essentially whipping the compound like a meringue. This entrained air stays in the slurry when you pour it. Those bubbles do not always rise to the top before the product sets. This creates a honeycomb structure inside your floor. It looks flat, but it is hollow. When you walk on it, or when you place a heavy appliance like a refrigerator on it, the leveler will crush. Use a paddle designed for leveler. Do not lift the paddle in and out of the mix while the drill is spinning. That pulls air into the vortex. Slow and steady is the rule. If you see foam on top of your bucket, you have already lost the battle. Let it sit for a minute to de-air, but not so long that you lose your pot life.
| Leveler Property | Cementitious Compound | Gypsum Based Compound |
|---|---|---|
| Drying Shrinkage | Low to Moderate | Minimal |
| Compressive Strength | 4000 to 6000 PSI | 2000 to 3000 PSI |
| Best Use Case | General Subfloors | Radiant Heat Systems |
| Moisture Resistance | High | Low |
The humidity factor in local climates
Regional weather patterns dictate how your leveling compound will react during the hydration process. In a swampy climate, the evaporation rate slows down, which can lead to the leveler staying in a liquid state longer. This gives more time for outgassing to occur. In a dry desert climate, the surface can skin over too fast, trapping bubbles underneath a hard crust. You have to adjust your water ratio within the manufacturer guidelines. Never exceed the water limit. It is tempting to make it runnier to help it level, but extra water creates weak spots. The chemistry of the bond depends on the exact ratio of water to polymer. When the water evaporates, it leaves behind a crystalline structure. Too much water means too many gaps in that structure. This is how you get cracks that look like a map of the desert. If you are prepping for a shower install, moisture management is even more vital. The leveler must be rated for wet areas, or it will turn back into mud once the tile is down.
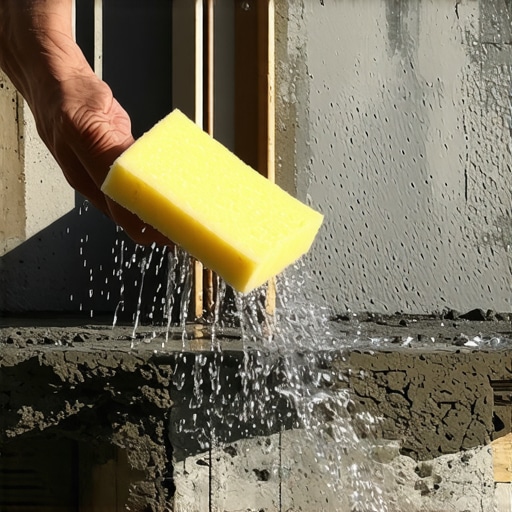
- Vacuum the floor twice to remove every speck of dust.
- Apply the primer with a soft-bristle brush to work it into the pores.
- Wait for the primer to become translucent and tacky.
- Mix only with cold, clean water.
- Use a spiked roller to help release any remaining air bubbles after pouring.
- Maintain a consistent room temperature to avoid thermal shock.
Why carpet and laminate won’t hide your sins
Soft or floating floor coverings like carpet and laminate will telegraph subfloor imperfections over time. People think a thick carpet pad will hide the craters left by bubbles. It might for a month. Eventually, the traffic patterns will cause the pad to compress into the holes. You will see those dimples. With laminate, the problem is worse. Laminate is a floating system. It needs a flat surface to maintain the integrity of the locking joints. If there is a bubble or a void under a seam, every step will cause the joint to flex. Eventually, the plastic or HDF tongue will snap. Then you have a gap. That gap will collect dirt. It will catch the edge of a sock. The floor is ruined. You cannot fix a bad subfloor from the top down. You have to fix it from the bottom up. Even a carpet install requires a flat plane. If the floor is wavy, the carpet will develop ripples that no power stretcher can remove. You are building a foundation. Treat it like one.
“Surface preparation is not a suggestion; it is the physical requirement for a lasting bond.” – TCNA Handbook Principle
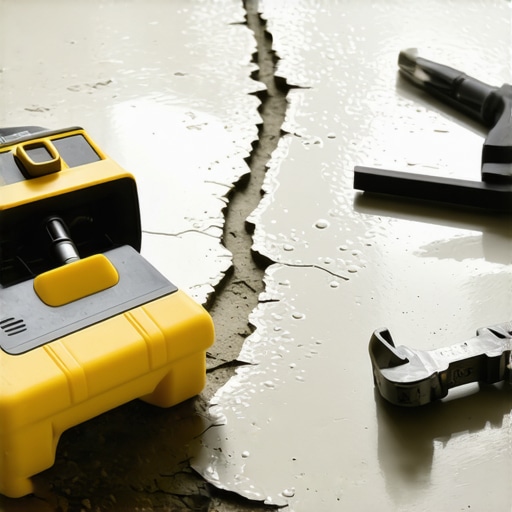
The 1/8 inch that ruins everything
Precision in floor leveling is measured in 1/8 inch increments over a ten foot radius. This is the industry standard for most hardwood and large format tile. If your leveler has bubbles that are 1/16 of an inch deep, you have already failed the tolerance test. You will need to skim coat the entire surface again. This is a waste of time and money. I see guys try to sand down the bubbles. That just opens up more pores. You need to prevent them from the start. Use a spiked roller. It is a simple tool that looks like a medieval mace. You roll it through the wet leveler and it breaks the surface tension. This allows the air to escape. It also helps the leveler blend between different pours. If you are doing a large room, you need a team. One guy mixes. One guy pours. One guy rolls. If you try to do it alone, the first bag is drying by the time you pour the third. That creates cold joints. Cold joints are where the floor will crack. The physics of the pour demand speed and coordination.
The structural reality of shower prep
Leveling a shower subfloor requires specific products that can handle constant saturation. If your leveler bubbles in a shower pan, those voids will collect water. This leads to mold. It leads to the failure of the waterproofing membrane. You need to use a cementitious leveler that is specifically rated for submerged environments. Do not use gypsum-based products in a bathroom. They will disintegrate. When you pour in a shower, the pitch is everything. Bubbles can ruin the slope. If a bubble creates a flat spot or a birdbath, the water will not drain. You will have standing water under your tile forever. This is why professional installers are so obsessed with the prep. It is not about how the tile looks on day one. It is about how the shower smells in year five. Clean, prime, mix, pour, and roll. That is the only way to ensure the science project stays in the lab and out of your house. Skip a step and you might as well throw your money out the window. Flooring is a trade of discipline. The bubbles are just nature telling you that you missed a spot.