The ‘Dollar Bill’ Test for Laminate Expansion Gaps Behind Baseboards
Why your floating floor is a living organism
Laminate flooring expansion gaps are non-negotiable because the high-density fiberboard core remains reactive to atmospheric moisture levels and temperature fluctuations. These planks are composed of compressed cellulose fibers and resins that swell when the relative humidity rises. If the floor is pinned by baseboards or cabinets, it cannot move, leading to buckling and joint failure. Homeowners always ask why their waterproof vinyl or laminate is buckling. Usually, it is because they locked it under a heavy kitchen island or pinned it with trim, killing the floor’s ability to breathe. I have spent decades watching expensive planks turn into mountain ranges because an installer thought a tight fit looked better than a functional one. A floor is not a static object. It is a shifting, sliding mechanism that requires a buffer zone at every vertical obstruction. If you deny it that space, the physics of expansion will find a way out, usually by snapping the tongues and grooves that hold your floor together.
“A floor is only as good as the subfloor beneath it; deflection is the enemy of every joint.” – Master Flooring Axiom
The physics of the dollar bill test
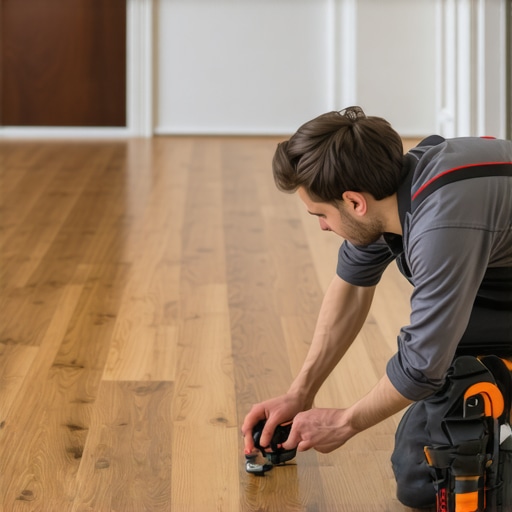
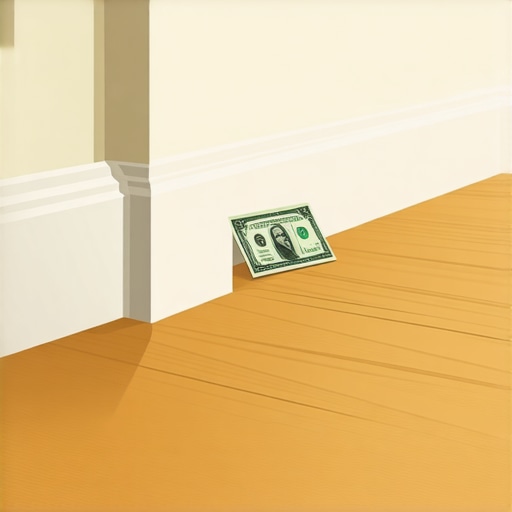
The dollar bill test is the industry standard for determining if a baseboard installation is too tight for a floating floor system. You should be able to slide a single US dollar bill between the bottom of the trim and the top of the laminate without significant resistance. This gap ensures that the vertical pressure of the baseboard does not create enough friction to prevent the floor from sliding during seasonal contraction. If the bill gets stuck, your floor is pinned. This is a death sentence for the locking mechanism. When the floor tries to shrink in the winter, it will pull against that friction point. If the friction is greater than the strength of the HDF core, the joint will separate. You will see gaps in the middle of your room and wonder why. It is not the floor’s fault. It is the trim’s fault. Professionals understand that the baseboard should float just a hair above the surface, hiding the expansion gap while allowing the planks to move underneath.
The hidden danger of floor leveling errors
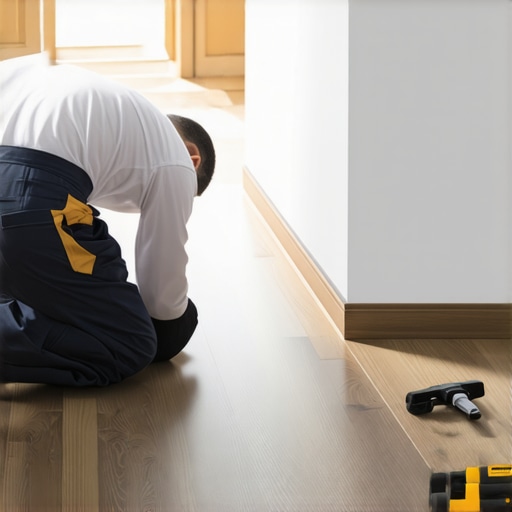
Proper floor leveling is the most ignored phase of a professional laminate installation because it is labor intensive and expensive. Most guys skip the leveling compound. They think the underlayment will hide the dip. It won’t. I spent three days grinding concrete on a job last month just so the floor wouldn’t click like a castanet. If the subfloor flatness exceeds 1/8 inch over a 6 foot radius, the planks will flex every time you step on them. This movement creates a pumping action that forces air and moisture through the joints. Over time, this stress fractures the click-lock system. You cannot fix a dip with extra padding. Too much cushion actually causes the locking mechanisms on laminate to snap under pressure. You need a solid, flat foundation. Using a calcium aluminate self-leveling underlayment is the only way to ensure the long-term integrity of the installation. The chemistry of these compounds allows for high compressive strength and rapid drying times, which is essential when you are trying to stay on a tight construction schedule.
| Metric | Standard Requirement | Reasoning |
|---|---|---|
| Expansion Gap | 1/4 inch to 3/8 inch | Hydroscopic movement of HDF core |
| Subfloor Flatness | 3/16 inch per 10 feet | Prevents joint deflection and breakage |
| Relative Humidity | 35% to 55% | Optimal range for wood fiber stability |
| Acclimation Time | 48 to 72 hours | Core temperature and moisture equalization |
Laminate limitations near showers and wet zones
Installing laminate in bathrooms or near showers requires a specific understanding of hydrostatic pressure and topical moisture. Even if a product is marketed as waterproof, the perimeter expansion gap remains a vulnerability. Water can seep behind the baseboards and sit in the gap, where it is absorbed by the raw edges of the fiberboard core. This causes edge swelling that can never be reversed. To mitigate this, you must use a 100% silicone sealant in the expansion gap in wet areas. This provides a flexible, water-resistant barrier that still allows for plank movement. Never use caulk, as it will harden and pin the floor just like a nail would. The chemistry of the silicone is vital here. You need a non-corrosive, neutral-cure silicone that won’t degrade the wear layer or the underlayment. If you see water pooling near your trim after a shower, it is a ticking time bomb for your laminate.
Managing the carpet install transition
A carpet install meeting a laminate floor is a common source of tripping hazards and structural failure if handled incorrectly. You cannot just butt the carpet against the laminate. You need a transition strip or a Z-bar to protect the edge of the planks. The Janka hardness scale reminds us that while laminate is durable, its edges are brittle. If the carpet tack strip is placed too close to the laminate, the tension from the carpet stretch can pull the transition out of alignment. I always leave a 1/2 inch gap between the laminate edge and the tack strip. This allows for a clean tuck and roll finish that hides the raw edge of both materials. If you are dealing with high-pile carpet, you might need a reducer molding to manage the height difference. The goal is a transition that is flush and secure, preventing the laminate from shifting laterally into the carpeted space.
The molecular reality of wood fiber expansion
At the molecular level, the wood fibers in your laminate are bundles of cellulose and lignin. These molecules have hydroxyl groups that attract water molecules through hydrogen bonding. When the air becomes humid, the fibers suck in water and physically expand. In a 20 foot room, a 1% increase in moisture content can translate to a 1/4 inch increase in total floor width. This is why the dollar bill test is so vital. If the floor is restricted by even 1/16 of an inch, the internal compressive stress becomes immense. The floor will choose the path of least resistance, which is upward. This results in peaking, where the joints push against each other and lift off the subfloor. No amount of weight will push a peaked floor back down. You have to remove the trim, cut the planks to restore the expansion gap, and pray the locking tabs haven’t been permanently deformed.
- Check the subfloor for moisture using a pinless meter before starting.
- Ensure the room temperature stays between 60 and 80 degrees Fahrenheit.
- Verify that the expansion gap is maintained at all door casings and transition points.
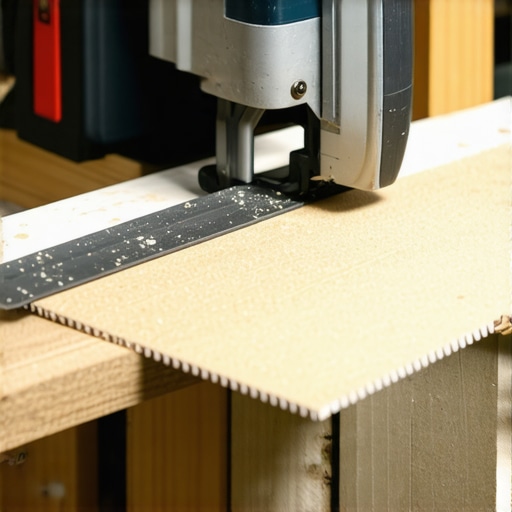
- Use a tapping block and a pull bar to avoid damaging the brittle tongues.
- Test the baseboard height with a dollar bill at 3 foot intervals.
“Expansion is not a suggestion; it is a law of physics that will destroy your reputation if you ignore it.” – NWFA Technical Manual
The 1/8 inch rule that keeps joints alive
Vertical movement is the silent killer of click-lock flooring. When you walk across a floor with a dip in the subfloor, the joint undergoes shear stress. The tongue is forced downward while the groove is held in place by the adjacent plank. If this movement exceeds 1/8 inch, the mechanical bond will fail. This is why floor leveling is more important than the quality of the laminate itself. I have seen cheap 8mm laminate last twenty years on a perfectly flat slab, and I have seen premium 12mm planks fail in six months on a wavy subfloor. You must treat the subfloor like a structural engineering project. Use a 10 foot straightedge to identify high spots and low spots. Grind the high spots and fill the low spots. There are no shortcuts here. If you think the padding will save you, you are wrong. The padding is there for acoustic dampening and thermal resistance, not to compensate for a poor foundation.