How to Remove Dried Floor Leveler from Your Expensive Bucket
The physics of the bond between cementitious underlayment and plastic
Most guys skip the leveling compound. They think the underlayment will hide the dip. It won’t. I spent three days grinding concrete on a job last month just so the floor wouldn’t click like a castanet. That job taught me the value of a clean tool. When you are dealing with self-leveling underlayment, or SLU, you are dealing with a complex chemical soup of Portland cement, calcium aluminate, and polymer resins. Once that mixture hydrates and undergoes its exothermic reaction, it forms a mechanical bond with the high-density polyethylene of your bucket. If you let it dry, you are not just looking at a mess, you are looking at a compromised tool that will ruin your next batch of material. A dirty bucket introduces old, cured chunks into a fresh mix. Those chunks become focal points for structural failure in your floor. They cause the mixer to drag. They create lumps that telegraph through a laminate floor or cause a carpet install to feel like you are walking on gravel. Professional buckets are expensive because they are designed to withstand the torque of a high-power mixer. Tossing one in the trash because of a little dried mud is a rookie move that eats your profit margins. To save the tool, you have to understand the microscopic reality of the bond.
The molecular betrayal of polymer modified cement
Dried floor leveler sticks to mixing buckets because the polymer additives create a chemical bridge between the cementitious matrix and the HDPE plastic. To remove it, you must break the mechanical bond through vibration, thermal expansion, or chemical softening without compromising the structural integrity of the bucket walls.
When you mix a bag of high-end leveler, you are activating polymers like Ethylene-Vinyl Acetate. These molecules are designed to find any texture and grip it. Even though a plastic bucket feels smooth to your hand, at a microscopic level, it is full of valleys. The leveler flows into these valleys and hardens. This is why a simple rinse does not work once the material reaches its initial set. You are fighting physics. The cured leveler has a much higher compressive strength than the plastic. This disparity is actually your greatest advantage. The bucket is flexible, but the dried leveler is brittle. If you can deform the bucket enough, the bond will snap. I have seen guys try to use a chisel and end up puncturing a twenty-dollar bucket. That is a waste of time and money. Instead, you need to use the bucket’s own elasticity against the rigid cured material.
“A floor is only as good as the subfloor beneath it; deflection is the enemy of every joint.” – Master Flooring Axiom
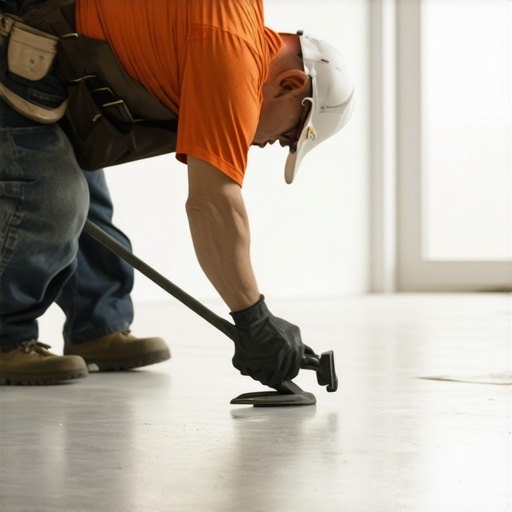
The hammer slap method for HDPE preservation
Mechanical removal of cured underlayment involves using a rubber mallet to create localized vibration that shears the bond between the brittle cement and the flexible bucket wall. This impact force causes the dried leveler to fracture and delaminate in large structural flakes without damaging the polymer surface of the tool.
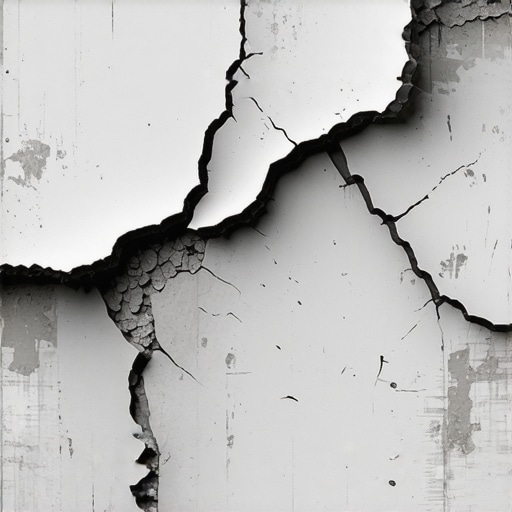
You want to take the bucket outside and turn it upside down on a firm surface like grass or a rubber mat. Do not do this on a finished concrete floor or you might crack the bucket rim. Take a heavy rubber mallet and strike the sides of the bucket firmly. You are not trying to crush it. You are trying to send a shockwave through the plastic. The plastic will move, but the rigid leveler cannot. This creates a shear stress at the interface. You will hear a satisfying crack. That is the sound of victory. After a few well-placed hits, the large sheets of leveler will drop out. If you have thin layers or ‘skin’ left behind, you can use a plastic putty knife to scrape the rest. Never use a metal scraper. Metal creates scratches in the plastic. Those scratches are the perfect home for the next batch of leveler to hide in, making your bucket harder to clean every single time you use it. Keep the surface smooth to keep the bond weak.
Thermal shock as a restoration strategy
Thermal expansion removal utilizes the differential expansion coefficients of plastic and cement to weaken the adhesion of dried leveler. By applying hot water or direct sunlight, the HDPE bucket expands at a faster rate than the mineral-based underlayment, causing the cured material to pop off the surface.
If the hammer method fails, it is usually because the leveler was poured too thin. Thin layers are more flexible and can ride the vibration of the hammer without breaking. In this case, you need heat. If you are on a job site in the summer, leave the bucket in the sun for an hour. The plastic will soften and expand. If it is winter, fill the bucket with the hottest water you can find. Let it sit for ten minutes. The heat will cause the bucket to grow slightly in diameter. Since the dried cement does not grow at the same rate, the bond is forced to release. It is a simple matter of physics. Once the bond is broken, you can dump the water and peel the leveler away like a scab. This is particularly effective for levelers used in showers or wet areas, as they often have higher polymer counts that respond well to thermal changes. I have saved hundreds of buckets using nothing but a hot water hose and a little patience.
| Removal Method | Effectiveness | Risk Level | Tools Required |
|---|---|---|---|
| Rubber Mallet Slap | High for thick layers | Low | Mallet, Soft Surface |
| Thermal Expansion | High for thin skins | Medium | Hot Water or Sun |
| Pressure Washing | Extreme | Low | 4000 PSI Washer |
| Chemical Acids | Low | High | Muriatic Acid, PPE |
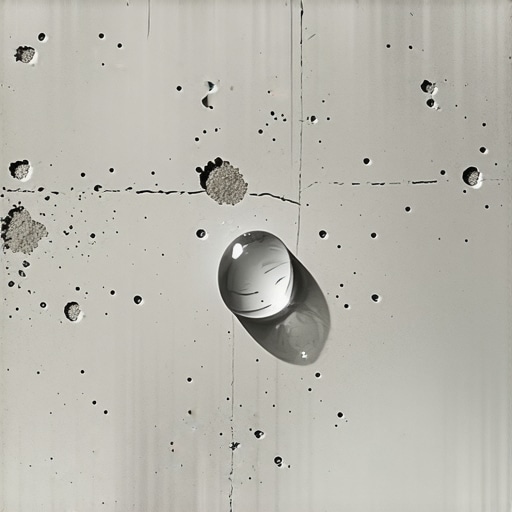
Why a dirty bucket ruins your laminate install
Contaminated mixing vessels introduce unhydrated particles and cured debris into new leveler batches, resulting in surface protrusions that telegraph through laminate. These imperfections can lead to joint separation and premature wear of the flooring system because the subfloor is not perfectly flat.
When I install a high-end laminate, I expect the subfloor to be within 1/8 inch over ten feet. If your bucket is dirty, you are going to get ‘corns’ in your pour. These are little bumps of old leveler that didn’t dissolve. When you roll out your underlayment and click those planks together, that little bump creates a pivot point. Every time the homeowner walks over that spot, the plank flexes. Eventually, the tongue and groove will snap. Now you have a squeaky floor and a callback that costs you a day of labor. All because you didn’t want to spend five minutes cleaning a bucket. Professionalism is found in the details of tool maintenance. If you are doing a carpet install, those same bumps will eventually wear a hole through the backing. In showers, a lump in the leveler can create a void in the waterproofing membrane. It is a domino effect of failure that starts at the mixing station. Clean your gear like your reputation depends on it, because it does.
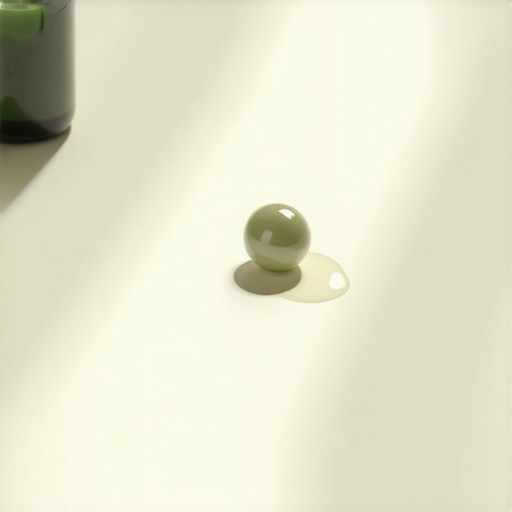
The chemistry of the sacrificial liner
Bucket liners serve as a sacrificial barrier that prevents chemical adhesion between the cementitious underlayment and the primary mixing vessel. Using a disposable liner ensures batch purity and eliminates the labor-intensive cleaning process, allowing for faster transitions during large-scale floor leveling projects.
If you hate cleaning buckets, buy liners. Or, if you are cheap like me, use a little bit of form release agent or even a light coat of vegetable oil spray inside the bucket before you start. This creates a microscopic oil film that prevents the polymers from finding those tiny valleys in the plastic. The leveler will still mix perfectly fine, but it won’t be able to grab the bucket. When you are done, the leftover material will slide out like a cake from a greased pan. This is especially useful when you are working with rapid-set materials that flash-cure in twenty minutes. While most people want the thickest underlayment, too much cushion actually causes the locking mechanisms on LVP to snap under pressure. Similarly, too much dried gunk in your bucket causes your mix to be inconsistent. Consistent tools lead to consistent floors.
“Consistency in the mix is the heartbeat of a lasting installation; any deviation is a step toward failure.” – Master Flooring Axiom
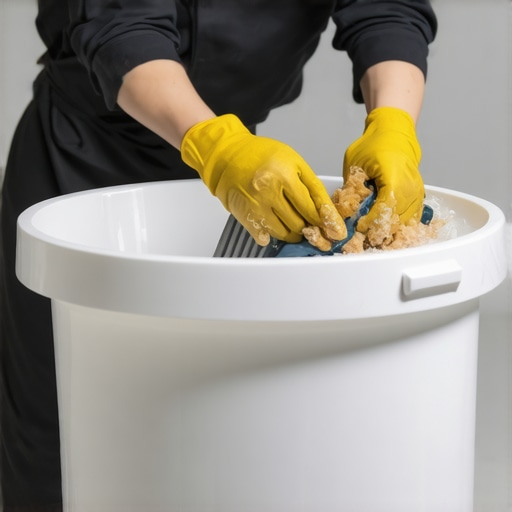
Survival guide for your mixing tools
Maintaining your equipment requires a disciplined workflow focused on moisture management and debris removal. By following a post-pour cleaning protocol, you can extend the lifespan of your buckets and ensure the chemical integrity of every floor leveling batch you produce on the job site.
- Rinse the bucket with clean water immediately after the pour is complete.
- Use a stiff nylon brush to scrub the interior walls while the residue is still wet.
- Spin the mixing paddle in a separate bucket of clean water to clear the blades.
- Dry the bucket thoroughly to prevent the formation of mold or bacterial growth.
- Inspect the bucket for cracks or structural fatigue before every new job.
- Store buckets upside down to prevent dust and debris from settling inside.
The final word on bucket maintenance is simple. If you treat your tools like garbage, your work will reflect that. A master flooring architect knows that the subfloor is the foundation of the home’s aesthetic, but the tools are the foundation of the subfloor. Take the time to snap that dried leveler out. Use the hammer. Use the heat. Keep your mixing station clean and your floors will stay flat for decades. It is a matter of pride and a matter of physics. Your knees and your wallet will thank you in the long run.