The ‘Cardboard Trick’ for Checking Subfloor Deflection
Most guys skip the leveling compound. They think the underlayment will hide the dip. It won’t. I spent three days grinding concrete on a job last month just so the floor wouldn’t click like a castanet. I have spent twenty-five years on my knees with a moisture meter and a straightedge, and if there is one thing I have learned, it is that the subfloor is the only part of the job that actually matters. You can buy the most expensive, hand-scraped, wide-plank walnut in the world, but if the wood beneath it has the structural integrity of a wet noodle, your investment is going to end up in a dumpster within two seasons. I smell like WD-40 and oak dust most days, and I have no patience for homeowners who think waterproof LVP means they can ignore a sagging joist. Flooring is not a decoration. It is a structural engineering challenge that starts with the physics of the substrate.
The physics of a failing joist
Subfloor deflection is the amount of vertical movement that occurs when a load is applied to the flooring system. This is often caused by undersized joists, excessive spans, or moisture damage. To prevent grout cracking and joint failure, the L/360 standard must be met. When we talk about deflection, we are talking about the floor’s ability to remain rigid under the weight of your furniture and your footsteps. If that floor bends, the joints in your laminate or the grout in your shower will fail. It is not a matter of if, but when. The National Wood Flooring Association is very clear about the tolerances allowed, and yet I see installers every day trying to bridge a half-inch gap with nothing but a bit of foam underlayment. It is a recipe for disaster. The cellular structure of the wood in your joists can only handle so much stress before it begins to yield. Over time, that constant micro-movement creates friction. Friction creates heat and noise. That is why your floor squeaks. It is the sound of your house slowly eating your floor from the bottom up.
The cardboard trick for checking subfloor deflection
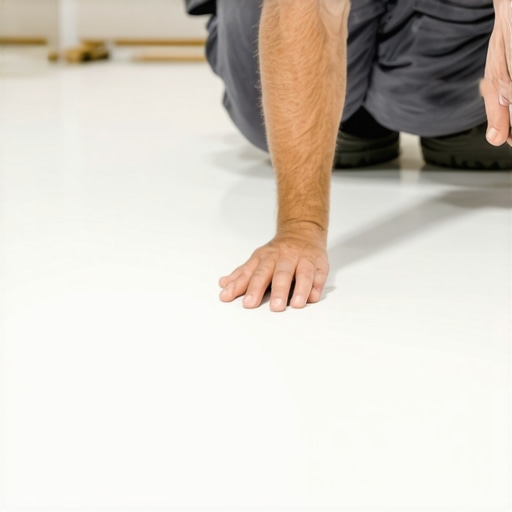
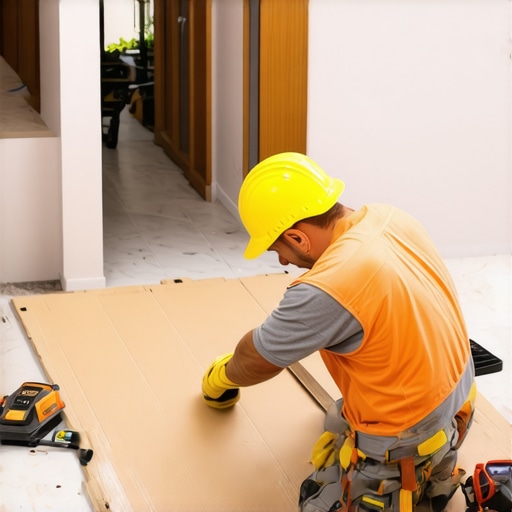
Checking subfloor flatness is often done with a ten foot straightedge and a piece of cardboard to identify low spots. By sliding the cardboard under the straightedge, you can map the topography of the substrate and determine where leveling compound is required. I call it the cardboard trick because it is simple, but do not let that fool you. It is a precision diagnostic tool. You take a standard piece of corrugated cardboard or even a cereal box, which usually measures about 1/16 to 1/8 of an inch, and you try to pass it under your straightedge. If it slides through without resistance, you have a dip that exceeds the NWFA standards for most hard surfaces. This is critical for laminate and vinyl because their locking mechanisms are made of thin plastic or HDF. When you step on a low spot, the joint is forced downward while the rest of the plank stays put. That sheer force is enough to snap the tongue right out of the groove. You might not notice it the first day, but by month six, those planks will be separating and moving under your feet like a raft on a choppy lake.
“A floor is only as good as the subfloor beneath it; deflection is the enemy of every joint.” – Master Flooring Axiom
Why floor leveling differs from flattening
Floor leveling involves making the substrate perfectly perpendicular to gravity, whereas floor flattening focuses on removing undulations and dips. Most remodeling projects require flattening rather than true leveling to ensure flooring compatibility. A floor can be out of level, meaning it slopes slightly from one side of the room to the other, and still be perfectly fine for hardwood or carpet install. However, if it is not flat, you are in trouble. Imagine a sheet of glass. You can tilt it five degrees and it will not break. But if you put a rock under the center of that glass and step on the edges, it shatters. Your floor is the glass, and the high spots in your subfloor are the rocks. When I go into a house for a carpet install, people tell me the subfloor does not matter because the pad will hide it. That is nonsense. A low spot in a subfloor will eventually cause the carpet to stretch and ripple because the tension is uneven. In showers, the stakes are even higher. The Tile Council of North America requires a deflection rating of L/360 for ceramic and L/720 for natural stone. If your subfloor moves even a hair, your waterproofing membrane will stretch, your thin-set will debond, and suddenly you have a leak that is rotting out your rim joists.
Critical tools for subfloor assessment
- Ten foot aluminum straightedge for identifying broad dips.
- Pin-type moisture meter for checking plywood saturation levels.
- Self-leveling underlayment for filling low spots.
- Angle grinder with a diamond cup wheel for removing concrete high spots.
- Standardized shims or cardboard for measuring gap depth.
The chemical bond of modern adhesives
Subfloor prep requires a deep understanding of adhesive chemistry and surface tension to ensure a permanent bond. Using the wrong thin-set or glue over drywall mud or paint overspray will lead to delamination and floor failure. When we talk about floor leveling, we often use self-leveling underlayments. These are not just bags of cement. They are complex chemical cocktails containing calcium aluminate, Portland cement, and various polymers. The polymer content is what allows the material to flow like water and then harden into a surface with a compressive strength of 5,000 PSI. But here is the catch. Those chemicals need a clean, porous surface to bite into. If you have oily residue or old adhesive on that slab, the new leveler will just sit on top like a scab. Eventually, it will pop off. I have seen guys dump leveler over a dusty floor and then wonder why their $20,000 tile job sounds like hollow drums. You have to prep the substrate. You have to prime it with a high-solids acrylic primer to stop the air bubbles from rising out of the concrete and creating pinholes in your leveler. This is the molecular zooming that separates the pros from the guys who just watch a five-minute video online.
The structural reality of click lock vinyl
Luxury vinyl plank or LVP is often marketed as waterproof, but it is highly susceptible to subfloor irregularities. The locking mechanisms require a flat surface to prevent mechanical failure under dynamic loads. People love LVP because it is cheap and easy to clean, but they treat it like a magic carpet. They think they can throw it over a crumbling subfloor and it will be fine. It won’t. If you have a 3/16 inch dip over ten feet, that LVP is going to fail. While most people want the thickest underlayment, too much cushion actually causes the locking mechanisms on LVP to snap under pressure. You want a high-density, low-compression underlayment. If you put a soft, squishy foam under a click-lock floor, every time you walk across it, the joints are bending. It is like taking a paperclip and bending it back and forth. Eventually, it snaps. The physics are undeniable. If you want a floor that lasts, you spend your money on the floor leveling and the subfloor prep, not just the pretty stuff on top.
| Floor Type | Deflection Limit | Prep Requirement |
|---|---|---|
| Ceramic Tile | L/360 | Subfloor flattening |
| Natural Stone | L/720 | Double layer plywood |
| LVP and Laminate | 3/16 inch over 10 feet | Leveling compound |
| Solid Hardwood | 1/4 inch over 10 feet | Moisture barrier |
The moisture trap in modern basements
Concrete slabs in basements act like a sponge, constantly pulling groundwater upward through capillary action. Without a proper vapor barrier, this alkaline moisture will destroy adhesives and cause engineered wood to delaminate. I have walked into jobs where the laminate was literally floating on a layer of condensation. This is why we use calcium chloride tests or RH probes. We need to know how many pounds of moisture are coming off that slab every thousand square feet. If it is over three pounds, you need a topical moisture mitigation system. You cannot just ignore the vapor pressure. It will push right through your floor leveling compound and turn your adhesive into a gooey mess. In regions with high humidity like the South, this is a constant battle. The wood expands as it drinks in the moisture from the crawlspace, and then it contracts when the AC kicks on. This seasonal movement is why we leave expansion gaps. If you pin a floor against a wall without a gap, it will buckle. It has no choice. The force of expanding wood is enough to crack drywall and move partition walls. Never underestimate the power of a few drops of water at the molecular level.
“Subfloor surfaces shall be flat to within 3/16 inch in 10 feet or 1/8 inch in 6 feet.” – NWFA Technical Publication