The ‘Paper Slide’ Test for Checking Floor Leveler Smoothness
The deceptive nature of a concrete slab
Floor leveling requires a tolerance of 1/8 inch over a 10 foot radius to ensure the structural integrity of laminate, hardwood, or tile installations. This standard is not a suggestion but a requirement for the mechanical longevity of click-lock joints and thin-set bonds. Concrete might look flat from six feet up, but it is a landscape of valleys and ridges. I spent three days grinding concrete on a job last month just so the floor would not click like a castanet. The homeowner thought I was overcharging until I showed them the daylight under my straightedge. Most guys skip the leveling compound. They think the underlayment will hide the dip. It will not. It will fail. Every time you walk across a floor that has a void beneath it, you are stressing the locking mechanism of your laminate or the grout lines of your tile. This stress is cumulative. It leads to the inevitable snapping of the tongue and groove. You can smell the oak dust and the machine oil in the air when you do this right. You feel the grit in your teeth. This is the reality of the trade. If you do not respect the slab, the slab will humiliate you six months after the check clears.
The physics of the paper slide test
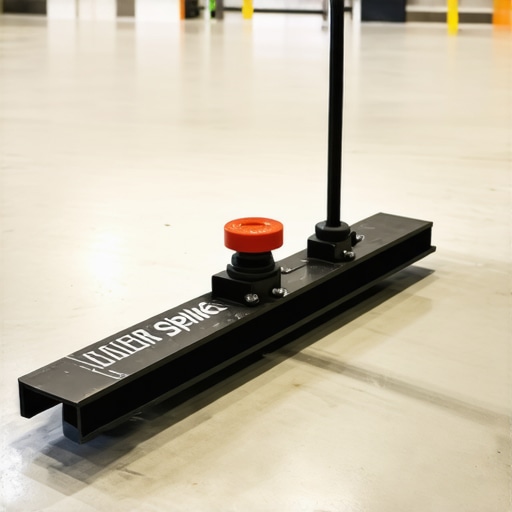
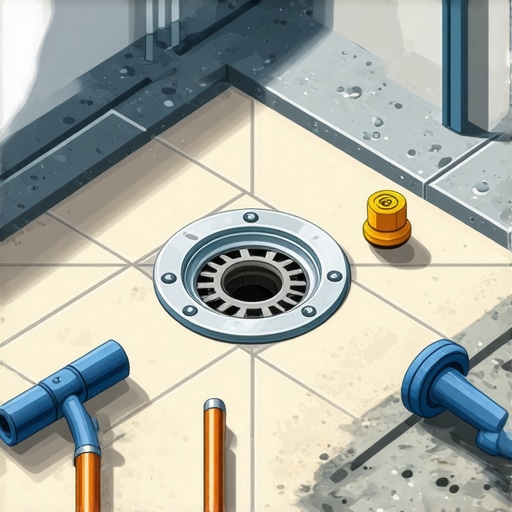
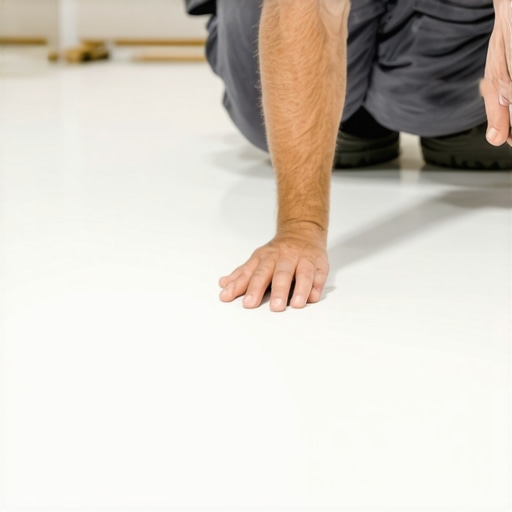
The paper slide test identifies localized high spots and depressions by using a standard sheet of 20-pound bond paper as a feeler gauge beneath a professional straightedge. If the paper slides under the level in a specific area, the floor has a dip that requires filler or self-leveling underlayment. This method is primitive but effective. You take a ten-foot magnesium straightedge and lay it across the floor. You then attempt to slide a piece of paper under the edge. If it passes through, you have found a deviation. We are talking about the molecular reality of the surface. Most installers ignore the microscopic physics of the bond. When you are preparing for a carpet install, you might think levelness is less vital because of the pad. This is a mistake. High spots will wear the carpet fibers prematurely from the top down. In showers, the level is even more critical because of the gravitational flow of water. If your subfloor is not perfectly pitched or leveled before the pan goes in, you are looking at standing water and eventual mold growth. The paper slide test tells you exactly where the concrete is lying to you.
“A floor is only as good as the subfloor beneath it; deflection is the enemy of every joint.” – Master Flooring Axiom
The chemistry of self-leveling underlayment
Self-leveling underlayment or SLU utilizes calcium aluminate cement and advanced polymers to create a fluid mass that seeks equilibrium through gravity while maintaining high compressive strength. These mixtures often reach 4,000 to 5,000 PSI which exceeds the strength of many residential concrete slabs. You have to understand the surface tension. When you mix a bag of leveler, you are initiating a chemical reaction that is time-sensitive. You have about fifteen to twenty minutes of working time. The water-to-powder ratio must be exact. If you add too much water, the polymers will separate and the surface will be chalky. If you add too little, the material will not flow and you will end up with more humps than you started with. This is not a task for the faint of heart. You need to prime the substrate with a high-solids acrylic primer first. This prevents the concrete from sucking the moisture out of the leveler too quickly. If the concrete is porous, it will create pinholes in your new floor. Those pinholes are structural weaknesses. I have seen guys dump leveler on dusty concrete without a primer. The whole floor delaminated within a year. It came up in chunks like potato chips. It was a disaster.
| Metric | Laminate Requirement | Hardwood Requirement | Tile Requirement |
|---|---|---|---|
| Max Deviation | 1/8 inch per 10 ft | 3/16 inch per 10 ft | 1/8 inch per 10 ft |
| Moisture Content | <12% MC | <4% Calcium Chloride | <5 lbs / 1000 sq ft |
| Subfloor Type | Plywood or Concrete | OSB or Plywood | Cement Board or Ditra |
| Acclimation Time | 48-72 Hours | 7-14 Days | No Acclimation |
The ghost in the expansion gap
Expansion gaps at the perimeter of a room are the lungs of a floor system allowing for the natural swelling and shrinking of materials due to relative humidity changes. Without a 1/4 inch to 1/2 inch gap, the floor will bind against the drywall and buckle at its weakest point. Laminate flooring is particularly sensitive to this. People call it waterproof, but the core is still wood fiber. It moves. If you lock that floor under a heavy kitchen island or push it tight against the baseboards, it will find a way to move. Usually, that means a massive hump in the middle of your living room. You cannot fight physics. The humidity in a room can swing from 20 percent in the winter to 60 percent in the summer. That is a massive amount of potential energy stored in those planks. I always tell homeowners that the floor needs to breathe. If you choke it, it will die. You have to remove the baseboards. You cannot just butt the floor up to the trim and cover it with quarter-round. That is the mark of a hack. Do it right or do it twice. The choice is yours.
- Check subfloor for old adhesive residue before leveling.
- Vacuum the slab twice to ensure no dust interferes with the bond.
- Mark the low spots with a wax pencil after the paper slide test.
- Use a spiked roller to release air bubbles from the wet leveler.
- Verify levelness again after the product has cured for 24 hours.
The 1/8 inch that ruins everything
A single high spot of 1/8 inch can cause a hollow sound under laminate flooring that mimics the sound of a drum. This acoustic failure is often the first sign of an improper floor leveling job and usually results in homeowner dissatisfaction. While most people want the thickest underlayment, too much cushion actually causes the locking mechanisms on LVP to snap under pressure. This is a contrarian fact that many retail salespeople do not understand. They want to sell you the most expensive 5mm foam. Do not buy it. If the foam is too soft, the joints will deflect every time you step on them. Eventually, the plastic tongue will shear off. Then you have a floating plank that moves independently. It looks terrible. It feels cheap. The paper slide test prevents this. If the floor is flat, you do not need thick foam. You need a dense, high-quality vapor barrier and a stable surface. I have spent twenty-five years fixing these mistakes. I have seen $20,000 floors trashed because someone wanted to save $500 on prep work. Do not be that person.
“Substrate preparation is 90 percent of the job; the remaining 10 percent is just laying the puzzles pieces down.” – National Wood Flooring Association (NWFA)
The rigorous path toward a flat surface
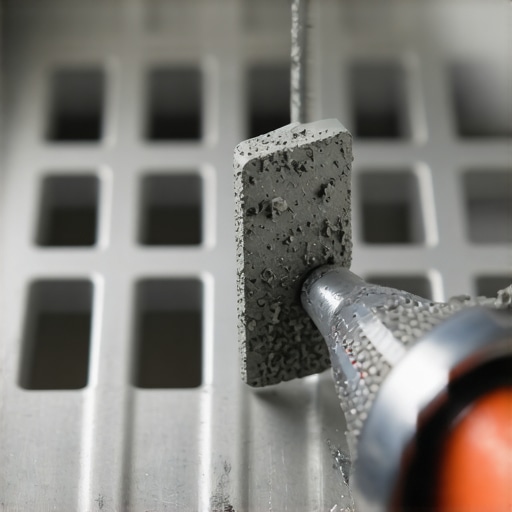
Achieving a flat floor involves a sequence of grinding, vacuuming, priming, and pouring that must be executed without interruption. Any break in the process creates cold joints that undermine the structural unity of the underlayment. You start by identifying the peaks. You grind those down with a diamond cup wheel. The dust is incredible. You need a HEPA vacuum. Once the peaks are gone, you find the valleys. You fill those with the SLU. You use a squeegee to move the material into the low spots. You watch the reflection of the overhead lights in the wet product. If the reflection is distorted, the floor is not flat. It is a visual game of precision. This is why we use the paper slide test at the end. It is the final verification. It is the proof of quality. When the paper does not slide under that straightedge, you know you have done your job. You can sleep at night knowing that floor will stay where you put it for the next thirty years. It is about pride. It is about the craft. It is about the physics of the ground beneath your feet.