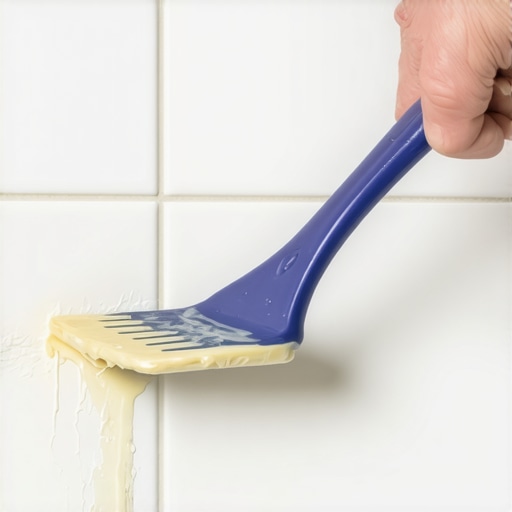
The ‘Wet Spatula’ Trick for Smoothing Caulking in Shower Corners
I spent three days grinding concrete on a job last month just so the floor wouldn’t click like a castanet. Most guys skip the leveling compound. They think the underlayment will hide the dip. It won’t. I have spent twenty five years on my knees with a moisture meter and a level, and I can tell you that a floor is a performance surface, not a decoration. This perspective applies directly to the wet spatula trick for shower corners. If the substrate moves, the caulk rips. It does not matter how pretty you make the bead if the wall behind it is flexing or if your floor leveling was handled by an amateur. I smell like oak dust and WD-40 most days, and that scent comes from a dedication to structural integrity over aesthetic shortcuts. A shower corner is a structural intersection where thermal expansion and moisture vapor pressure meet. If you treat it like a craft project, you will be replacing it in six months when the mold begins to colonize the microscopic fissures in your poorly smoothed bead. Professionals do not use their fingers. We use geometry and chemistry.
The structural reality of a failed joint
A failed shower joint is almost always the result of subfloor deflection or improper substrate preparation. When a shower pan is not perfectly level, or when the floor leveling compound was applied without a proper primer, the entire assembly shifts under the weight of the water and the user. This movement puts immense shear stress on the vertical corner joints.
“A floor is only as good as the subfloor beneath it; deflection is the enemy of every joint.” – Master Flooring Axiom
You must ensure that the transition from the shower to the adjacent laminate or carpet install is rigid. If the subfloor is bouncing, your silicone bead will experience cohesive failure, meaning the material itself will tear, or adhesive failure, where it pulls away from the tile. We are looking for a Shore A hardness that allows for movement but maintains a watertight seal against the hydrostatic pressure of daily use.
Physics of surface tension in silicone beads
The wet spatula trick works by manipulating the surface tension of the sealant using a surfactant solution. When you apply a bead of 100 percent RTV silicone, the material is incredibly viscous and tacky. It wants to stick to everything, including your tools. By dipping a stainless steel spatula into a solution of water and concentrated dish soap, you create a chemical barrier. This barrier prevents the silicone from adhering to the metal while allowing the tool to compress the sealant into the joint. This compression is vital because it forces the silicone into the microscopic pores of the tile and the grout lines. A finger cannot provide the consistent 45 degree angle required to create a concave bead that sheds water effectively. Your finger is also covered in oils and bacteria which will eventually cause the silicone to discolor and peel.
Why your subfloor is lying to you
Subfloor flatness is the most overlooked factor in shower longevity and transition stability. If you are installing laminate or carpet up to a shower threshold, any dip in the plywood or concrete will cause the transition strip to pivot. This pivoting action pulls on the shower curb, which in turn vibrates the corner joints. I have seen countless $20,000 bathrooms ruined because someone didn’t want to spend the time with a 10 foot straight edge. You need to check for high spots and grind them down. If you have a low spot, use a high compression strength self-leveling underlayment. Do not trust the foam underlayment of a laminate floor to bridge a gap larger than 1/8 inch over a 10 foot span. It will fail. The locking mechanisms on laminate will snap, and the resulting movement will telegraph straight into your shower corner caulking.
The 1/8 inch that ruins everything
The width of the expansion gap is the difference between a lifetime seal and a structural failure. Many installers try to make the caulk bead as thin as possible, but silicone needs mass to function. If the gap between two walls is less than 1/8 inch, there is not enough material to stretch when the house settles or when the temperature changes. This is the same principle we use in a carpet install where the tack strip must be precisely placed. In a shower, a thin bead will snap like a rubber band. You want a deep, consistent channel that the wet spatula can profile into a smooth, water-shedding slope. We are looking for a balance between the modulus of elasticity and the tensile strength of the cured polymer.
| Sealant Type | Movement Capability | Cure Time | Substrate Compatibility |
|---|---|---|---|
| 100% Silicone | 25 to 50 percent | 24 Hours | Non-porous surfaces |
| Siliconized Acrylic | 12.5 percent | 4 to 8 Hours | Porous and painted surfaces |
| Polyurethane | 50 percent plus | 48 to 72 Hours | Masonry and heavy construction |
Materials for a professional finish
Professional results require high grade materials and a specific set of tools beyond a standard caulk gun. You need a dripless caulk gun with a high thrust ratio, especially if you are working in a cold environment where the silicone is thicker. The spatula should be stainless steel or a high density plastic with a rounded corner. For the surfactant solution, avoid soaps with heavy fragrances or lotions. You want a pure degreasing soap. You also need 99 percent isopropyl alcohol to clean the tiles before the application. Any dust, even the fine white dust from a recent floor leveling job, will act as a bond breaker. If the silicone does not bond at the molecular level, the wet spatula trick is just putting a band-aid on a bullet wound.
The wet spatula method for perfect corners
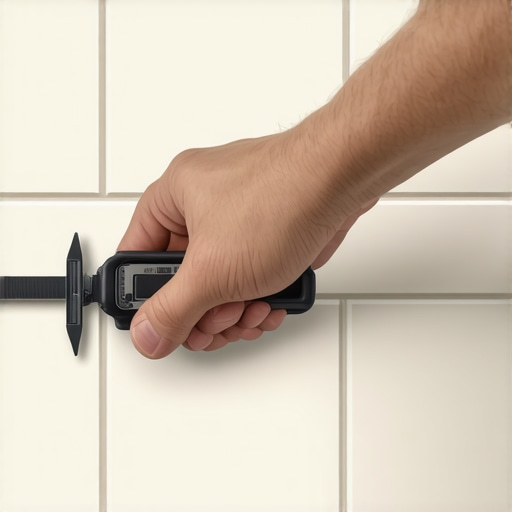
Executing the wet spatula method involves a three stage process of application, lubrication, and compression. First, cut your nozzle at a 45 degree angle to match the width of the joint. Apply a continuous bead of silicone from the bottom of the corner to the top. Do not stop and start. Once the bead is in place, mist the bead and the surrounding tile lightly with your soap solution. Dip your spatula into the soap solution and place it at the base of the joint. Pull upward with steady, even pressure. The excess silicone will slide off the spatula because of the surfactant.
“A joint must be filled completely; voids are where mold finds its home and water finds its way to the framing.” – TCNA Technical Manual
Wipe the spatula clean after every pass. Do not try to re-work a bead that has already begun to skin over. This is where the chemistry of the acetoxy-cure or neutral-cure silicone becomes a factor. You have a window of about ten minutes before the surface tension changes and the tool will start to drag.
- Vacuum the joint with a HEPA filter to remove all construction dust.
- Wipe the tile edges with 99 percent isopropyl alcohol.
- Check for substrate deflection by applying pressure to the shower pan.
- Ensure a 1/8 inch gap minimum between all vertical and horizontal planes.
- Prepare a soap solution with a 1 to 10 ratio of soap to water.
Comparison of sealant performance across substrates
Different substrates require different chemical approaches to ensure the wet spatula technique is effective. For example, natural stone tiles like marble are porous and can be stained by certain surfactants or by the oils in low quality silicones. In these cases, you must use a neutral-cure silicone that does not release acetic acid during the curing process. When transitioning to a laminate floor, the expansion requirements are even more strict. Laminate is a wood product at its core, and it will expand and contract with humidity. If you caulk a laminate floor tight to a shower base, the floor will buckle. You must use a transition molding and caulk the gap between the molding and the tile, not the floor itself. This allows the laminate to move freely underneath while the silicone maintains the moisture barrier at the surface.
Transitions between tile and laminate or carpet
Transitions are the most common points of failure in residential flooring systems. During a carpet install, the professional must ensure the carpet is tucked tightly against the shower curb with a slight gap for a silicone seal if the area is prone to splashing. For laminate, the installer must account for the floating nature of the floor. If you use the wet spatula trick on a transition piece, make sure you are not inadvertently bonding the floating floor to the subfloor. The goal is to create a dam that prevents water from reaching the subfloor while allowing the different materials to move independently. If you fail to account for this, you will see the caulk pull away or the laminate planks start to peak at the seams. It is a game of millimeters, and the wet spatula is the tool that ensures those millimeters are sealed tight.
Maintenance of the moisture barrier
Maintaining a silicone seal is about preventing the degradation of the polymer bond over time. Even the best wet spatula job will fail if the homeowner uses abrasive cleaners that strip the silicone of its flexibility. Advise clients to use pH-neutral cleaners. Inspect the corners every six months for signs of delamination. If a gap appears, do not just put more caulk over it. You must remove the old material, clean the joint with alcohol, and re-apply using the same professional method. The integrity of the shower depends on this seal. If water gets behind the tile, it will rot the studs and ruin the floor leveling you worked so hard to achieve. A floor is a system, and every part of that system must be respected. “