How to Fix a Loose Tile in Your Kitchen Floor
Fixing a Loose Kitchen Tile Without Ruining the Whole Floor
Most guys skip the leveling compound. They think the underlayment will hide the dip. It won’t. I spent three days grinding concrete on a job last month just so the floor wouldn’t click like a castanet. That is the reality of floor prep that most homeowners never see. They see a loose tile in their kitchen and think it is a simple glue job. It is not. A loose tile is a symptom of a deeper structural sickness. It is often a failure of the mechanical bond or a sign that the subfloor is flexing beyond its engineered limits. If you do not address the physics of the substrate, your repair will fail by next Christmas. I have seen fifteen thousand dollar walnut floors turn into potato chips because of humidity, and I have seen expensive porcelain snap because of a single low spot in the concrete. The floor does not lie. It tells the story of what is happening underneath the surface.
The subfloor secret that contractors ignore
Fixing a loose tile requires identifying subfloor deflection and adhesive failure. Most contractors ignore the root cause because they are in a hurry to get to the next job. You must understand that the substrate is the foundation of the entire system. If the subfloor moves, the tile breaks. Every single time I walk onto a job site with a hollow sounding floor, I check for deflection. This is the amount of vertical movement a floor system undergoes when a load is applied. If your kitchen floor has too much bounce, no amount of high quality thinset will keep that tile in place. You are fighting gravity and physics. I remember a project where the client wanted a heavy slate installed over a single layer of plywood. I told them it would crack within a month. They didn’t listen. Four weeks later, the grout was turning into sand. We had to rip the whole thing out and add a second layer of exterior grade plywood to meet the L 360 deflection standard required by the TCNA. This is not about being difficult. It is about the mathematics of structural integrity. You cannot build a skyscraper on a swamp, and you cannot put ceramic over a bouncy subfloor.
Why your kitchen floor started clicking
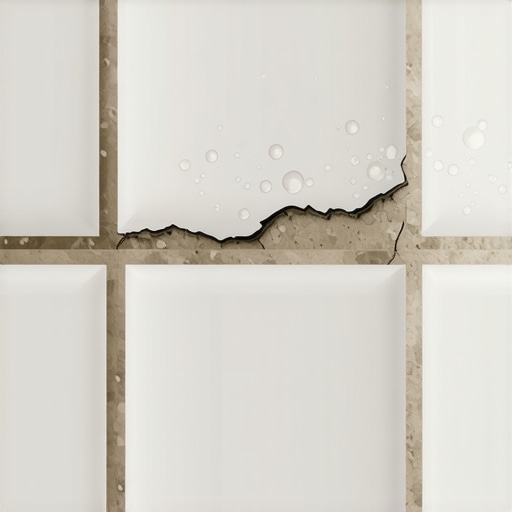
A clicking or loose tile usually signifies a bond failure between the mortar and the substrate. This happens because of improper moisture levels, dusty surfaces, or structural deflection. When the subfloor moves more than the tile can handle, the mechanical bond snaps, leaving the tile floating. Most people assume the adhesive just wore out. That is rarely the case. Adhesives fail because of external variables. Maybe the slab was too dry and sucked the water out of the thinset before it could hydrate properly. Maybe the installer didn’t back butter the tile, leaving massive air pockets that eventually collapsed. In the world of carpet install, you can hide a lot of sins with a thick pad. In laminate, the floating nature of the floor allows for some movement. But in tile, everything is rigid. Rigid systems do not tolerate mistakes. If you have a loose tile, you need to look at the surrounding area. Is there a pattern? Is it near the dishwasher where moisture might be a factor? Is it in the main walking path? These clues tell you if you are dealing with a localized error or a systemic failure of the entire installation.
“A floor is only as good as the subfloor beneath it; deflection is the enemy of every joint.” – Master Flooring Axiom
The chemistry of a failed bond
Bond failure occurs at the microscopic level where the cementitious crystals of the thinset attempt to grow into the pores of the tile and the substrate. If there is dust, oil, or a sealer present, those crystals cannot find a home. The result is a weak mechanical connection. When I pull up a loose tile and see a clean, smooth surface on the back of the ceramic, I know exactly what happened. The installer didn’t burn the mortar into the tile. You have to force that first layer of thinset into the pores of the material with the flat side of your trowel. Then you use the notched side to create the ridges. This is not a suggestion. It is a requirement for a long lasting floor. If you are doing this repair yourself, you need to choose the right mortar. For kitchen floors, I always recommend a high polymer modified thinset. These have chemical additives that allow the mortar to flex slightly without snapping. It is the difference between a piece of chalk and a piece of plastic. You want that little bit of give, especially in high traffic areas where the house is naturally settling or expanding with the seasons.
| Adhesive Type | Bond Strength (PSI) | Flexibility Rating | Best Use Case |
|---|---|---|---|
| Unmodified Thinset | Low to Medium | None | Concrete substrate only |
| Modified Thinset | High | Moderate | Plywood or large format tile |
| Epoxy Grout | Extreme | None | Industrial or high moisture |
| Mastic | Low | High | Walls only, never floors |
Precision tools for surgical tile extraction
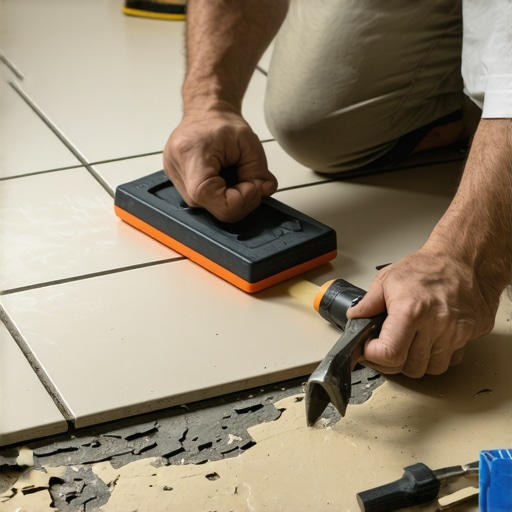
To fix a single tile without damaging the neighbors, you need a steady hand and a sharp oscillating tool. You must remove the surrounding grout first to isolate the loose tile from the rest of the floor system. This prevents the vibration from traveling and loosening adjacent pieces. I have seen guys go at a kitchen floor with a hammer and a pry bar like they are demolishing a barn. That is how you turn a one hour repair into a three day nightmare. Use a diamond grit blade on an oscillating multi tool. Cut deep into the grout lines until you hit the substrate. Once the grout is gone, you can carefully tap the tile to see where it is most disconnected. If you are lucky, it will pop up in one piece. If not, you will have to chip it out from the center moving outward. Always wear eye protection. Shards of ceramic are basically glass needles, and they will fly everywhere. I keep a shop vac running right next to the blade to suck up the dust. This is especially important in kitchens where you don’t want silica dust settling on your counters or inside your cabinets.
Leveling the playing field beneath the ceramic
Before you put the new tile down, you must clear the old mortar back to the original substrate. If you leave even a thin layer of old thinset, the new tile will sit too high. This causes a trip hazard known as lippage. I use a small cold chisel and a light hammer to flake away the old material. You want to get back to the clean concrete or plywood. If the area is uneven, this is where floor leveling comes into play. You can use a small amount of self leveling underlayment to fill the void, but usually, a bit of extra thinset during the install will do the work. Just remember that thinset is not meant to be a filler. It is a bonding agent. If you are trying to bridge a gap larger than a quarter inch, you are asking for trouble. This is why I always check the area with a straight edge. If there is a dip, I fill it and let it dry before I even think about setting the tile. It is the same logic we use in showers where the slope is everything. You cannot rush the prep.
- Remove all old grout from the surrounding edges to ensure a clean fit.
- Scrape the substrate until it is smooth and free of old adhesive residue.
- Vacuum the area multiple times to remove every speck of dust.
- Wipe the back of the new tile with a damp sponge to remove factory dust.
- Dry fit the tile to check the height against the existing floor.
The 1/8 inch that ruins everything
Precision in height is the difference between a trip hazard and a professional repair. If your new mortar bed is even slightly thicker than the original, the tile will sit high. This lipage is more than an aesthetic failure. It is a structural weak point. A tile that sits high will be struck by feet, vacuum cleaners, and chairs. These repeated micro impacts will eventually crack the edges of the tile or break the bond again. I use a technique called back buttering to control the depth. I apply a very thin layer of mortar to the back of the tile, then I apply a notched layer to the floor. When I press them together and give it a little wiggle, I can feel it settle into place. If it feels too high, I pull it up and remove a little mortar. If it is too low, I add a tiny bit more. You have to be a surgeon. You are aiming for a flush finish that is indistinguishable from the rest of the floor.
“Consistency in the mortar bed thickness is the only way to prevent edge loading and subsequent tile failure.” – TCNA Technical Manual
Why some repairs are doomed to fail
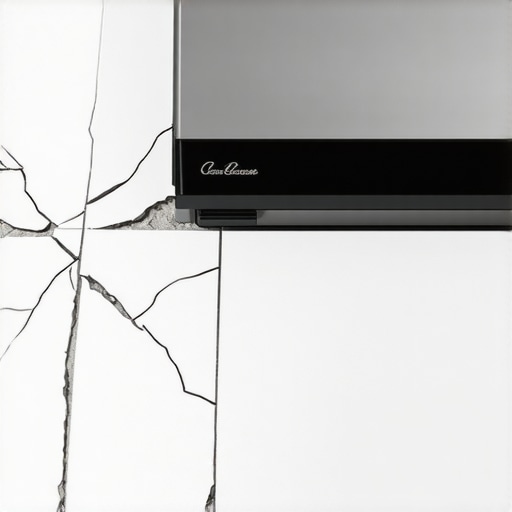
Some loose tiles cannot be fixed with a simple patch job because the entire floor system is failing. If you notice grout cracking throughout the kitchen, it is a sign of structural movement or improper joist spacing. In these cases, a single tile repair is a band aid. You might spend hours fixing one spot only to have the tile next to it pop loose a month later. I tell my clients the truth even if they don’t want to hear it. If the subfloor is 5/8 inch plywood over joists spaced 24 inches apart, that floor is always going to move. It was never built for tile. In those situations, you are better off pulling it all up and installing a high quality laminate or even a luxury vinyl. Those floors can handle the movement. Tile is a diva. It requires a perfect, stiff stage to perform on. If you are unwilling to provide that stage, you are just throwing money down a hole. Most people hate hearing that their house isn’t built for the floor they want, but my job is to ensure the floor lasts twenty years, not twenty days.
The final seal and the waiting game
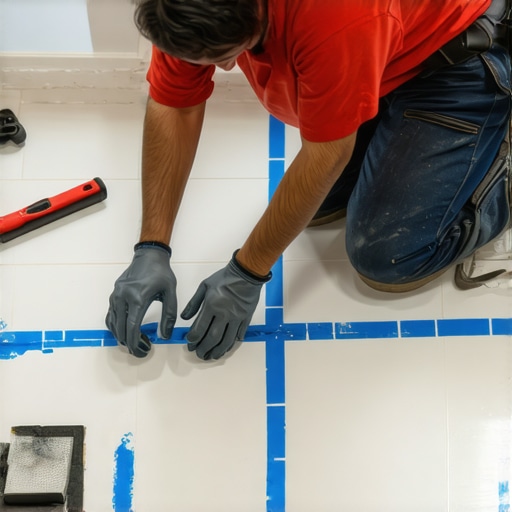
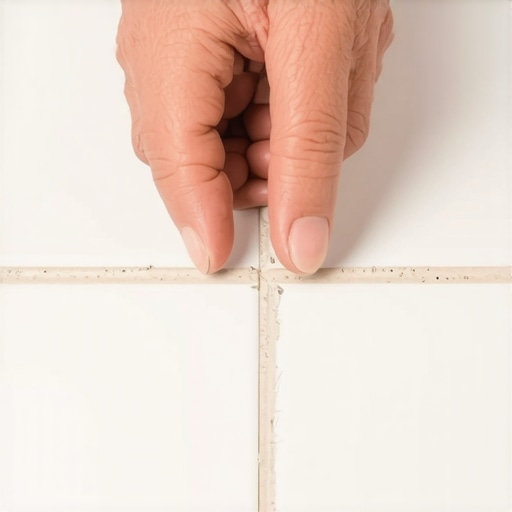
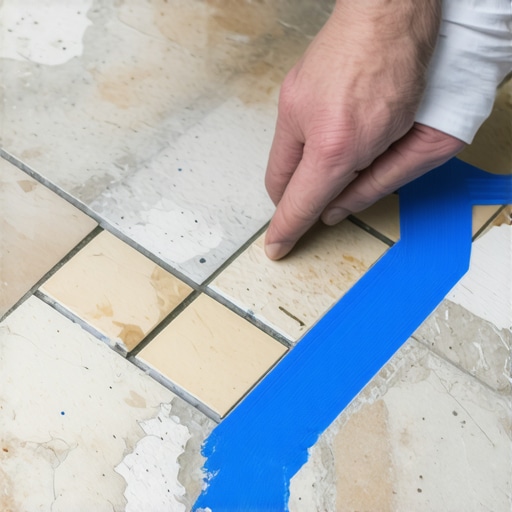
Once the tile is set, you have to stay off it. This is where most homeowners fail. They see the tile in place and they want to walk on it to get to the fridge. You must wait at least 24 hours before grouting, and another 24 hours after grouting before you allow foot traffic. The chemical reaction in the mortar needs time to complete. If you step on it too early, you break the bond while it is still soft, and you are right back where you started. I always tape off the area with blue painter’s tape to remind everyone in the house to stay away. When you grout, make sure the color matches the aged grout of the rest of the floor. New grout is always brighter, so you might need to mix in a little bit of a darker pigment to get it right. It is these small details that separate a DIY hack job from a professional restoration. A floor is a performance surface. Treat it with the respect that structural engineering demands.