The ‘Masking Tape’ Secret for Cutting Laminate Without Chipping the Finish
I smell like WD-40 and oak dust today. My knees are sore because I spent the last three days on a concrete slab in a drafty basement. Most guys skip the leveling compound. They think the underlayment will hide the dip. It won’t. I spent three days grinding concrete on a job last month just so the floor wouldn’t click like a castanet because the builder left a half inch hump right in the middle of the dining room. If you do not respect the subfloor, the floor will not respect you. It will fail. It will groan. It will eventually snap at the locking joints. Flooring is not a decoration. It is a structural performance surface that must withstand thousands of pounds of pressure and the constant micro-movements of a shifting house.
The physics of the brittle top coat
Laminate flooring chips because the decorative wear layer is a brittle melamine resin often infused with aluminum oxide crystals. This top layer is extremely hard to resist scratches, but that hardness makes it prone to shattering when a saw blade tooth exits the material. The upward or downward force of the tooth snaps the resin before the blade can cleanly slice the fiberboard core.
When you look at a laminate plank under a magnifying glass, you see a sandwich of layers. The top is the wear layer. Below that is the photographic paper. Underneath that is the High-Density Fiberboard (HDF) core. The HDF is essentially compressed sawdust and resin. It has high density, typically ranging from 800 to 900 kilograms per cubic meter. When a circular saw blade rotates, it creates a vector of force. If you are using a standard circular saw, the blade rotates upward through the bottom of the wood. This means the teeth are exiting through the finished face. That exit force is what causes the ugly jagged edges. Even a fine-finish blade can struggle with the crystalline structure of high-end laminate because the impact of the carbide tip creates a shockwave in the melamine. We need to stabilize that surface tension before the blade ever touches it.
“A floor is only as good as the subfloor beneath it; deflection is the enemy of every joint.” – Master Flooring Axiom
The masking tape secret for clean edges
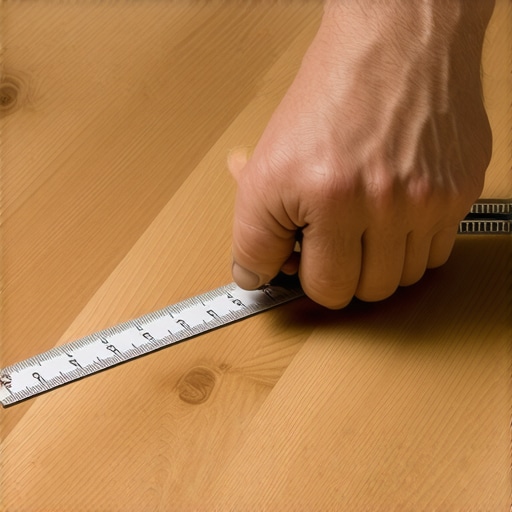
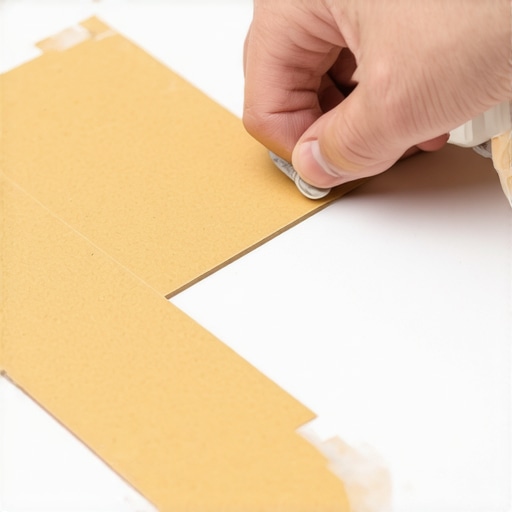
Applying a high-tack masking tape or painter’s tape directly over your cut line provides external tension that prevents the melamine layer from shattering. The adhesive bonds to the microscopic ridges of the wear layer, holding the decorative paper and resin in place as the blade teeth pass through. This simple physical barrier absorbs the vibration of the saw.
You want to use a wide blue or green painter’s tape. Lay it down flat. Ensure there are no air bubbles. Mark your cut line directly on the tape with a fine-tip pencil. When the saw blade hits the tape, the fibers of the tape provide a sacrificial surface. The blade cuts the tape first, and the pressure of the tape against the laminate prevents the decorative layer from lifting. It is the same principle used in metalworking to prevent burrs. Once the cut is complete, you peel the tape away at a 45-degree angle. The result is a factory-clean edge. This is vital because while baseboards or T-moldings cover the ends, a chipped edge can lead to moisture intrusion. If moisture gets under the wear layer at a chip point, the HDF core will swell like a sponge. That is how you end up with a ruined floor in six months.
Why floor leveling is the non-negotiable first step
Floor leveling requires checking the subfloor for any deviation greater than 3/16 of an inch over a 10-foot radius. If your subfloor has valleys or humps, the laminate will flex every time someone walks on it. This vertical movement, or deflection, puts immense stress on the click-lock mechanisms, leading to separation and eventual breakage.
I have seen guys try to use double layers of foam underlayment to hide a dip. This is a recipe for disaster. Too much cushion actually causes the locking mechanisms on LVP or laminate to snap under pressure because the floor has too much room to move downward. You need a solid, flat base. If you are working on concrete, you need a self-leveling underlayment (SLU). This is a specialized cementitious product with high flow characteristics. You mix it, pour it, and let gravity do the work. On wooden subfloors, you might need to sand down high spots or screw down 1/4 inch plywood underlayment. The goal is a flat plane. A flat floor doesn’t just look better. It sounds better. It removes that hollow, cheap clicking sound that people associate with poor laminate installs.
| Blade Type | Tooth Count | Effect on Laminate | Longevity |
|---|---|---|---|
| General Purpose | 24-40 | High risk of massive chipping | Short |
| Fine Finish | 60-80 | Moderate chipping without tape | Medium |
| Laminate Specific | 80-100 | Minimal chipping, triple-chip grind | High |
| Diamond Tipped | N/A | Professional clean cuts | Very High |
The moisture trap near showers and wet areas
Laminate floors in bathrooms or near showers must be installed with a perimeter seal of 100 percent silicone to prevent water from reaching the core. While many brands claim to be waterproof, the HDF core is still organic material. If water sits in the expansion gap, it will wick into the center of the plank.
I once saw a bathroom where the homeowner used a beautiful oak-look laminate right up to the edge of a walk-in shower. They didn’t seal the expansion gap. Every time they stepped out of the shower, a small amount of water dripped into the gap. Within three months, the edges of every plank within five feet were peaked. Peaking is when the core swells and pushes the edges upward. Once that happens, the floor is toast. You cannot sand it down like real wood. If you are going near a wet area, you need to use a backer rod in the expansion gap and then top it with a bead of high-quality silicone. This allows the floor to expand and contract while keeping the water on the surface where it can evaporate or be wiped up.
Transitioning from carpet install to hard surfaces
A carpet install involves tack strips and padding which create a much higher profile than a standard laminate plank. When switching from carpet to laminate, you often find a significant height difference at the door thresholds. You cannot just leave a trip hazard. You must plan the transition before the first plank is laid.
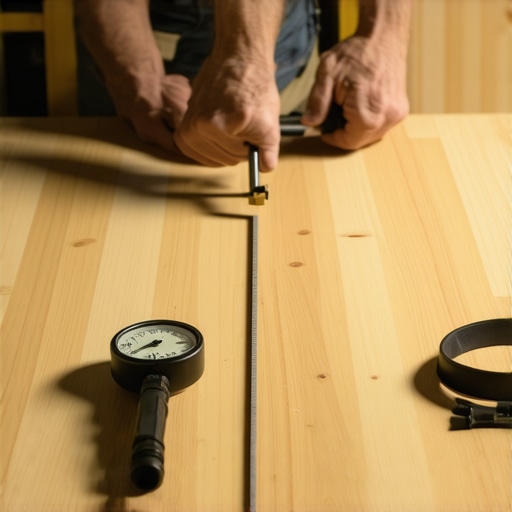
Most carpet pads are 7/16 of an inch. Add the carpet pile, and you are looking at nearly an inch of height. Laminate is typically 8mm to 12mm. That is roughly half an inch. To bridge this gap, you need a specific reducer or a T-molding. But the real secret is the subfloor transition. Sometimes you need to add a layer of thin plywood to the laminate side to bring the heights closer together. This prevents that awkward step-up. Also, remember that carpet hides a lot of subfloor sins. When you rip up that old beige shag, don’t be surprised to find cracked concrete or rotted plywood. You must fix those issues before you even think about your first cut. I always carry a moisture meter. If the subfloor is holding more than 12 percent moisture, the laminate stays in the box. We wait for it to dry, or we find the leak.
“Modern laminate wear layers are harder than natural oak, yet more fragile than glass during the cut phase.” – NWFA Technical Guidelines
- Check subfloor for flatness within 3/16 inch over 10 feet.
- Acclimate planks in the room for at least 48 hours.
- Use a 60-tooth carbide blade or higher for all crosscuts.
- Apply blue painter’s tape to both sides of the cut line.
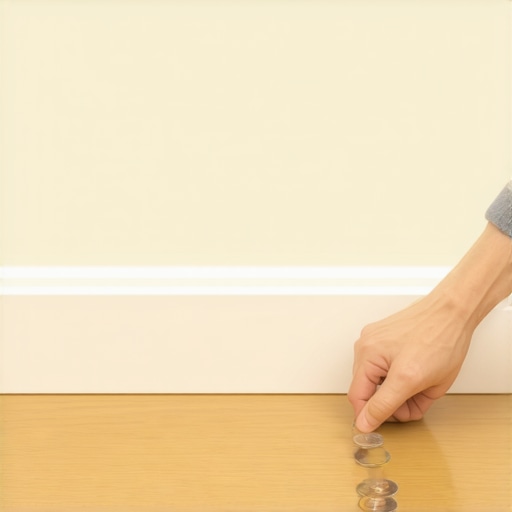
- Maintain a 3/8 inch expansion gap around all walls.
- Seal all potential water contact points with silicone.
The expansion gap is the heartbeat of the floor
The expansion gap is a mandatory 1/4 to 3/8 inch space left around the entire perimeter of the room to allow for seasonal movement. Wood and laminate are hygroscopic. They absorb moisture from the air and expand. If you install the floor tight against the drywall, it has nowhere to go. It will buckle in the center of the room.
Think of the floor as a living thing. In the summer, the humidity rises and the planks grow. In the winter, the furnace kicks on, the air dries out, and the planks shrink. If you lock the floor in place by installing heavy kitchen cabinets on top of it, you have effectively killed its ability to breathe. This is a common mistake. People install the floor, then they put a 500-pound island on top of it. The floor is pinned. When it tries to expand, the joints are forced to take all the stress. They will eventually snap. Always install cabinets first, or leave a massive expansion gap around the legs of the island and cover it with molding. The ‘Masking Tape’ secret for cutting laminate without chipping the finish is great for the eyes, but the expansion gap is what keeps the floor alive. Don’t be the guy who forgets the spacers. You will be back in six months to rip it all out and start over. I have seen it happen too many times. Take your time. Level your floor. Tape your cuts. Respect the physics of the material. That is how you build a floor that lasts thirty years instead of three.”