How to Stop Shower Grout from Staining After the First Week of Use
The smell of wet Portland cement and the high-pitched whine of a wet saw are the sounds of my morning. I have spent twenty-five years on my knees with a moisture meter and a level. I have seen every shortcut in the book. You think grout is just filler. You think it is a cosmetic choice like the color of your towels. You are wrong. Grout is a structural component of your floor assembly. It is the weakest link in the chain. Most homeowners treat a shower like a furniture showroom. They pick the tile and the grout based on a small swatch in a bright store. Then they wonder why their pristine white joints turn a sickly orange or a muddy brown after only seven days of use. Staining in that first week is not an accident of bad luck. It is a failure of physics and a total disregard for the chemistry of hydration. If you want a floor that lasts, you have to stop thinking about aesthetics and start thinking about the molecular reality of your shower pan. Most guys skip the leveling compound. They think the underlayment will hide the dip. It won’t. I spent three days grinding concrete on a job last month just so the floor wouldn’t click like a castanet. In a shower, that same laziness shows up in the pre-slope. If that mortar bed is not perfect, the grout is doomed before you even open the bag. Water sits in those low spots. It migrates into the pores. It brings minerals and body oils with it. By the time you notice the stain, the battle is already lost.
The invisible pores that trap soap scum
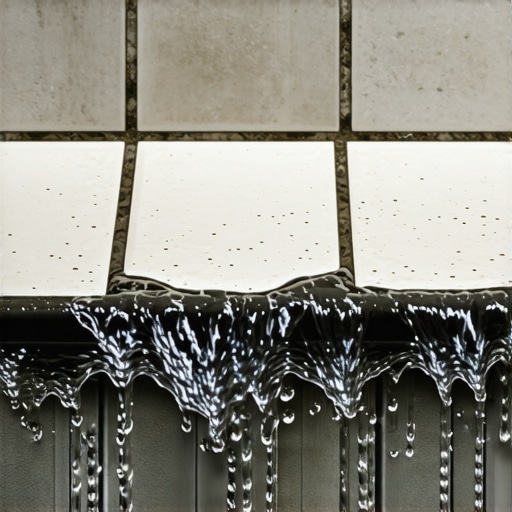
Grout stains within the first week because the porous structure of Portland cement has not achieved full carbonation or is contaminated by hard water minerals before the sealer can bond. This happens when the water to cement ratio is too high. It creates a sponge like surface that absorbs body oils and soap surfactants immediately. Most installers use too much water during the cleanup phase. They use a soaking wet sponge to wipe the tile. They are essentially washing the pigment out of the grout and leaving a microscopic network of tunnels behind. These tunnels are the perfect home for bacteria. When you step into that shower for the first week, your skin oils are sucked into those tunnels like a vacuum. You cannot scrub that out. You have to prevent it from entering. The chemistry of grout is volatile. It takes twenty eight days for cement to reach its full design strength. During those first seven days, the grout is at its most vulnerable. It is thirsty. If you feed it dirty shower water, it will drink it up. You are left with a permanent record of every shower taken that week. This is why I tell people to stay out of the shower for at least seventy two hours. Even then, you are taking a risk. The air in a place like Houston is thick with humidity. That moisture slows down the evaporation of the mix water. In a dry place like Phoenix, the grout might dry too fast and crack. You have to understand your environment before you mix the first batch.
“A floor is only as good as the subfloor beneath it; deflection is the enemy of every joint.” – Master Flooring Axiom
Why your shower pan is sabotaging the grout
A failing shower pan or a clogged weep hole causes grout to stay saturated from the bottom up, leading to rapid staining and mold growth. This is the ghost in the machine of flooring. Most people think the tile and grout are the waterproof layer. They are not. Tile is a decorative wearing surface. Grout is a permeable filter. The real work happens underneath the tile. If the installer did not clear the weep holes in the drain assembly, the water that seeps through the grout gets trapped in the mortar bed. It sits there and rots. Eventually, that dirty water wicks back up through the grout lines through capillary action. This is called shadowing. You see a dark stain that looks like dirt, but it is actually a reflection of the swamp living beneath your tile. It does not matter how much you scrub the top. The stain is coming from the bottom. I have ripped up floors that were only a month old because the smell of trapped water was unbearable. It is a structural failure disguised as a cleaning problem. You have to ensure that the pre-slope is a minimum of one quarter inch per foot. If the water cannot move toward the drain, it moves into your grout. This is the same principle I apply to floor leveling for laminate or carpet install. If the base is not flat and sloped correctly, the top layer will fail. Whether it is a buckle in a vinyl plank or a stain in a marble joint, the cause is always the same. The subfloor is lying to you.
The technical metrics of grout performance
| Grout Type | Porosity Level | Cure Time | Stain Resistance |
|---|---|---|---|
| Sanded Cement | High | 28 Days | Low |
| Unsanded Cement | Very High | 28 Days | Very Low |
| High Performance Cement | Medium | 7 Days | Medium |
| Epoxy Grout | Zero | 24 Hours | Highest |
| Pre-mixed Urethane | Low | 7 Days | High |
The myth of the one day sealer
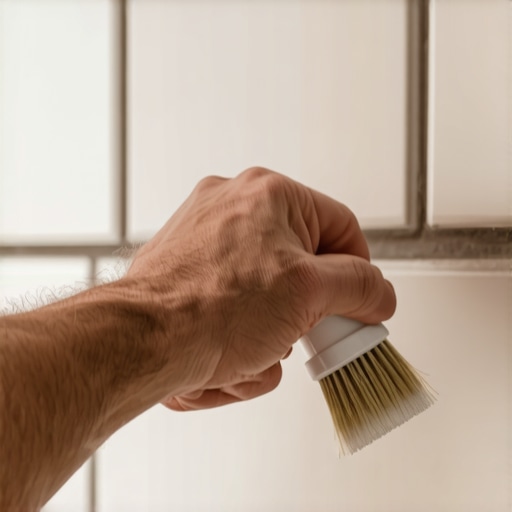
Applying a sealer to damp grout or using a low quality product too early prevents the cement from breathing and creates a cloudy film that attracts grime. Most homeowners are in a rush. They want to use their new shower. They buy a spray bottle of sealer and douse the grout twenty four hours after installation. This is a recipe for disaster. The moisture inside the grout is still trying to get out. When you apply a topical sealer, you trap that moisture. It creates a white, chalky residue called efflorescence. It looks like a stain, but it is actually salt crystals being pushed to the surface. Once those salts are trapped under a sealer, they are there forever. You have to use a penetrating sealer, not a topical one. A penetrating sealer goes into the pores and lines them with a hydrophobic coating. It does not change the look of the grout. It just stops it from being a sponge. But even the best sealer is not a magic shield. If you use harsh chemicals like bleach or ammonia, you will strip that sealer in a single afternoon. Then your grout is naked again. I always tell my clients to use a pH neutral cleaner. If you treat your floor like a high performance engine, it will run like one. If you treat it like a sidewalk, it will look like one. The mil thickness of a wear layer on a piece of laminate is designed to take a beating. The sealer on your grout is much thinner. It requires respect. Most people fail this part of the maintenance cycle because they are lazy.
“Standard grout installations require a minimum of 48 hours of dry time before exposure to light traffic and 7 days before full submersion or saturation.” – TCNA Handbook Extract
The 1/8 inch that ruins everything
Grout joints that are too narrow for the tile type or too wide for the material strength will crack and allow contaminants to bypass the surface protection. I see this in every builder grade house. They try to do tight joints with cheap, irregular tiles. The grout cannot get deep enough into the joint. It becomes a thin veneer that flakes off. Once the grout flakes, you have an open door for water. That water gets behind the tile and starts to eat the thin-set. On the other hand, if the joints are too wide and the installer used unsanded grout, it will shrink and pull away from the edges. This creates a microscopic gap. That gap is where the stains start. You need to use sanded grout for anything wider than one eighth of an inch. The sand acts as a structural aggregate. It keeps the grout from shrinking. Think of it like the rebar in a concrete slab. Without it, the grout is weak. It will crumble. When it crumbles, it becomes a trap for hair, soap, and skin cells. This is why I am a stickler for the NWFA standards when I do wood, and TCNA when I do tile. There is no room for