The ‘Blue Tape’ Trick for Grouting Without Making a Mess
The blue tape trick for grouting without making a mess
Most guys skip the leveling compound. They think the underlayment will hide the dip. It won’t. I spent three days grinding concrete on a job last month just so the floor wouldn’t click like a castanet. When you are looking at a high-end tile job, the grout is the first thing that tells on you. If your lines are sloppy or your cleanup was lazy, the whole floor looks like garbage. I have spent twenty-five years on my knees with a trowel and a sponge. I smell like damp concrete and mineral spirits most days. You learn quickly that the best way to deal with a mess is to never make one in the first place. This is where the blue tape trick comes into play. It is a technique used by the perfectionists who refuse to let haze ruin a textured tile surface.
The subfloor secret that ruins every tile job
Subfloor preparation is the primary factor in determining if your grout joints will crack or stay intact over the next twenty years. A subfloor that lacks structural integrity or flatness will cause the tile to flex, which eventually pulverizes the grout inside the joints. You need to ensure the surface is within the tolerance of one eighth of an inch over ten feet. If you ignore a dip in the slab, no amount of blue tape or fancy grout will save you from a callback. I have seen fifteen thousand dollar walnut floors turn into potato chips because of moisture, and I have seen porcelain floors snap like crackers because the installer was too lazy to use a straightedge. You grind the high spots. You fill the low spots. There is no middle ground in professional floor leveling.
“A floor is only as good as the subfloor beneath it; deflection is the enemy of every joint.” – Master Flooring Axiom
Why painters tape is the most misunderstood tool in the bucket
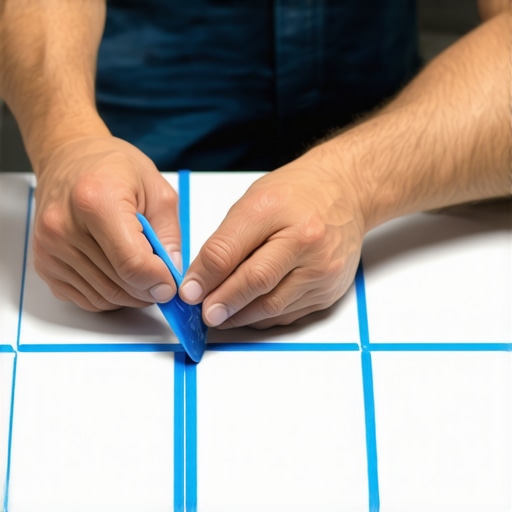
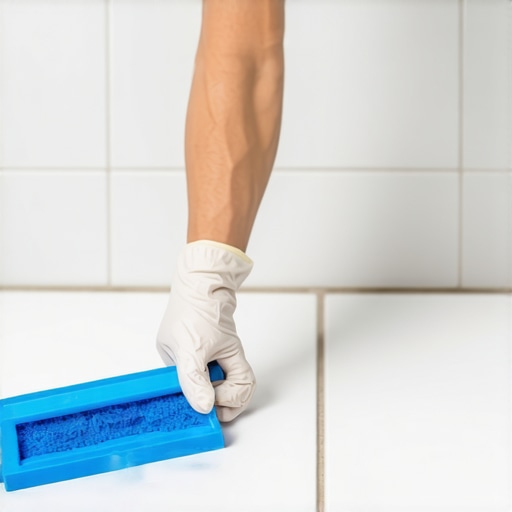
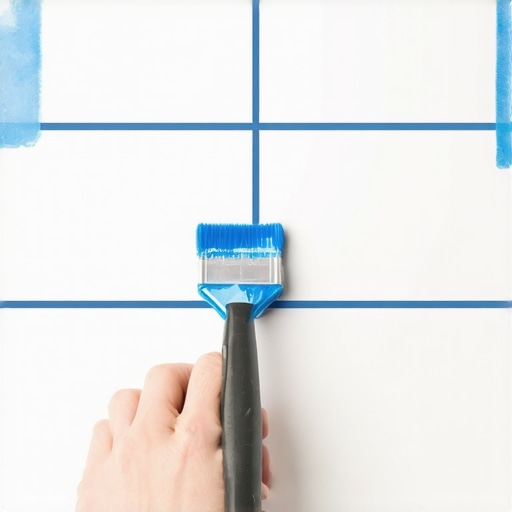
Blue painters tape acts as a sacrificial barrier that prevents grout pigments from penetrating the microscopic pores of your tile. While many believe tape is only for painting walls, it is an essential component for grouting porous stones or heavily textured wood-look planks. By masking the edges of each tile before the grout is applied, you eliminate the need for aggressive scrubbing during the cleanup phase. This protects the integrity of the tile finish and ensures that the grout stays exactly where it belongs. It requires patience to apply, but it saves hours of labor on the back end of the project.
The chemistry of grout adhesion and surface tension
Grout relies on a chemical hydration process to reach its rated compressive strength and bond to the tile edges. When you mix a polymer-modified grout, you are initiating a series of chemical reactions that create a crystalline structure within the joint. If you use too much water during cleanup, you wash away the cement fines on the surface, leading to soft, chalky joints. The blue tape trick prevents this by reducing the amount of water required for the initial wash. You are essentially bypassing the messiest part of the process. This keeps the water-to-cement ratio perfect within the joint itself. It is pure physics.
How to prep a concrete slab for zero deflection
Deflection refers to the vertical movement of a floor system under a load, which must be minimized to protect the grout. For a standard tile installation, the L over 360 standard is the baseline. This means the floor should not bend more than the length of the span divided by 360. When working with large format tiles, this requirement becomes even more stringent. You must check for moisture vapor emission rates before you even think about opening a bag of thin-set. A wet slab will push mineral salts through your grout, a process known as efflorescence. This creates white, powdery stains that are a nightmare to remove once they have set. Always use a calcium chloride test or a pinless moisture meter to verify the slab is dry.
“The maximum allowable variation in the subfloor for large format tile is 1/8 inch in 10 feet.” – TCNA Handbook for Ceramic, Glass, and Stone Tile Installation
The 1/8 inch that ruins everything in your shower
In a shower environment, the slope to the drain and the thickness of the grout joints determine the longevity of the waterproofing system. If your grout joints are too wide without the proper aggregate, they will shrink and pull away from the tile. If they are too narrow, the grout cannot properly penetrate the full depth of the joint. The blue tape trick is particularly useful in showers where you are often working with mosaic tiles or intricate patterns. It keeps the surface of the small tiles clean while you focus on packing the joints tight. You have to be precise. One small gap in the grout can allow water to migrate behind the tile and rot the wall studs over time.
The physics of the blue tape barrier
The application of blue tape creates a physical dam that contains the grout within the void between the tiles. This is not just about cleanliness; it is about compression. When you push grout into a masked joint, you can apply more pressure with the float without worrying about smearing the material across the face of the tile. This leads to a denser, stronger joint. Once the grout has reached its initial set, which is usually when it is thumbprint hard, you pull the tape at a forty-five degree angle. This leaves behind a perfectly clean edge and a joint that requires only a single light wipe with a microfiber cloth. It is the difference between a hack job and a masterpiece.
| Grout Type | Open Time | Chemical Resistance | Subfloor Requirement |
|---|---|---|---|
| Sanded Grout | 30 Minutes | Moderate | Standard Rigid |
| Unsanded Grout | 20 Minutes | Low | Narrow Joints |
| Epoxy Grout | 15 Minutes | High | Zero Deflection |
Moisture and the silent killer of laminate transitions
Laminate and other floating floors require specific expansion gaps at every perimeter to prevent buckling during humidity shifts. While we are talking about grout, it is important to remember that not every floor gets a hard joint. If you are transitioning from a tiled bathroom to a laminate hallway, you must use a transition strip. Many installers make the mistake of grouting the gap between tile and laminate. This is a failure. The laminate needs to move. If you lock it in place with grout or caulk, the floor will peak at the seams. You must respect the expansion requirements of the material. A floor is a living thing that breathes with the seasons. If you do not give it room, it will destroy itself.
Mastering the tape application checklist
- Vacuum every joint to remove dust and debris that interfere with the bond.
- Select a high-quality painters tape with a medium tack to avoid adhesive transfer.
- Apply the tape exactly to the edge of the tile without overlapping into the joint space.
- Press the tape edges down firmly with a laminate roller or a clean rag to prevent bleed-through.
- Mix your grout in small batches to ensure it does not skin over before you finish the section.
- Pull the tape while the grout is still pliable but firm enough to hold its shape.
The reality of wear layers and surface protection
The thickness of a wear layer on a floor determines how much abuse it can take before the aesthetic is compromised. Whether you are dealing with a 20-mil LVP or a glazed porcelain tile, the surface is the only thing standing between the environment and the core of the product. The blue tape trick is a form of surface protection during the most dangerous part of the install. Grout is abrasive. It contains silica sand. When you rub that sand across the face of a tile with a sponge, you are essentially sanding the finish. By using tape, you limit the contact between the abrasive grout and the finished surface. This is how you maintain the factory sheen on high-end materials. It is a simple step that separates the pros from the amateurs. It is about respect for the material and the craft. Stop rushing. Use the tape. Level your floors. Do it right the first time so you do not have to do it again in six months.