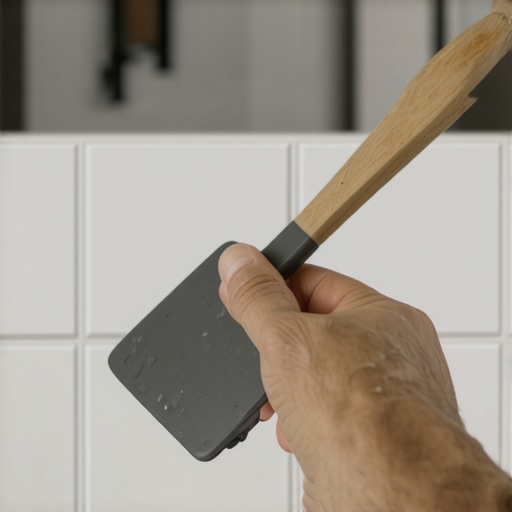
The ‘Wet Spatula’ trick for smoothing grout
Most guys skip the leveling compound. They think the underlayment will hide the dip. It won’t. I spent three days grinding concrete on a job last month just so the floor wouldn’t click like a castanet. This is the reality of the trade. If you do not respect the physics of the substrate, the finish will fail. Whether you are dealing with a carpet install or high-end tile, the foundation dictates the lifespan. I have seen fifteen thousand dollar wide-plank floors turn into potato chips because of a one percent variance in moisture. You have to be a scientist first and an installer second. People ask about the wet spatula trick for smoothing grout as if it is a magic wand. It is actually a lesson in surface tension and cementitious hydration. When you run a damp, non-porous edge over a grout joint, you are not just making it look pretty. You are compacting the aggregate and ensuring the polymer chains at the surface lock together without being washed away by a soaking wet sponge. This article breaks down the technical reality of flooring from the subfloor to the final grout line.
The physics of the wet spatula trick
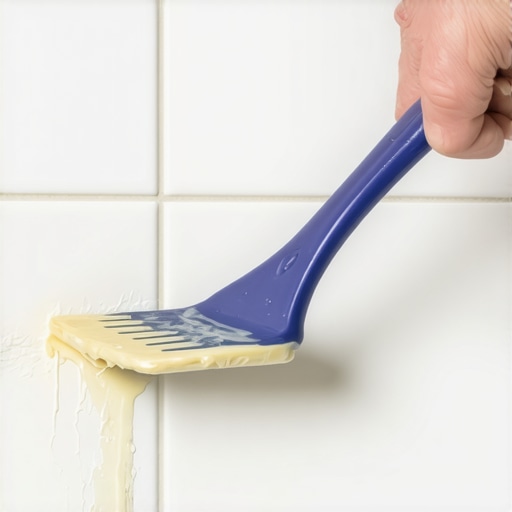
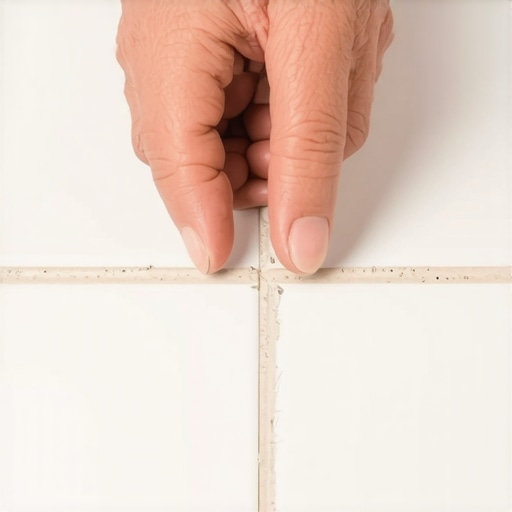
The wet spatula trick for smoothing grout works by using controlled moisture and mechanical pressure to densify the joint surface. Unlike a sponge, which can pull too much pigment and binder out of the grout, a damp metal or plastic spatula creates a smooth, closed-pore finish. This prevents the grout from becoming powdery or inconsistent in color. When you apply this technique, you are managing the water-to-cement ratio at the interface. If you use a dripping wet tool, you will cause efflorescence. If the tool is bone dry, it will drag and tear the surface of the grout. The sweet spot is a thin film of water that allows the tool to glide while slightly compressing the material into the joint. This is especially important in showers where the grout must be as dense as possible to resist water penetration. A dense grout joint is less porous, meaning it will absorb fewer oils and soaps over time. Most DIY installers ruin their grout by over-washing. They use a bucket of water and a sponge until the joints are concave and the color is washed out. The spatula method keeps the joint flush with the tile edge, providing a professional look that actually lasts. It requires patience and a steady hand, but the results speak for themselves in the longevity of the installation.
The ghost in the expansion gap
Expansion gaps are the most misunderstood element of professional flooring installations, particularly with laminate and hardwood. A floating floor is a living entity that expands and contracts with every change in relative humidity. If you do not leave at least a quarter inch of space at every vertical obstruction, the floor will eventually find a way to move. I have walked into jobs where the laminate was buckled four inches off the ground because the installer ran it tight to the baseboards. The physics of wood fiber means that when the humidity rises, the planks grow. If there is no gap, the force of that expansion has nowhere to go but up. This creates a trampoline effect that eventually snaps the locking mechanisms. These locking mechanisms are often only a few millimeters thick. They cannot withstand the torque of a room full of expanding planks. Many people try to hide the gap with heavy transition strips or by pinning the floor down with kitchen islands. This is a death sentence for the floor. You must treat the floor as a single, moving diaphragm. If you lock one side with a heavy cabinet and the other side with a tight fit, the middle will eventually fail. I always use spacers and check them three times before I put the baseboards on. It is the difference between a floor that lasts twenty years and one that fails in twenty months.
“A floor is only as good as the subfloor beneath it; deflection is the enemy of every joint.” – Master Flooring Axiom
Why your subfloor is lying to you
Subfloor levelness is measured by the 1/8 inch over 10 feet rule, which is the industry standard for most hard surface installations. If your concrete slab or plywood subfloor has a hump or a dip greater than this, your floor will fail. In floor leveling, we use self-leveling underlayment or mechanical grinders to achieve a flat plane. A subfloor might look flat to the naked eye, but once you put a straightedge on it, the lies are revealed. Dips in the subfloor cause the floor to flex. This flexing, known as deflection, is what causes grout to crack in tile installations and joints to separate in laminate flooring. I once spent an entire week on my knees with a diamond cup wheel grinding down high spots in a high-rise condo. The dust was everywhere, but it was the only way to ensure the large-format tile wouldn’t lippage. You cannot simply use more thin-set to bridge a gap. Thin-set is an adhesive, not a leveler. As it cures, it shrinks. If you have a half-inch of thin-set in one spot and an eighth-inch in another, the tile will pull unevenly, leaving you with a jagged, uneven surface. For a carpet install, you can be a bit more forgiving, but even then, a major dip will be felt under the pad and will eventually cause premature wear in the carpet fibers.
The 1/8 inch that ruins everything
Precision in flooring is not about aesthetics; it is about preventing the mechanical failure of materials. When we talk about a 1/8 inch variance, we are talking about the limit of what modern flooring joints can handle. In showers, a 1/8 inch mistake in the pitch of the mortar bed can lead to standing water, which eventually rots the waterproofing membrane. In a carpet install, failing to stretch the material by that extra 1/8 inch per foot will result in ripples within two years. These ripples are more than an eyesore; they are a trip hazard and a point of accelerated wear. When installing laminate, that same 1/8 inch gap at a transition can be the difference between a clean look and a trip point. I am a stickler for the NWFA and TCNA standards because they are written in the blood of failed jobs. They tell us exactly how much moisture a concrete slab can have before you have to apply a vapor barrier. Most installers don’t even own a moisture meter. They just