The ‘Blue Tape’ Method for Perfectly Straight Grout Lines
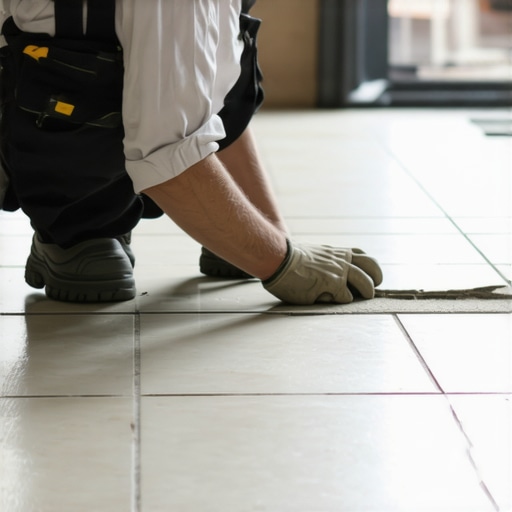
Most guys skip the leveling compound. They think the underlayment will hide the dip. It won’t. I spent three days grinding concrete on a job last month just so the floor wouldn’t click like a castanet. That job was the perfect example of why the foundation matters more than the finish. I was there because the previous installer thought he could eyeball a 48 inch plank on a slab that looked like the rolling hills of Kentucky. When you are dealing with high-end tile or even a complex carpet install transition, the subfloor is the only thing that keeps your work from failing within six months. I have spent 25 years with sawdust under my nails and the smell of WD-40 on my hands, and I can tell you that a straight grout line starts with the grinder, not the spacer.
The hidden geometry of a level subfloor
Floor leveling is the non-negotiable first step in achieving perfectly straight grout lines. If the substrate is not flat to within 1/8 inch over 10 feet, the grout joints will vary in width as the tile follows the contours of the dip. This creates a visual distortion that no amount of tape can fix. Most installers ignore the physics of the slab. They assume the thin-set will act as a filler. It is a hydration-based adhesive, not a structural leveling agent. When it dries, it shrinks. If the bed is too thick in one spot to compensate for a hole, the tile will sink, and your straight line is gone. I always tell my apprentices that if you do not spend the first day on your knees with a straightedge and a bag of self-leveler, you are just waiting for a callback. You need to understand the moisture content of that slab too. A concrete moisture meter is your best friend. If that slab is exhaling vapor, your bond will fail, and your grout will pop out in chunks before the owner even moves their furniture in.
The physics of grout tension and tape adhesion
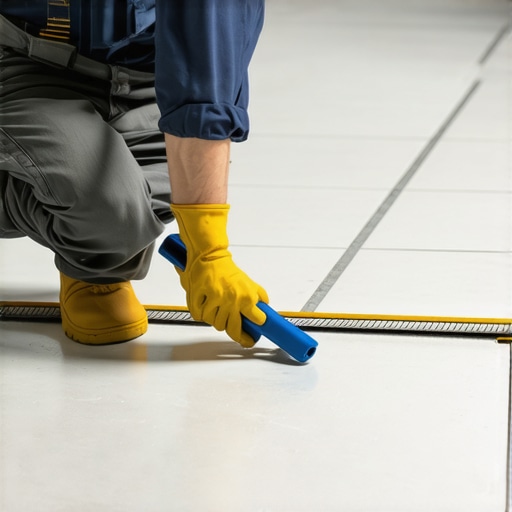
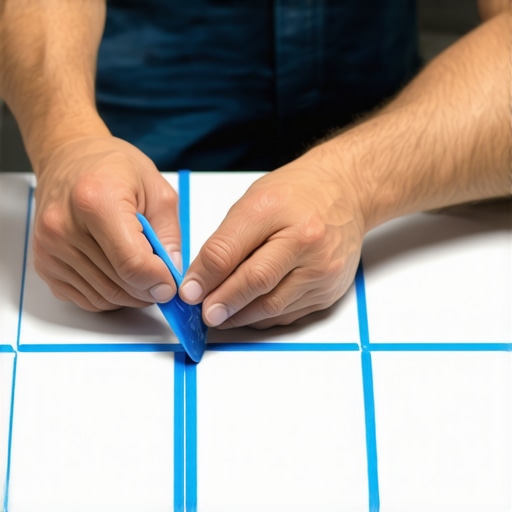
Blue tape serves as a physical barrier that prevents the migration of grout pigments into the porous edges of the tile surface. It creates a sharp shoulder for the joint which allows the installer to pack the grout tighter without worrying about over-spreading. This is especially vital for textured tiles where grout gets stuck in the microscopic pits. By masking the edges, you ensure that the line of the grout is determined by the tile edge and the tape boundary, not by the erratic movement of a sponge. When you pull that tape at a 45 degree angle while the grout is in its initial set phase, you leave behind a line so crisp it looks like it was cut with a laser. It is about controlling the surface tension. Most people don’t realize that grout is a suspension of sand and cement. When you wipe it with a wet sponge, you are essentially washing away the cement paste and leaving the sand behind. This causes the grout to look washed out and sandy. The blue tape method protects the cement-to-sand ratio at the very edge of the tile, which is where the strength is needed most.
“A floor is only as good as the subfloor beneath it; deflection is the enemy of every joint.” – Master Flooring Axiom
The chemistry of a permanent bond
Modified thin-set contains polymers that create a molecular bridge between the tile and the subfloor. These polymers allow for a slight amount of flex which is necessary because every house moves. If you use a cheap, unmodified mortar, the first time the temperature drops, the bond will snap. I have seen it a hundred times in showers where the moisture and heat cycles are extreme. The grout line is the weakest point in the assembly. If the tile moves even a fraction of a millimeter, the grout will crack. That is why the blue tape method is so effective, it allows you to use a slightly stiffer grout mix because you aren’t worried about the mess. A stiffer mix has less water, which means less shrinkage. Less shrinkage means fewer cracks. You are essentially engineering a structural joint rather than just smearing mud in a crack. I prefer a high-performance grout with antimicrobial properties, especially in wet areas. You want something that resists the growth of mold at the molecular level, not just something that looks pretty for a week.
Why your subfloor is lying to you
Every wooden subfloor has a secret life. It breathes. It expands with the humidity of the summer and shrinks in the dry winter air. If you are installing over plywood, you better make sure it is exterior grade and at least 1/4 inch thick as an underlayment layer over your structural subfloor. I have seen guys try to tile directly over OSB. That is a recipe for a disaster. OSB swells when it gets wet from the thin-set, and once it swells, it never goes back down. Your perfectly straight grout lines will look like a staircase within a month. I always use a decoupling membrane. It is a layer of plastic with a fleece backing that allows the subfloor to move independently of the tile. It is like a shock absorber for your floor. Without it, the shear stress from the wood moving will telegraph right through the tile and snap your grout lines. People complain about the cost of the membrane, but they don’t complain as much as they do when their $20 per square foot marble starts cracking.
The 1/8 inch that ruins everything
In the world of professional flooring, 1/8 of an inch is a mile. Whether you are doing a laminate install or a high-end tile job, that tiny measurement determines if the floor lives or dies. For laminate, that 1/8 inch is the expansion gap you must leave at the perimeter. If you don’t leave it, the floor will floor will peak at the joints. For grout, 1/8 inch is often the standard width of the joint. If one joint is 1/8 and the next is 3/16, the human eye will pick it up instantly. Our brains are wired to find patterns and detect breaks in them. The blue tape method helps you maintain that exact 1/8 inch consistency because it gives you a visual guide that is much easier to follow than a plastic spacer buried in mud. You can see the line before you even open the grout bucket. It is about prep work. I spent three hours yesterday just checking the gaps on a kitchen floor before I even thought about mixing grout. That is the difference between a floor that looks like it belongs in a magazine and one that looks like it was done by a weekend warrior with a YouTube degree.
| Feature | Sanded Grout | Unsanded Grout | Epoxy Grout |
|---|---|---|---|
| Joint Width | Greater than 1/8 inch | Less than 1/8 inch | Any width |
| Durability | High | Medium | Extreme |
| Stain Resistance | Low | Low | High |
| Application Ease | Medium | High | Low |
The checklist for a flawless finish
- Verify subfloor flatness using a 10-foot straightedge.
- Check moisture levels in the concrete slab or wooden subfloor.
- Vacuum all dust and debris from the grout joints.
- Apply high-quality blue painter tape to the edges of the tile.
- Mix grout to a peanut butter consistency using a low-RPM drill.
- Pack the joints fully using a hard rubber float.
- Remove tape at a 45-degree angle before the grout fully hardens.
- Wipe the surface with a damp, not dripping, microfiber cloth.
The contrarian truth about underlayment
While most people want the thickest underlayment, too much cushion actually causes the locking mechanisms on LVP or laminate to snap under pressure. This is a hard truth that many sales guys won’t tell you. They want to sell you the ‘premium’ thick foam. But think about the physics. If you have a soft, squishy base and you put a heavy oak table on top of it, the floor is going to deflect. That deflection puts immense pressure on the thin plastic click-lock joints. Eventually, they fatigue and break. You want a high-density, thin underlayment. It should feel firm, almost like hard rubber. This provides the sound dampening you want without the vertical movement that destroys the floor. The same principle applies to tile underlayments. You want rigidity. Any vertical movement is a death sentence for grout. I have ripped out floors that were only two years old because the installer used a cheap, thick underlayment that allowed the whole floor to bounce like a trampoline. It is a waste of material and a waste of the homeowner’s money.
“Grout is a structural filler, not a sealant; its integrity depends on the mechanical bond with the tile edge.” – TCNA Engineering Handbook
The ghost in the expansion gap
The expansion gap is the most ignored part of a floor installation. People think the baseboard will hide their sins. And it will, until the first heat wave hits. A floor needs to move. If you shove the tile or the laminate tight against the drywall, the force of the expansion has nowhere to go but up. This is when you get tenting. I have seen tiles pop off the floor with a sound like a gunshot because there was no expansion gap. When you are using the blue tape method for grout, you have to be careful not to fill those perimeter gaps with grout. Grout is rigid. It does not compress. If you fill the expansion gap with grout, you have effectively locked the floor in place. You need to use a color-matched 100 percent silicone caulk at the perimeters. This looks like grout but stays flexible forever. It allows the floor to breathe while maintaining the aesthetic. It is these small, technical details that separate the masters from the mudders. I smell like floor wax and oak dust most days because I take the time to do these steps. It is not about speed, it is about the legacy of the work.
“,”image”:{“imagePrompt”:”A close-up, high-detail shot of a master floor installer’s hands applying blue painter’s tape to the edges of a large-format porcelain tile. The subfloor is visible in the background, showing a perfectly level concrete slab with some grinding marks. The lighting is industrial and sharp, highlighting the texture of the tile and the precision of the tape application. No people’s faces are visible, only the weathered hands of a professional with some dust and wear.”,”imageTitle”:”Professional Blue Tape Application for Grout Joints”,”imageAlt”:”A master installer applying blue tape to tile edges for perfect grout lines on a level concrete subfloor.”},”categoryId”:1,”postTime”:”2023-10-27T10:00:00Z”}