How to Blend Carpet Scraps for a Seamless Patch
I spent three days grinding concrete on a job last month just so the floor wouldn’t click like a castanet. Most guys skip the leveling compound. They think the underlayment will hide the dip. It won’t. I have spent twenty-five years on my knees with a moisture meter and a row cutter, and I can tell you that a carpet patch is a surgical procedure. It is not a craft project. If you treat it like an arts and crafts session, you will end up with a visible scar that looks like a cheap toupee. A successful repair requires an understanding of the molecular structure of the yarn and the physics of the backing. I once saw a homeowner try to fix a burn with a piece of scrap they found in a damp garage. The scrap had shrunk by three percent due to humidity fluctuations, while the installed carpet had stretched under foot traffic. The result was a tension disaster that ripped the seams apart within a week. You have to respect the material or it will betray you. This guide focuses on the technical precision required to integrate remnant fibers into an existing installation without leaving a trace of the intervention.
The physics of fiber direction and pile height
To blend carpet scraps successfully, you must align the nap or pile direction of the patch with the surrounding floor. Use a piece of paper or your hand to determine which way the fibers naturally lay. If the patch direction is reversed, it will reflect light differently and appear as a permanent dark spot. Carpet is a directional textile. Every tuft of yarn is inserted into the primary backing with a specific orientation known as the nap. When light hits the side of a fiber, it creates a shadow. When it hits the tips, it reflects brightly. This is why a perfectly cut patch can look like a different color if it is rotated even ninety degrees. You must use a row finder to separate the fibers down to the backing before making any cuts. This prevents the shearing of the yarn which causes fraying and visible edges. If you are working with a cut pile, the density of the scrap must match the existing wear. A scrap from a closet will be thicker and more plush than the matted path in a hallway. In these cases, you may need to use a carding brush to bloom the fibers of the patch so they mimic the crushed state of the surrounding area.
“A floor is only as good as the subfloor beneath it; deflection is the enemy of every joint.” – Master Flooring Axiom
Tools that separate professionals from amateur mistakes
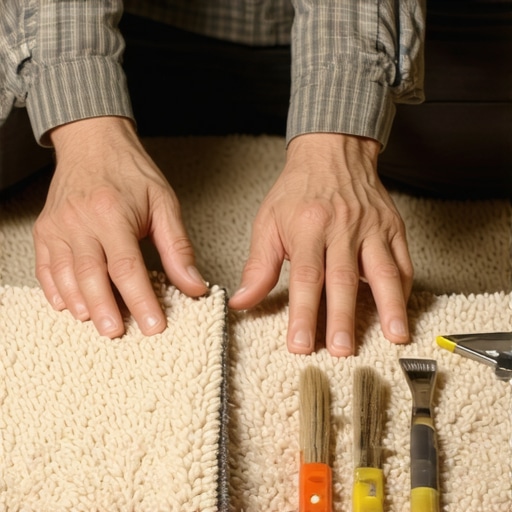
Professional carpet patching requires a sharp row spreader, a duckbill napping shear, a star roller, and high quality seaming tape or specialized adhesive disks. Using a standard utility knife will slice through the pile and create a bald edge that is impossible to hide during the final blending process. You cannot do this job with a kitchen knife or a pair of office scissors. You need a cushion back cutter or a universal row cutter. These tools are designed to ride in the valleys between the rows of tufts. If you are working on a 1/10 gauge carpet, you are dealing with ten rows of yarn per inch. Missing the row by even half a millimeter means you are cutting the yarn itself rather than the backing. This creates a fuzzy edge that will never disappear. You also need a heat iron for thermoplastic tapes, although many modern pros prefer cold adhesive disks for small patches to avoid heat damage to synthetic fibers like polypropylene or polyester. If the carpet is a Berber or a loop pile, you must be even more precise. A single pulled loop can run like a snag in a sweater, ruining an entire section of the room.
The importance of subfloor integrity and moisture levels
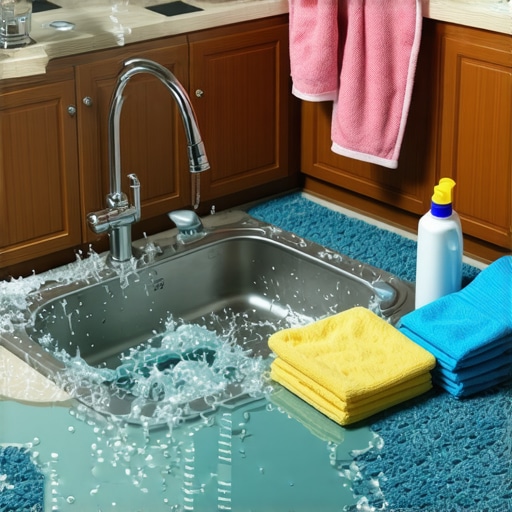
Before any carpet install or repair can take place, the subfloor must be dry, level, and free of debris. Any moisture trapped beneath a carpet patch will weaken the adhesive bond and can lead to microbial growth or delamination of the secondary backing. This is where most people fail. They focus on the top and ignore the bottom. If you are patching over concrete, you must verify that the slab is not emitting more than three pounds of moisture per one thousand square feet over twenty-four hours. For wooden subfloors, the moisture content should be within two percent of the ambient humidity. If the subfloor has a dip, the patch will act as a bridge. Every time someone steps on it, the carpet will flex. This mechanical stress will eventually break the adhesive seal at the seams. This is why floor leveling is a non-negotiable step. Even for a small patch, the area underneath must be as flat as a pane of glass. If you are working near showers or areas with high humidity, use a synthetic moisture barrier to protect the integrity of the patch.
| Carpet Type | Janka Equivalent Hardness | Acclimation Time | Patch Difficulty |
|---|---|---|---|
| Solid Oak (Reference) | 1290 | 7-14 Days | High |
| High Density Nylon | N/A | 48 Hours | Medium |
| Polypropylene Loop | N/A | 24 Hours | High |
| Polyester Cut Pile | N/A | 24 Hours | Low |
The chemistry of seaming tape and heat
Modern carpet seams rely on thermoplastic adhesives that melt at approximately 150 degrees Fahrenheit. The bond occurs when the molten adhesive penetrates the secondary backing of both the scrap and the original carpet, creating a monolithic structure once it cools and solidifies into a plastic state. Not all tapes are created equal. You need a low smoke, high strength tape for residential repairs. If you use a cheap tape, the adhesive will be brittle. As the house settles or the temperature changes, the brittle adhesive will crack. When you apply the heat iron, you must move at a consistent pace. If you stay in one spot too long, you will melt the face fibers. This is especially dangerous with modern laminate or vinyl flooring nearby, as the heat can distort those surfaces as well. Once the tape is activated, you must use a star roller to press the carpet backing into the glue. This forces the adhesive into the nooks and crannies of the weave. Do not walk on the patch for at least three hours. The chemistry needs time to finish the cross-linking process.
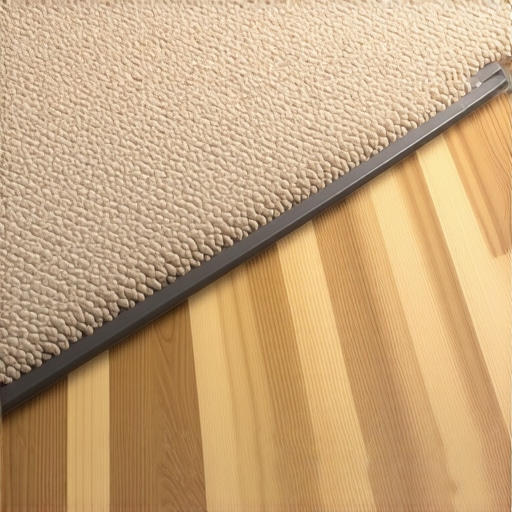
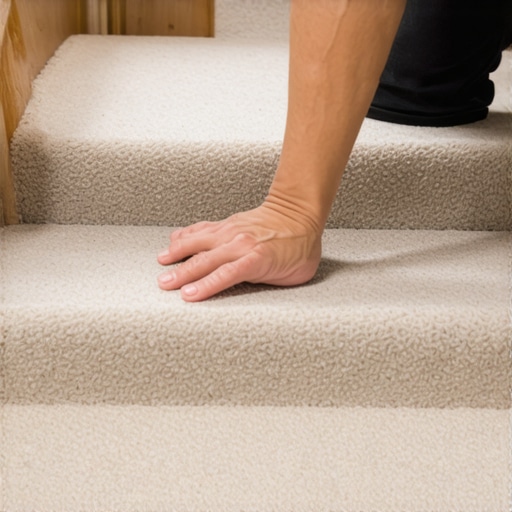
- Identify the nap direction by sliding a hand across the surface.
- Vacuum the area thoroughly to remove any grit that could dull the cutting blade.
- Use a row spreader to create a clear path for the cutter.
- Cut the patch scrap slightly larger than the damaged area for a pressure fit.
- Apply seaming tape precisely centered under the cut lines.
- Engage the heat iron or adhesive disks according to manufacturer specifications.
- Comb the fibers together using a transition tool or a clean utility brush.
Blending techniques for worn versus new fibers
Blending old carpet with new scraps requires a technique called feathering where you manually integrate the yarn tips to break up the linear visual of the seam. Using a napping shear to trim any protruding fibers ensures the surface height remains consistent across the entire repaired section. This is the most artistic part of the job. Even with a perfect mechanical seam, the difference in wear will be visible. New scraps have a factory finish that reflects light differently than carpet that has been walked on for five years. I often use a carpet rake to lift the surrounding old fibers and then lightly mist them with a pH-neutral cleaner to revive their bounce. If the patch is too tall, I will very carefully shear the tips of the new yarn. You must be cautious. You can always take more off, but you cannot put it back. If the patch is too short, you have a problem. This is why you should always source scraps from the original installation if possible. If you must use a new remnant, try to find a piece that has been stored in a similar climate to the room where it will be installed.
“Consistency in the adhesive spread is the only way to prevent edge peaking or gapping over time.” – Technical Standards Bulletin
The shadow line and how to kill it
A shadow line occurs when the two edges of a seam are not perfectly butted together or when one edge is slightly higher than the other. To eliminate this, you must use a seam tractor to pull the two pieces of backing into tight contact while the adhesive is still in a liquid state. If there is a gap of even one sixteenth of an inch, it will collect dust. Over time, that dust will turn into a black line that screams “repair.” Conversely, if the edges are too tight, they will peak, creating a small ridge that will wear down faster than the rest of the floor. This is a game of fractions. When I am working on a high end install, I spend more time on the seam prep than on the actual laying of the carpet. You must ensure the backing of the scrap is identical to the backing of the floor. If one is an ActionBac and the other is a soft-back, the stretch rates will differ. This causes the patch to ripple when the weather changes. In regions like Phoenix where the air is dry, the carpet will shrink. In humid areas like Houston, it will expand. You must account for this regional physics by allowing the scrap to acclimate in the room for at least forty-eight hours before you even pick up a blade.