The ‘Penny’ Test for Checking Tile Lippage on Your New Bathroom Floor
Most guys skip the leveling compound. They think the underlayment will hide the dip. It won’t. I spent three days grinding concrete on a job last month just so the floor wouldn’t click like a castanet. That is the reality of modern flooring. You cannot hide a bad foundation under a pretty ceramic face. I have spent twenty-five years on my knees with a straightedge and a moisture meter. I have seen fifteen thousand dollar walnut floors turn into potato chips because the installer ignored the crawlspace. I have seen brand new bathrooms where the tile edges sit so high they could slice a toe open. If you want a floor that lasts, you stop looking at the color and start looking at the physics. You start by understanding that your subfloor is probably lying to you about being flat.
The physics of a flat plane
Subfloor flatness and surface preparation are the most critical components of any tile installation to prevent lippage. A floor must meet ANSI A108.02 standards, which require a maximum variation of 1/8 inch in 10 feet for large format tiles. Without this structural integrity, the thin-set mortar cannot compensate for the substrate deflection during the curing process.
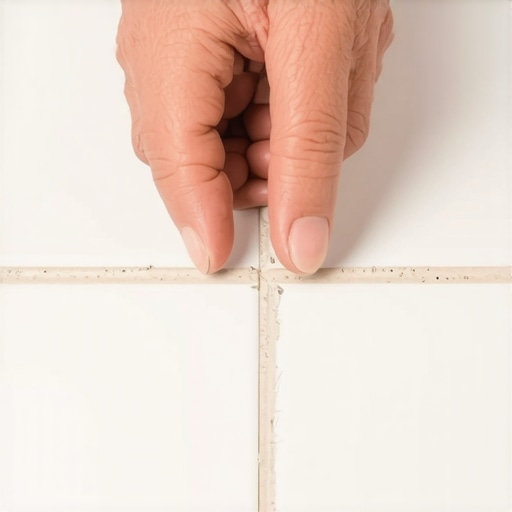
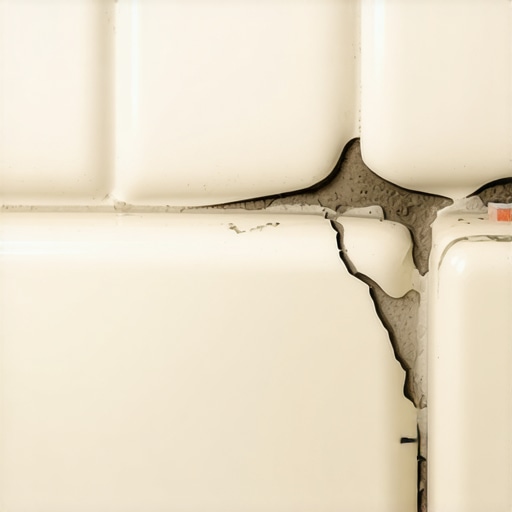
Lippage is the vertical displacement between the edges of two adjacent tiles. It happens when the floor is not flat or when the installer is sloppy. When you walk across a bathroom floor in your bare feet, you should not feel a sharp edge. If you do, the installer failed. This is not just about aesthetics. It is about safety and the longevity of the grout joints. High edges are prone to chipping. They catch the edge of a vacuum or a mop. Over time, that impact weakens the bond between the tile and the mortar. This eventually leads to a hollow sound or a cracked tile. In a shower, lippage creates tiny dams that hold water, leading to mold growth and standing puddles that never dry.
Why a penny tells the truth about your contractor
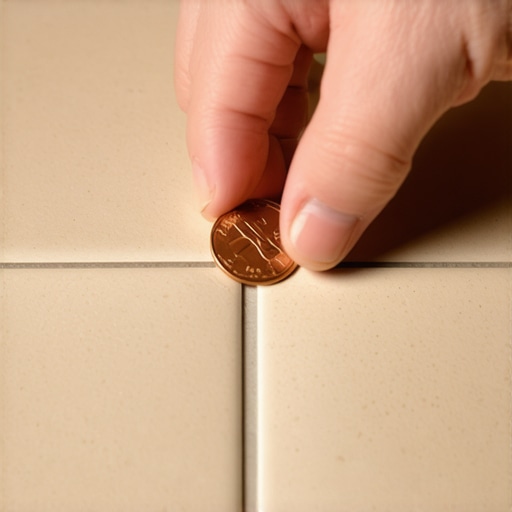
The penny test is a simple diagnostic tool used to verify if tile lippage exceeds the TCNA tolerances for a professional bathroom floor. By sliding a copper penny across a grout joint, you can determine if the vertical displacement is greater than 1/32 of an inch, which is the industry standard for acceptable installation quality.
Take a penny. Place it on the surface of a tile. Slide it across the grout joint toward the next tile. If the penny hits the edge of the next tile and stops, the lippage is too high. If the penny glides over, you are likely within the acceptable range. This test is a brutal reality check for homeowners who think their floor looks fine under soft lighting. Natural light from a window or the harsh glow of a vanity light will reveal every shadow cast by those raised edges. It is a game of millimeters. In the world of high-end flooring, a millimeter is a mile. I have seen guys try to argue that the tile was warped. Sometimes it is. But a real pro knows how to work around a bowed tile by using a larger grout joint or a specific offset pattern. You do not just slap it down and hope for the best.
“A floor is only as good as the subfloor beneath it; deflection is the enemy of every joint.” – Master Flooring Axiom
The geometry of lippage in large format tiles
Large format tiles require a leveling system and high-bond mortar to manage the inherent bowing found in porcelain manufacturing. Because rectified edges are so sharp, even a 1/32 inch height difference becomes a trip hazard. Utilizing mechanical spacers ensures that the capillary action of the wet thin-set does not pull tiles out of alignment.
Today everyone wants big tiles. They want those thirty-six inch planks or the twenty-four by forty-eight slabs. These tiles are almost never perfectly flat. They have a slight crown in the middle from the firing process in the kiln. If you install them in a fifty percent offset, like a brick pattern, the highest point of one tile sits next to the lowest point of the next. That is a recipe for disaster. The industry standard is a thirty-three percent offset for a reason. It minimizes the visual and physical impact of that natural bow. If your installer does not know about the thirty-three percent rule, he is not an installer. He is a guy with a bucket and a trowel who is about to ruin your bathroom.
Deflection and the structural failure of joists
Floor leveling is impossible if the structural joists exhibit excessive deflection under dead loads or live loads. A subfloor must be stiffened to a L/360 rating for ceramic tile or L/720 for natural stone to prevent the cleavage of mortar bonds. Plywood thickness and joist spacing determine whether the finished floor will crack or delaminate over time.
I have walked onto jobs where the homeowner wanted heavy marble on a floor built with two-by-eight joists spanning sixteen feet. That floor is going to bounce like a trampoline. You can put down all the leveling compound you want, but the second someone walks on it, the grout will turn to powder. I tell people all the time that we need to crawl underneath and sister those joists or add a layer of three-quarter inch marine-grade plywood. They complain about the cost. Then they call me two years later when their marble is cracked. You cannot fight physics. The floor is a system. It starts at the foundation and ends at the sealer. If any part of that chain is weak, the whole thing fails. I do not care how much you paid for the tile if the wood underneath it is junk.
Lippage Tolerances for Modern Installations
| Tile Category | Grout Joint Width | Max Allowable Lippage |
|---|---|---|
| Rectified Porcelain | 1/16 inch | 1/32 inch |
| Non-Rectified Ceramic | 3/16 inch | 1/16 inch |
| Natural Slate | 1/4 inch | 1/8 inch |
| Large Format Plank | 1/8 inch | 1/32 inch |
Thin set chemistry and the shrinking bond
Polymer-modified mortars provide the tensile strength and shear bond necessary to hold non-porous porcelain to a concrete substrate. However, excessive mortar thickness can lead to evaporative shrinkage, which pulls the tile downward as it dehydrates. This chemical contraction is a frequent cause of post-installation lippage in showers and wet rooms.
A lot of guys think more thin-set is better. They use a half-inch notch trowel and leave huge mounds of mud. As that water leaves the mortar, the volume of the material decreases. The tile sinks. If one tile has more mud under it than the one next to it, they will sink at different rates. Suddenly, you have lippage that was not there when you finished the job the night before. This is why we use leveling clips. Those little plastic wedges hold the tiles in a single plane while the chemistry happens. It fights the shrinkage. If your guy is not using a leveling system on large tiles, he is living in the 1980s. The materials have changed. The chemistry has changed. The methods have to change too.
The myth of the self leveling fairy
Floor leveling compounds are liquid underlayments that require mechanical agitation and priming to bond to the subfloor. They are not truly self-leveling and require an installer to use a gauge rake and spiked roller to maintain the liquid density. Failure to prep the substrate results in pinholes and delamination of the wear layer.
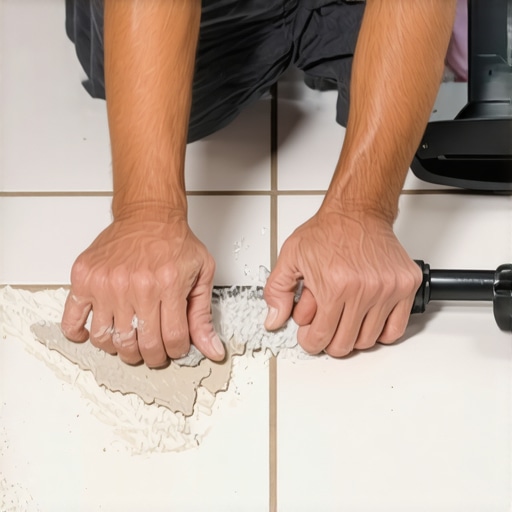
I laugh when I see people just pour a bag of leveler on a dusty floor. It will peel up like an orange skin in six months. You have to vacuum. You have to prime. You have to seal the perimeter so the liquid does not leak into the walls. It is a messy, technical process. If you are prepping for a carpet install, you can get away with some minor dips. If you are doing laminate, you need it flatter. But for tile, it has to be perfect. There is no flexibility in a piece of fired clay. It does not bend. It only breaks. I spend more time with a floor grinder and a vacuum than I do with a tile saw. That is the secret to a floor that looks like a sheet of glass. It is all in the prep work that nobody sees.
Critical Checklist for Subfloor Readiness
- Verify moisture content of wood subfloor is within 2 percent of the ambient humidity.
- Check concrete slab for relative humidity using in-situ probes before applying primer.
- Ensure joist deflection meets the L/720 standard for all natural stone applications.
- Remove all paint, wax, and drywall mud to ensure a mechanical bond for the mortar.
- Sand down high spots in plywood and fill low spots with fiber-reinforced leveler.
- Establish a thermal expansion gap of 1/4 inch at all vertical wall intersections.
Showers and the dangerous slope
Shower floors require a pre-slope of 1/4 inch per foot toward the drain assembly to ensure gravity-fed drainage. Using small mosaic tiles is the industry preference because they conform to the sloped substrate without creating sharp edges. High lippage in a shower leads to efflorescence and hygroscopic pressure issues within the mortar bed.
If you put large tiles in a shower pan, you are asking for trouble. You have to cut them into envelopes to make them follow the slope. This creates sharp points right where you stand. I always recommend two-by-two mosaics for shower floors. They follow the curve of the mud bed perfectly. You get more grout lines, which means more slip resistance. It is practical. A bathroom floor should not be a skating rink. It should be a safe, engineered surface. When we talk about showers, we are talking about water management. If the water does not get to the drain because it is trapped by a high tile edge, you are going to have a smelly bathroom and a failing liner. It is that simple.
“Lippage is a condition where one edge of a tile is higher than the adjacent tile, giving the finished surface an uneven appearance.” – Master Flooring Axiom
Transitions between laminate and tile
Transition strips and T-moldings are necessary to hide the expansion gap between ceramic tile and laminate flooring. Because laminate is a floating floor, it moves with seasonal humidity changes, while tile is rigidly bonded. Proper floor leveling ensures that the height transition is flush and avoids a stumble point.
While most people want the thickest underlayment, too much cushion actually causes the locking mechanisms on LVP or laminate to snap under pressure. You want a firm base. When you transition from a thick tile to a thinner laminate, you have to plan that height difference in the subfloor. I have seen guys try to build up the laminate side with extra foam. It is a disaster. The floor feels like a sponge. You should use a feathering compound to create a gentle ramp. You want that transition to be so smooth you can walk over it in the dark and never notice the change in material. That is the mark of a master. It is not about the tile. It is about the transition. It is about how the whole house works together as a single structural unit.
The humidity factor in modern bathrooms
Vapor emissions from a concrete slab can reach hydrostatic levels that blow the tile right off the thin-set. In high-humidity regions, using a waterproofing membrane like Schluter-Kerdi is not optional. It is a protective barrier for the structural assembly. Acclimation of all flooring materials for forty-eight hours is mandatory to reach equilibrium moisture content.
You cannot just bring tile in from a freezing truck and stick it down on a hot floor. The thermal shock will mess with the bond. Everything needs to reach the same temperature. I have seen guys rush a job and the whole floor tented up a week later. It looked like a little mountain range running through the kitchen. All because they did not wait two days for the materials to acclimate. Flooring is a game of patience. If you are in a rush, go buy a rug. If you want a floor that your grandkids will walk on, you follow the rules. You check the lippage. You use the penny. You respect the chemistry of the mortar. You treat that subfloor like the foundation of a skyscraper. Because at the end of the day, the tile is just the skin. The subfloor is the soul of the room.