How to Stretch a Carpet That Has Rippled in the Middle of a Room
Professional Methods for Eliminating Mid-Room Carpet Ripples
I once spent four hours power-stretching a basement carpet because the original crew used a knee kicker and called it a day. They thought the ripples would settle over time. They did not settle. Instead, they grew into a massive trip hazard that almost sent the homeowner to the emergency room. This is the reality of shoddy flooring work. Most people think a ripple in the carpet is just an aesthetic annoyance, but as a guy who has spent twenty-five years with his knees on a subfloor, I can tell you it is a structural failure. It is the result of ignored physics and lazy installation. When a carpet is not tensioned to the specific requirements of the Carpet and Rug Institute standards, it will eventually lose its grip. The secondary backing will relax and the fibers will migrate until you have a wave in the middle of your living room. Fix it right or do not fix it at all.
The structural mechanics of carpet tension
Carpet ripples in the middle of a room are caused by a loss of tension between the perimeter tack strips and the internal backing of the textile. To fix this, an installer must use a power stretcher to physically elongate the synthetic backing and reset the teeth of the tack strip. Simply kicking the carpet with a knee kicker will not provide the necessary force to move the mass of the material over a long distance. Carpet is a complex composite of primary backing, secondary backing, and a layer of latex adhesive holding them together. If you do not understand the tension limits of that latex, you will cause delamination. This is why a professional restretch is a surgical operation, not a DIY afternoon project.
The physics of the situation are simple. A room that is twenty feet wide requires a specific amount of stretch, usually about one percent to one and a half percent of the total length. In a large room, that means you are physically growing the carpet by several inches. If that slack is not moved all the way to the wall and trimmed off, it stays in the middle of the floor as a ripple. Heat and humidity play a massive role here as well. In high-humidity environments, the jute or synthetic backing absorbs moisture and expands. If the carpet was installed on a dry winter day without enough tension, the first humid day of summer will turn the floor into a series of rolling hills.
Why a knee kicker is never enough for a large room
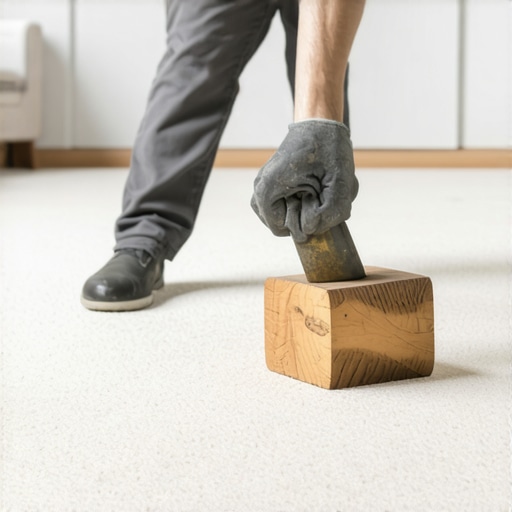
A knee kicker is a tool designed for positioning carpet in tight spaces or hooking it onto tack strips in small closets or on stairs. It is not a tensioning device for the open field of a large room. Relying on a knee kicker for a fifteen-foot span is the primary reason ripples form in the first place because the human leg cannot generate the consistent thousands of pounds of pressure required for a permanent stretch. I see this all the time with low-bid installers who do not want to lug a heavy power stretcher case into the house. They think their knees are strong enough to beat the laws of physics. They are wrong every single time.
“A floor is only as good as the subfloor beneath it; deflection is the enemy of every joint and tension is the lifeblood of every carpet.” – Master Flooring Axiom
The power stretcher uses a long pole system that braces against one wall and uses a lever-action head to pull the carpet toward the opposite wall. This tool allows for a controlled, measurable stretch. When I set up a power stretcher, I am looking at how the backing reacts. You can actually hear the carpet tighten, a sound like a low-tuned drum. That is the sound of a floor that will stay flat for twenty years. If you just use a kicker, you are only moving the top layer of the carpet. You are not engaging the structural secondary backing that provides the stability. Over time, the carpet will just creep back to its original shape, leaving you with the same ripples you started with.
The relationship between humidity and backing expansion
Backing expansion occurs when the ambient moisture levels in a room fluctuate beyond the tolerances of the carpet material. This is particularly problematic with natural fiber backings like jute, though modern synthetic polypropylenes are also susceptible to thermal and moisture-related dimensional changes. To prevent ripples, the carpet must be acclimated to the home for at least forty-eight hours before the first cut is made. This allows the fibers to reach an equilibrium with the local environment. If you install a cold, stiff carpet from a warehouse and immediately stretch it into a warm house, it will expand and ripple within forty-eight hours.
| Tool Type | Primary Function | Effective Range | Tension Capacity |
|---|---|---|---|
| Knee Kicker | Setting tack strips | 0 to 4 feet | Low |
| Power Stretcher | Room-wide tensioning | Unlimited with poles | High (Mechanical) |
| Crain 505 | Fine detail stretching | Small rooms | Medium |
| Carpet Awl | Tucking and alignment | N/A | None |
In regions with extreme weather, like the humid South or the dry Mountain West, this acclimation is not optional. I have seen laminate floors buckle and carpet ripple in the same house because the HVAC system was not turned on until after the floors were installed. You are asking the material to perform in a vacuum. It will not happen. The subfloor also acts as a reservoir for moisture. If you have a concrete slab with a high moisture vapor emission rate, that moisture is moving through the pad and into the carpet backing. This softens the latex bond and causes the carpet to grow. Always check the slab with a calcium chloride test before you even think about laying down a pad.
Necessary equipment for a professional restretch
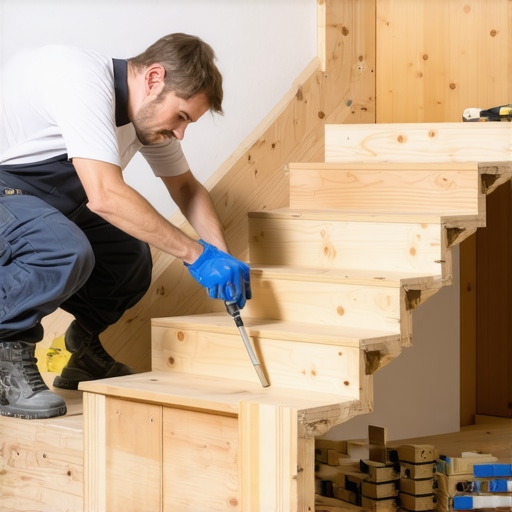
A successful carpet restretch requires a power stretcher with a full set of extension poles, a carpet tucker, a sharp row cutter, and a heavy-duty stapler for transition points. Without these tools, you are just moving a bump from one side of the room to the other without actually removing the excess material. You must also have a tail block to protect the baseboards on the bracing wall. If you brace a power stretcher directly against a baseboard without a block, you will punch a hole right through the drywall. It is about leverage and force distribution.
- Inspect the tack strips for rusted or dull pins that cannot hold tension.
- Verify the carpet pad is not bottomed out or disintegrating into dust.
- Ensure the subfloor is level and free of protruding nail heads.
- Clear the room of all furniture to allow for a full-width stretch.
- Mark the locations of any floor vents or floor-mounted electrical outlets.
One contrarian data point that most people miss is that the thickest padding is often the worst choice for preventing ripples. While homeowners want that cloud-like feel, a pad that is too thick and soft allows for too much vertical movement. This movement creates a pumping action as people walk across the floor, which eventually unhooks the carpet from the tack strips. A high-density, lower-profile pad provides a much firmer foundation and keeps the tension where it belongs. It is the same logic we use in showers or for floor leveling projects. Stability is always superior to cushion.
A technical guide to the power stretching process
The process begins by pulling the carpet off the tack strips along three sides of the room while leaving the fourth side anchored as the stationary point. This allows the installer to pull the slack toward the open walls in a systematic pattern. You do not just pull in one direction. You must stretch in a fan pattern, starting from the center of the anchored wall and moving toward the corners. This ensures the grain of the carpet remains straight and the patterns do not distort. If you stretch unevenly, your carpet will have a skewed look that is impossible to fix.
“Standard CRI 105 states that all carpet must be power stretched to prevent ripples and ensure the longevity of the installation.” – Carpet and Rug Institute Guide
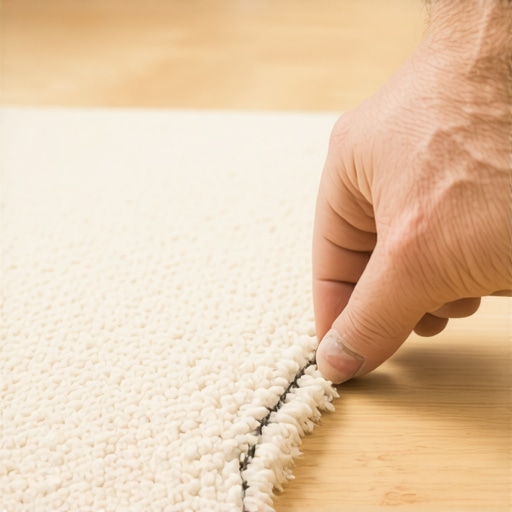
Once the power stretcher head is engaged, you apply pressure until the carpet is taut. Then, you use a carpet tucker to drive the backing deep into the pins of the tack strip. You must ensure the pins are biting into the secondary backing, not just the yarn. After the carpet is hooked, you trim the excess material with a wall trimmer. This is the moment of truth. If you see a two-inch strip of carpet on the floor after trimming, you know you have successfully removed the ripple. If you only trim a sliver, the ripple will be back within a month. You must be aggressive but careful not to overstretch and tear the seams.
When ripples indicate a total subfloor failure
Sometimes a ripple is not a stretching issue but a sign that the subfloor is delaminating or the adhesive bond has failed completely. If you see a ripple that feels crunchy when you step on it, you are likely looking at delamination. This is where the primary and secondary backings have separated. In this case, no amount of stretching will fix the problem. The carpet is structurally dead. This often happens from improper cleaning where the carpet was soaked with water, or from cheap, builder-grade materials that have reached the end of their seven-year lifespan.
You also need to look at the subfloor itself. If the plywood is bowing or if there is a dip in the floor leveling, the carpet will naturally pool in that depression. I have walked onto jobs where the client thought they needed a restretch, but they actually needed a floor leveling compound to fix a two-inch drop in the concrete slab. You cannot stretch a carpet over a hole and expect it to stay flat. The tension will eventually pull the carpet tight across the gap, creating a bridge that will quickly break down. You must address the foundation before you address the surface. That is the golden rule of every trade, from tile showers to laminate planks to high-end broadloom.