How to Hide a Carpet Patch in a High-Light Living Room
The brutal reality of natural illumination
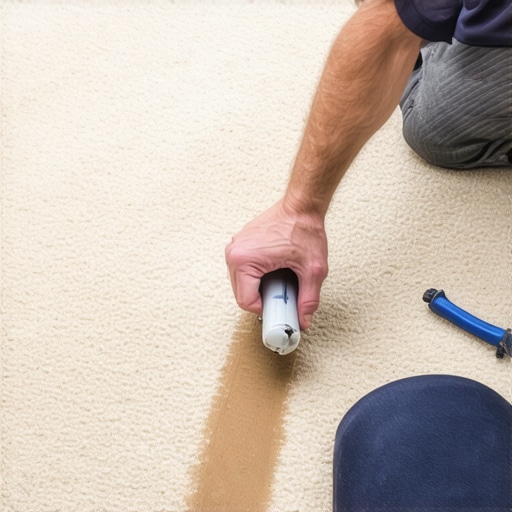
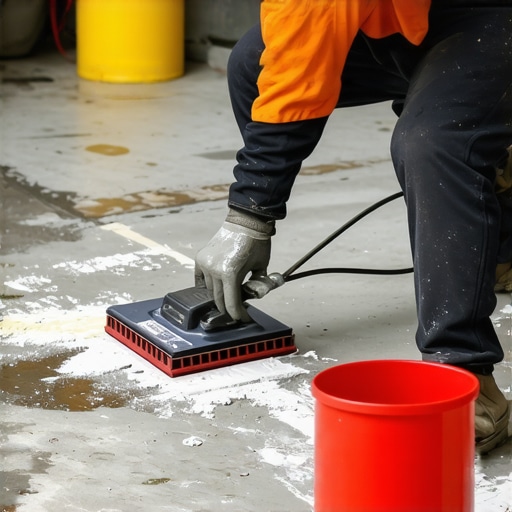
To hide a carpet patch in a high-light living room, you must align the pile direction perfectly, use a donor piece from an identical dye lot, and trim the transition fibers with surgical precision to prevent shadows. Sunlight acts as a magnifying glass for flooring imperfections. When a living room is flooded with light, any variation in the carpet install or the floor leveling underneath becomes a glaring defect. I spent three days grinding concrete on a job last month just so the floor wouldn’t click like a castanet. That same level of obsession is required for carpet patches. Most guys think they can just cut a square and glue it down. They are wrong. If the subfloor has even a millimeter of deflection, the light will catch the edge of the patch and create a permanent crescent shadow that no amount of vacuuming will fix. You are not just fixing a hole. You are managing the physics of light reflection and the structural integrity of the primary backing.
Sourcing the perfect donor material
Finding matching carpet material requires harvesting fibers from a dark closet or using remnants from the original installation to ensure the UV degradation levels are consistent across the surface. If you take a piece of brand-new carpet and drop it into a room that has seen five years of sun, it will look like a sore thumb. The ultraviolet rays in a high-light room strip the color and weaken the molecular bonds of the nylon or polyester. This is why carpet install professionals always recommend saving at least five square yards of waste from the initial job. If you do not have a remnant, your only choice is the closet. You have to be careful here. Closet carpet hasn’t been walked on. The pile height is full. The living room carpet is likely crushed. You will need to mechanically agitate the living room fibers to stand them back up before you can even think about measuring the patch. If the heights do not match, the light will hit the taller fibers and cast a shadow over the repair area, making the patch visible from every angle in the room.
“A floor is only as good as the subfloor beneath it; deflection is the enemy of every joint.” – Master Flooring Axiom
The geometry of the surgical cut
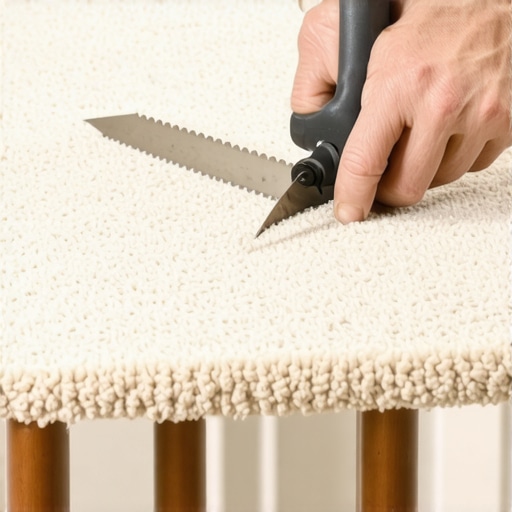
The secret to an invisible seam is the use of a row runner to cut between the yarn rows rather than cutting through the fibers themselves. When you cut through the nap of the carpet, you create a flat edge that light reflects off of differently than the surrounding twisted yarns. This is where most DIY attempts fail. You need a sharp slotted blade and a steady hand. You must find the ‘row’ or the ‘valley’ between the tufts. By cutting only the backing, you preserve the full bloom of the yarn on the edges. This allows the fibers of the patch to intermingle with the fibers of the existing floor. It is similar to a hair transplant. If the transition is abrupt, the eye catches the line. If the fibers overlap and weave together, the line disappears into the texture of the floor. This is especially true in rooms with floor-to-ceiling windows where the light comes in at a low angle during the morning or evening hours.
| Repair Factor | Impact on Visibility | Mitigation Strategy |
|---|---|---|
| Pile Direction | Critical | Use a compass to verify nap flow before cutting. |
| Light Angle | High | Install patch during peak light hours to monitor shadows. |
| Adhesive Type | Moderate | Use low-moisture thermoplastic tape to prevent peaking. |
| Subfloor Level | High | Apply floor leveling compound to any dips within 12 inches. |
Why subfloor levelness dictates your seam
A patch will always fail if the subfloor contains a dip or a crown because the tension of the carpet stretch will pull the patch out of plane with the rest of the room. When I talk about floor leveling, people think about laminate or tile. But carpet is just as sensitive to the substrate. If the patch sits in a 1/8 inch depression, the sun will hit the ‘far’ edge of the hole and create a bright line, while the ‘near’ edge stays in shadow. This contrast is what makes the patch visible. Before you even cut the carpet, you should be using a six-foot straightedge to check for flatness. If the floor is out of spec, you need to pull the carpet back, apply a high-compression strength leveling patch, and sand it smooth. You cannot hide a structural failure with a piece of fabric. The subfloor must be a perfect plane to allow the light to wash over the surface without interruption.
- Verify the nap direction by sliding a hand across the surface; the smooth direction is the ‘lay’.
- Use a stay-plate to hold the carpet in tension while the adhesive cools.
- Always use a seam sealer on the cut edges to prevent the primary backing from fraying.
- Trim any stray long fibers with duckbill shears at a 45 degree angle.
- Avoid heavy foot traffic for at least 24 hours to allow the bond to reach full shear strength.
Chemical bonds and the choice of adhesive
Choosing between hot melt tape and cold pressure-sensitive adhesive depends entirely on the backing material and the expected thermal expansion of the room. In a high-light living room, the floor temperature can fluctuate by thirty degrees in a single afternoon. This thermal cycling causes the carpet backing to expand and contract. If you use a cheap latex glue, the bond will eventually become brittle and crack. A professional carpet install uses high-quality thermoplastic seaming tape. This tape remains slightly flexible. It moves with the house. When applying the tape, the iron temperature must be calibrated to the specific melting point of the adhesive. If it is too hot, you risk ‘seam peaking’ where the heat causes the carpet edges to curl upward. If it is too cool, the bond will be superficial and the patch will pull apart the first time a vacuum passes over it. The molecular entanglement of the adhesive with the secondary backing is what provides the structural longevity of the repair.
“Proper seam construction requires the alignment of the primary and secondary backings to ensure structural continuity.” – Master Flooring Axiom
The nap of the fiber determines the shadow
The orientation of the carpet fibers, known as the nap or pile direction, must be identical between the patch and the floor to ensure they reflect light at the same frequency. Think of carpet like a field of wheat. If one section is leaning north and the other is leaning south, they will look like two different colors even if they came from the same roll. This is the ‘shading’ effect. In a room with high natural light, this effect is amplified. You must use a pile lifter or a stiff brush to determine the factory-set lean of the fibers. Mark the back of your donor piece with an arrow. Mark the floor with a corresponding arrow. If you rotate that patch by even ten degrees, it will look like a dark spot from one side of the room and a shiny spot from the other. This is a non-negotiable rule of flooring physics. No amount of blending or grooming will fix a patch that is installed against the grain. It is a permanent mistake that requires a total redo of the repair area.
Environmental factors and long term maintenance
Managing the humidity and UV exposure after the repair is completed will prevent the patch from shrinking or fading at a different rate than the surrounding floor. High light often means high heat. This can dry out the natural oils in some fibers or cause synthetic fibers to become stiff. Using UV-filtering window films can help protect the repair. Additionally, if the room is near showers or high-moisture areas, the subfloor humidity must be monitored. Moisture migrating through a concrete slab can re-emulsify the seam tape adhesive, causing the patch to lift. This is why a moisture barrier is often required even under carpet. The repair is a living part of the structure. It reacts to the air, the sun, and the weight of the people walking on it. Treat the patch as a surgical graft. Give it time to settle. Keep the blinds closed for the first 48 hours to prevent the adhesive from ‘baking’ before it has fully cured. This patience is what separates a hack job from a master-level restoration.