The ‘Bucket Test’ for Checking Your Shower Floor Drainage Slope
I spent three days grinding concrete on a job last month just so the floor wouldn’t click like a castanet. Most guys skip the leveling compound. They think the underlayment will hide the dip. It won’t. I have seen the same laziness in showers. A guy thinks he can just eyeball the slope to the drain and the tile will compensate. It is a lie. That lie leads to mold, rot, and a twenty thousand dollar lawsuit. A shower floor is not a decoration. It is a structural hydraulic system designed to move water from point A to point B as efficiently as possible. When that movement fails, gravity takes over and pushes that water into your wall plates and joists. The bucket test is the ultimate lie detector for a plumber’s work. It reveals exactly where the physics of the pan fail before you ever lay a single piece of stone.
The physics of the four foot slope
The slope of a shower floor must maintain a minimum pitch of 1/4 inch per foot to ensure gravity-fed drainage towards the drain assembly. This standardized gradient is essential for preventing stagnant water, biofilm accumulation, and capillary migration into the waterproofing membrane. Without this precise geometric decline, surface tension holds water in place. I have seen pans where the installer thought an eighth of an inch was enough. It is never enough. Water has a specific gravity that requires a certain velocity to overcome the friction of grout joints. If you are using textured natural stone, that friction is even higher. You need that quarter inch drop to keep the water moving. If the slope is too steep, over half an inch per foot, you create a slip hazard that would fail any municipal building inspection. It is a delicate balance between hydraulic efficiency and human safety.
“A floor is only as good as the subfloor beneath it; deflection is the enemy of every joint.” – Master Flooring Axiom
Why your subfloor is lying to you
A concrete slab or plywood subfloor often contains microscopic undulations and structural deflections that compromise shower pan integrity. These subsurface irregularities must be corrected with self-leveling underlayment or high-compression mortar beds to achieve a true drainage plane. I once worked a job where the homeowner complained about a musty smell. The tile looked perfect. But when I pulled the first row, I found a half inch dip in the plywood that the installer had tried to fill with extra thin-set. Thin-set is an adhesive, not a structural filler. It shrinks as the moisture evaporates, leaving a void. That void becomes a reservoir for greywater. If you do not start with a level subfloor before you build your slope, your slope will have a ‘soft spot’ where water collects. This is the same principle I apply to a carpet install or laminate project. If the base is not flat, the finished product will fail. For laminate, a dip causes the locking tabs to snap. In a shower, a dip causes the house to rot.
The chemistry of the mortar bed
The sand-to-cement ratio in a traditional mud bed must be precisely four to one to ensure porous drainage and structural stability. Using Portland cement mixed with washed masonry sand creates a capillary break that allows moisture to reach the weep holes of the drain flange. If the mix is too rich with cement, it becomes brittle and cracks. If it is too lean, it crumbles under the weight of the user. You want a ‘dry pack’ consistency. It should hold its shape when squeezed but not stick to your gloves. This allows the water that permeates the grout to travel through the mud bed and out the drain. This is the ‘water-in, water-out’ system. Many modern installers prefer a topical membrane, but the underlying structural slope remains the same. You are building a miniature mountain where every side leads to the valley of the drain. The bucket test proves if your mountain is built correctly.
| Metric | Requirement | Impact of Failure |
|---|---|---|
| Minimum Slope | 1/4 inch per linear foot | Water pooling and mold growth |
| Maximum Slope | 1/2 inch per linear foot | Slip hazard and unstable footing |
| Mortar Ratio | 4:1 Sand to Cement | Structural cracking or crumbling |
| Cure Time | 24 to 72 hours | Adhesion failure and shifting |
The 1/8 inch that ruins everything
A variation of 1/8 inch across a shower floor substrate can cause lippage and pooling that violates TCNA standards. This negligible tolerance is the difference between a professional installation and a structural failure that requires a complete tear-out. When you are standing in a shower, your feet are sensitive to the slightest change in elevation. More importantly, water is sensitive to it. Water will find the lowest point in the room. If that lowest point is three inches to the left of the drain because of a small trowel mistake, you have a problem. I have seen guys try to fix this by ‘back-buttering’ the tile to lift it up. All they are doing is creating a dam. The water hits the extra thin-set and stops. Now you have a permanent puddle under your tile that will never dry out. This leads to the discoloration of grout and eventually the failure of the bond.
“The pitch of the floor shall be a minimum of one-fourth unit vertical in 12 units horizontal (2-percent slope) and shall be directed to and through an approved floor drain.” – TCNA Handbook for Ceramic Tile Installation
Executing the bucket test correctly
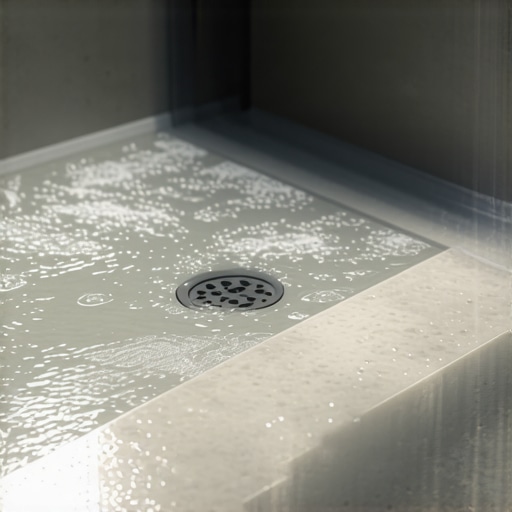
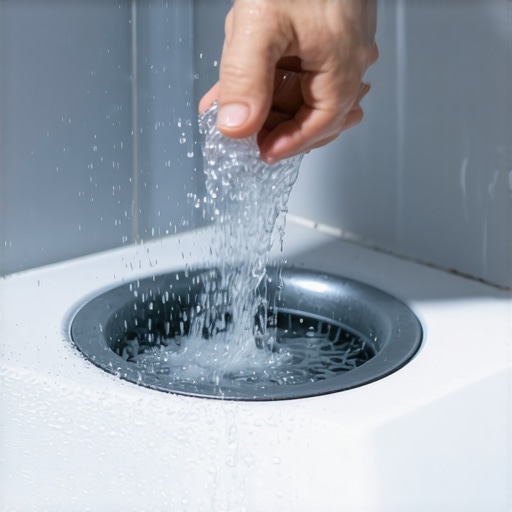
To perform a valid bucket test, you must saturate the shower floor with five gallons of water and observe the flow patterns toward the central drain. This hydraulic assessment identifies stagnant zones and negative slopes that require remedial grinding or mortar adjustment. First, make sure the drain is open and the weep holes are clear. Pour the water quickly but controlled at the furthest point from the drain. Watch the edges. Water should immediately begin to migrate. If it sits still for more than a few seconds, your slope is too shallow. After the initial rush of water is gone, look for ‘bird baths.’ These are small shimmering pools of water that remain on the surface. If you see them, your floor is not flat. It is wavy. A wavy floor is a failed floor. I do this test on every single pan before I even think about opening a box of tile. If it fails, I fix it with a diamond cup wheel on my grinder or more mud. I do not move forward until that water disappears like it is being chased.
When the water sits still
Identifying negative pitch during a drainage test requires immediate structural remediation using modified thin-set or epoxy mortars. These high-bond materials can be used to feather-edge low spots and restore the geometric integrity of the sloped substrate. If you find a low spot, do not just throw more mud on it. You have to ensure the new material bonds to the old. I use a liquid bonding agent or a high-polymer thin-set. I also check the floor leveling of the surrounding bathroom. Sometimes the shower problem is actually a house problem. If the floor joists have sagged, the entire shower might be tilting away from the drain. In those cases, you are looking at a much bigger job than just a shower pan. This is why I always check the level of the subfloor in the bedroom and hallway first. It gives me a baseline for what the house is doing. If the house is moving, your shower is moving. And a moving shower is a leaking shower.
Checklist for a perfect drainage plane
- Verify subfloor deflection meets L/360 requirements for ceramic tile.
- Ensure the pre-slope is established before the waterproofing membrane is installed.
- Confirm the 1/4 inch per foot drop using a dedicated spirit level.
- Clear all debris from weep holes to prevent internal damming.
- Perform the bucket test with a minimum of five gallons of water.
- Mark any bird baths with a wax pencil for remedial grinding.
- Check the transition at the curb to ensure water is directed inward.
Beyond the shower floor
The principles of subfloor flatness apply equally to laminate flooring and carpet install projects where substrate variations lead to aesthetic and structural defects. Using a moisture meter to check the concrete slab is a critical protocol for any finished floor surface. For instance, if you are putting down laminate, a 3/16 inch dip over ten feet will cause the floor to bounce. That bounce eventually breaks the click-lock system. The floor starts to gap. Then the moisture gets in. It is the same story as the shower, just a different room. With carpet, a dip is a trip hazard. It also causes the carpet to stretch unevenly, leading to those ugly wrinkles that look like waves in the ocean. My advice is always the same. Buy a long straight edge. Buy a good level. And never trust a subfloor that you haven’t checked yourself. The bucket test is just one tool in the arsenal of a man who refuses to do a job twice. Do it right, or don’t do it at all. Your reputation depends on the things the homeowner will never see.