The Hidden Reason Your Leveling Compound is Peeling from Concrete
The Hidden Reason Your Leveling Compound is Peeling from Concrete
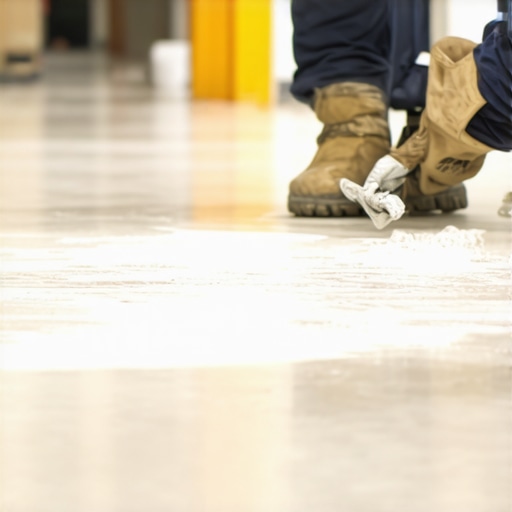
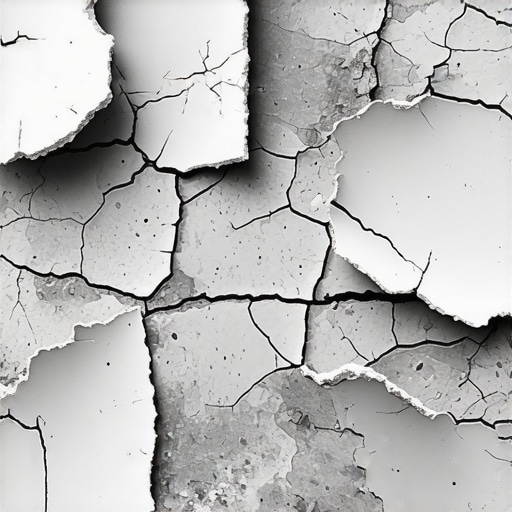
Most guys skip the leveling compound. They think the underlayment will hide the dip. It won’t. I spent three days grinding concrete on a job last month just so the floor wouldn’t click like a castanet. I walked into a site where a previous crew had poured five hundred pounds of self-leveling underlayment over a slab that looked like it had been through a war. Within two weeks, the entire surface had delaminated. You could slide a putty knife right under the leveler and lift it up in giant, brittle sheets. The homeowner was furious, and the contractor was gone. The smell of wet concrete and the fine white dust of failure hung in the air. This was not a product failure. This was a chemistry failure. When you understand the physics of the bond, you realize that the floor is a performance surface, not a decorative choice.
The ghost of the laitance
Laitance is a weak and brittle layer of cement fines and sand that rises to the top of a concrete slab during the finishing process, creating a barrier that prevents leveling compounds from sticking. This milky substance looks like solid concrete but has zero structural integrity. If you pour a high-strength leveler over laitance, the tension created as the leveler cures will simply pull that weak top layer right off the slab. You are essentially trying to glue a floor to a layer of dust. To identify this, you need to perform a simple scratch test. If you can gouge the surface with a screwdriver and it turns to powder, you have laitance. Professional installers use diamond grinding to mechanically remove this layer. We talk about the Concrete Surface Profile or CSP. For most leveling compounds, you need a CSP of 3, which feels like medium-grit sandpaper. Without this mechanical profile, the chemical bond of your primer will fail every single time.
“A floor is only as good as the subfloor beneath it; deflection is the enemy of every joint.” – Master Flooring Axiom
Why your subfloor is lying to you
A subfloor that appears flat to the naked eye often contains micro-dips and planetary shifts that compromise the locking mechanisms of modern laminate and LVP. You cannot trust your eyes in a room with overhead lighting. Shadows hide the valleys. I always use a ten foot straight edge to map the topography. If you see a gap larger than one eighth of an inch, your floor is going to fail. In the Midwest, where humidity swings from twenty percent in the winter to ninety percent in the summer, these dips become even more dangerous. The concrete slab is a living thing. It breathes moisture. If your leveler is not bonded perfectly, the moisture vapor transmission will build up pressure in the gaps. This vapor drive acts like a hydraulic jack, slowly lifting the leveler away from the substrate. This is why we see so many failures in basement laminate and carpet install projects. The moisture has nowhere to go but up.
The 1/8 inch that ruins everything
Industry standards from the NWFA and TCNA require floors to be flat within 1/8 inch over a 10 foot span to ensure that floating floor joints do not snap under foot traffic. When a person walks across a floor with a dip, the planks flex. That vertical movement is the silent killer of laminate. Eventually, the tongue and groove system will fatigue and snap. You will hear a clicking sound. That is the sound of your investment dying. Most people think they can just throw a thick foam underlayment over the problem. They are wrong. Too much cushion actually makes the problem worse because it allows for more deflection. You need a rock-solid, flat base. This requires a precise understanding of the leveling compound’s flow rate. You have to work fast. Once the polymers start to cross-link, you cannot touch it. If you try to trowel it after it has begun to set, you break the molecular chains and the product will never reach its rated PSI.
The structural chemistry of surface prep
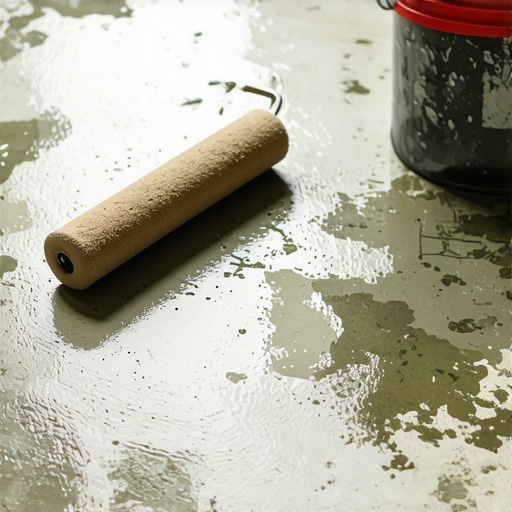
Successful floor leveling depends on the chemical reaction between the acrylic primer and the cementitious leveler, which creates a bridge of polymer chains that lock into the concrete pores. It is not just about pouring liquid on the floor. It is about pore saturation. If the concrete is too dry, it will suck the water out of the leveler before the cement can hydrate. This leads to a flash-dry situation where the leveler becomes brittle and cracks. You must use a high-quality primer. I prefer a two-coat system. The first coat is diluted to soak deep into the capillaries of the concrete. The second coat is applied at full strength to create a tacky surface for the leveler to grab. I have seen guys use watered-down wood glue as a primer. It is a disaster waiting to happen. The pH of the concrete also matters. If the slab is too alkaline, it will eat the adhesive or the primer from the inside out. You need to test the pH before you even open a bag of leveler.
Subfloor preparation methods compared
| Method | Bond Strength | Labor Intensity | Best Use Case |
|---|---|---|---|
| Acid Etching | Low | Medium | Light residential only |
| Diamond Grinding | High | High | Commercial and high-end residential |
| Shot Blasting | Extreme | Extreme | Industrial slabs and heavy loads |
| Sanding | Low | Low | Removing old adhesive residue |
The checklist for a perfect pour
- Perform a calcium chloride moisture test to check for vapor drive.
- Grind the slab to a CSP 3 profile using a diamond grinder.
- Vacuum the floor with a HEPA filter to remove all microscopic dust.
- Apply a high-solids acrylic primer and let it get tacky.
- Mix the leveling compound with cold water to extend the working time.
- Use a spiked roller to release trapped air bubbles from the wet mix.
- Check the temperature to ensure the slab is between 50 and 85 degrees Fahrenheit.
“The integrity of the wear layer is irrelevant if the foundation is in motion.” – Master Flooring Axiom
The moisture trap in showers
When installing tile in showers, the leveling compound must be rated for wet environments and high vapor transmission to prevent the tiles from popping off due to hydrostatic pressure. Standard gypsum-based levelers have no place in a bathroom. They are like sponges. If moisture gets behind the tile, the gypsum will turn back into mud. You need a hydraulic cement-based product. I have seen beautiful walk-in showers destroyed because the installer used a cheap leveler to fix a slope issue. Within a year, the grout lines were cracking and the tiles were loose. The chemistry of the bond in a shower is even more demanding because of the thermal expansion and contraction caused by hot water. You need a leveler with a high polymer content that can handle the stress of these temperature shifts without shearing away from the concrete.
Final technical requirements for long term success
The transition from a raw concrete slab to a finished floor is a journey through chemistry and physics. You have to respect the cure times. Do not rush the carpet install or the laminate layout. If the leveler says wait twenty four hours, you wait forty eight if the humidity is high. I always keep a moisture meter in my pocket. If that slab is reading high, I do not pour. I wait. I tell the homeowner that I would rather wait two days now than spend two weeks fixing a failure later. This is the difference between a floor that lasts thirty years and one that fails in thirty days. You have to be a stickler for the details. You have to care about the things that no one will ever see, because those are the things that will eventually ruin the floor. The ghost of the laitance is always waiting to claim another victim. Do not let it be your floor.