How to Remove Dried Floor Leveler from a Metal Drain Flange
The nightmare of a clogged drain assembly
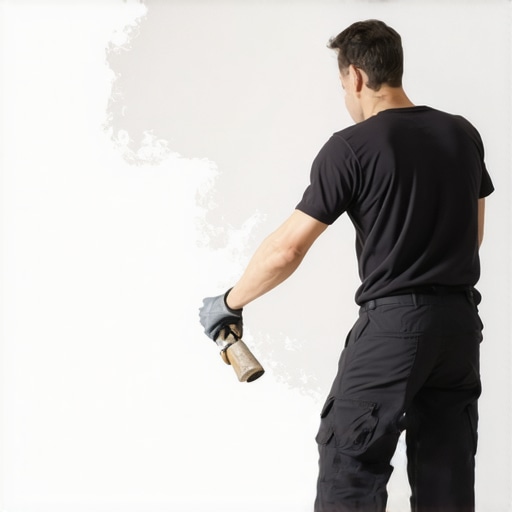
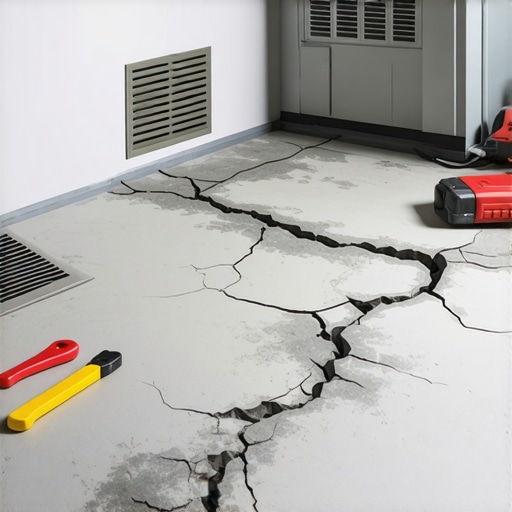
Removing floor leveler from a metal drain flange requires a systematic approach involving mechanical vibration, localized heat, and specific chemical dissolution. To effectively clear cementitious underlayment from stainless steel or brass flanges without damaging the waterproofing membrane, you must understand the crystalline bond formed during the hydration process. Most guys skip the leveling compound. They think the underlayment will hide the dip. It won’t. I spent three days grinding concrete on a job last month just so the floor wouldn’t click like a castanet, and let me tell you, that dust gets into everything, including your lungs if you are not wearing a P100. I once saw a rookie pour a self-leveling underlayment (SLU) in a bathroom without plugging the drain. The leveler didn’t just coat the flange, it filled the weep holes and settled into the P-trap. We spent two days with a hammer and a cold chisel just to save the stack. That is the kind of mistake that turns a profitable Friday into a bankrupt Monday. It is about the physics of the bond. Leveler is designed to stick to porous surfaces, and while a metal flange is relatively smooth, the micro-pits in the steel provide enough tooth for the calcium aluminate to lock on tight. If you try to just pry it off, you will bend the flange, and a bent flange means a leak. A leak means a mold claim three years down the road when the subfloor rots out from under the homeowner.
The chemistry of the cementitious bond to metal
Portland cement and calcium aluminate in floor levelers create an interlocking crystalline matrix that adheres to metal surfaces through mechanical keying. This alkaline material reacts with the metallic substrate, particularly if the flange has any oxidation, creating a tenacious grip that resists simple prying forces. Under a microscope, that dried leveler is not just sitting there. It has formed a series of microscopic hooks. To break those hooks, you have to understand the brittle nature of the leveler versus the ductility of the metal. Metal can flex, leveler cannot. That is your primary advantage. When you apply localized pressure, you are looking for the shear point where the brittle cement shatters away from the more resilient steel. This is why we do not use water to try and soften it. Once it is cured, it is a stone. You are not cleaning a spill anymore, you are mining a mineral. The chemical composition of most high-end levelers includes polymers that increase flexibility, which actually makes removal harder because it reduces the brittleness we rely on for mechanical separation. You are fighting against a material engineered to be permanent. It is a battle of structural integrity where the drain flange must remain pristine while the rock on top of it is pulverized into dust.
“A floor is only as good as the subfloor beneath it; deflection is the enemy of every joint.” – Master Flooring Axiom
The mechanical approach to removal without damage
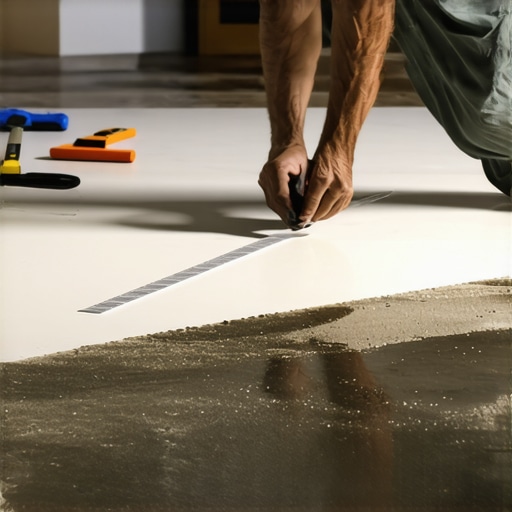
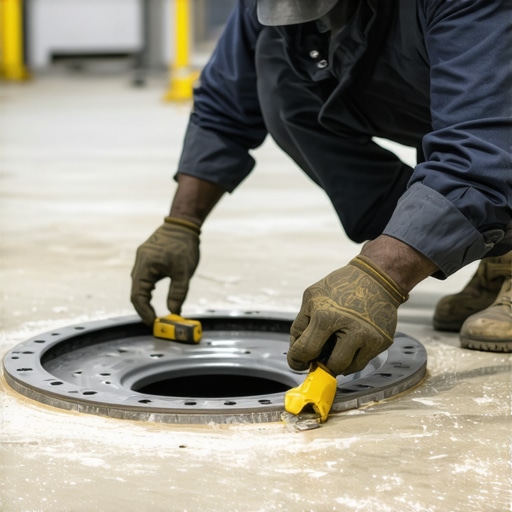
Mechanical removal of leveler involves using oscillating multi-tools with carbide grit blades and small masonry chisels to create percussive shockwaves. These vibrations disrupt the bond at the interface between the cementitious material and the metal flange, allowing for fragmentation of the leveler without deforming the metal. You start at the edge. Never start in the middle. You need an escape route for the energy you are putting into the material. I use a small, 1/4-inch cold chisel that I have sharpened to a wicked edge. You tap, you do not swing. It is a game of patience. If you get aggressive, you will slip and gouge the flange. A gouge in a metal flange is a channel for water. Even a scratch can compromise the seal of a compression gasket in a shower assembly. You want to see the leveler ‘white out’ at the point of impact. That whitening is the air entering the space where the bond has just failed. Once you see that white line, you know you have won that square millimeter. Move to the next. It is tedious work that smells like wet rock and old copper, but it is the only way to ensure the drain remains functional for the next thirty years. I have seen guys try to use a full-sized demo hammer on a drain flange. It is like trying to do brain surgery with a sledgehammer. All they did was crack the PVC pipe below the slab, which meant we had to jackhammer the entire floor out anyway.
Physical properties of floor leveler vs metal substrates
| Property | Floor Leveler (Cementitious) | Metal Drain Flange (Stainless/Brass) |
|---|---|---|
| Tensile Strength | Low (Brittle) | High (Ductile) |
| Compression Strength | High | High |
| Thermal Expansion | Low | High |
| Chemical Resistance | Moderate | Very High |
| Bond Mechanism | Mechanical Crystalline Lock | Inert Substrate |
Localized heat as a secret weapon
Thermal shock can be used to break the bond because metal flanges expand at a faster rate than cementitious leveler when exposed to heat guns. By selectively heating the metal, you create shear stress at the interface, which causes the brittle leveler to delaminate from the surface. You do not want a torch. A torch is too hot and will melt any nearby PVC or damage the waterproofing membrane like Kerdi or NobleSeal. A high-quality heat gun set to about 750 degrees Fahrenheit is the sweet spot. You aim it at the metal, not the leveler. You want the metal to grow. As that steel expands, it pushes against the rigid leveler. Since the leveler cannot expand at the same rate, the bond snaps. You will hear it. It sounds like a tiny pebble hitting a windshield. That ‘tink’ is the sound of success. Once you hear that, the leveler will usually pop off in large chunks rather than turning into dust. This method is especially useful for the fine residue left in the threads of the bolt holes. If you can’t get the bolts back in, the whole installation is dead in the water. I have spent hours picking leveler out of threads with a dental pick and a heat gun. It is the difference between a pro job and a hack job. You have to be careful not to overheat the surrounding area. If you smell burning plastic, you have gone too far and likely compromised the shower pan liner.
Chemical softening agents and their limitations
Sulfamic acid or specialized cement dissolvers can soften the outer layer of cured leveler, but they are ineffective for deep removal on non-porous metal. These acidic solutions work by dissolving the calcium carbonate binder, but they can also corrode certain metal alloys if left in contact for extended periods. I generally avoid the heavy acids unless I am desperate. They mess with the finish of the metal and can cause pitting. If you must use a chemical, look for the ones based on sugar beet extract. They are non-corrosive and surprisingly good at breaking down the top layer of the leveler. You apply it, let it sit for twenty minutes, and then go back to your mechanical scraping. It is not a magic wand. It just turns the rock into something more like hard clay. You still have to do the work. The real danger with chemicals in a shower drain is the residue. If you do not neutralize the acid, it will sit in those weep holes and eat away at the flange for years. I always keep a box of baking soda on hand to neutralize any acid I use. It is basic chemistry that every floor guy should know, but most skip it because they want to get to the truck and go home. That is how you end up with a callback for a green, corroded drain three months later.
“Movement of the substrate will inevitably lead to failure of the bond if the interface is not properly prepared.” – TCNA Handbook Summary
The checklist for a clean drain recovery
- Plug the drain hole with a wet rag to prevent debris from entering the plumbing stack.
- Use a vacuum with a HEPA filter to remove dust immediately during the chipping process.
- Inspect the flange for any hairline cracks caused by the leveling compound’s expansion.
- Clear the weep holes using a small drill bit or a specialized pick tool.
- Test the bolt threads by hand before attempting to use a wrench.
- Wipe the metal surface with denatured alcohol to remove any oily residue before reinstalling the grate.
Protecting the integrity of the shower pan
Waterproofing membranes located beneath the metal drain flange must be shielded during the leveler removal process to prevent leaks. The interface between the flange and the liner is the most vulnerable point in a shower installation, and any puncture here will result in catastrophic subfloor failure. This is where you have to be a surgeon. If you are using a chisel, you must always aim it away from the membrane. If you slip and hit that rubber or fabric, you are done. The whole shower has to come out. I have seen guys try to patch a liner with silicone after a slip. It does not work. Silicone is not a permanent waterproofing solution in a submerged environment. The only way to fix a punctured liner is to replace it. To avoid this, I sometimes build a small ‘shield’ out of a piece of scrap flashing or even a heavy-duty plastic putty knife. I slide it under the leveler I am working on to protect the membrane below. It is a simple step that takes two minutes but can save you five thousand dollars in demolition costs. Most homeowners do not understand why I am being so meticulous. They just see a guy picking at a drain. They do not see the potential for a flooded basement. You have to explain to them that the floor is a system. If one part of the system is compromised, the whole thing fails. It is not about the tile on top. It is about the water management underneath.
The 1/8 inch that ruins everything
Precision in floor leveling is measured in eighths of an inch, and any residual leveler on the flange surface will prevent the drain grate from sitting flush with the tile. A protruding drain creates a trip hazard and allows water to pool at the edge of the metal, leading to grout erosion and mold growth. You want that drain to be the lowest point, obviously, but the grate needs to be perfectly level with the finished floor. If there is even a thin film of leveler left on the flange, your grate will sit high. Then you are stuck trying to build up the tile with extra thin-set, which creates a hump. A hump in a shower floor is amateur hour. It feels weird on the feet and looks like garbage when the light hits it. I use a straightedge to check the plane of the flange against the rest of the floor before I even think about mixing thin-set. If it is not right, I go back to the scraper. It is about the pride of the craft. A floor should be flat, the transitions should be smooth, and the drain should disappear into the design. While most people want the thickest underlayment, too much cushion actually causes the locking mechanisms on LVP to snap under pressure, and similarly, too much buildup around a drain causes the tile to crack. You need just enough material to do the job and not a millimeter more.