The ‘Spike Roller’ Secret for a Glass-Smooth Leveler Finish
Most guys skip the leveling compound. They think the underlayment will hide the dip. It won’t. I spent three days grinding concrete on a job last month just so the floor wouldn’t click like a castanet. That job was a wake up call for the homeowner who thought their slab was flat because it looked okay to the naked eye. In reality, that floor had a half inch trough running right through the center of the kitchen. If I had laid that laminate over that dip, the locking tabs would have snapped within a month. It is the invisible errors that kill a floor. Most people focus on the color of the wood or the texture of the tile. I focus on the structural integrity of the substrate. If the substrate fails, the prettiest floor in the world is just expensive garbage.
Why your subfloor is lying to you
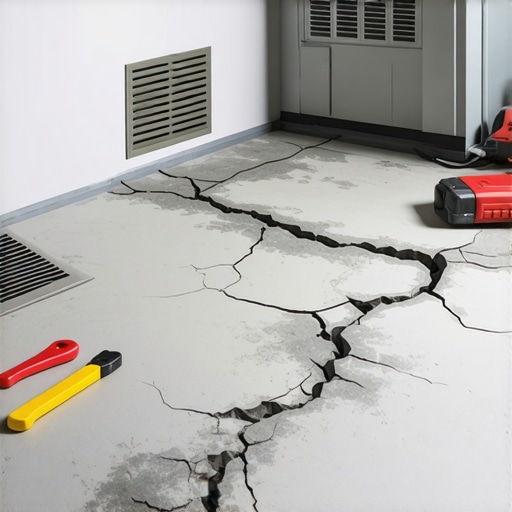
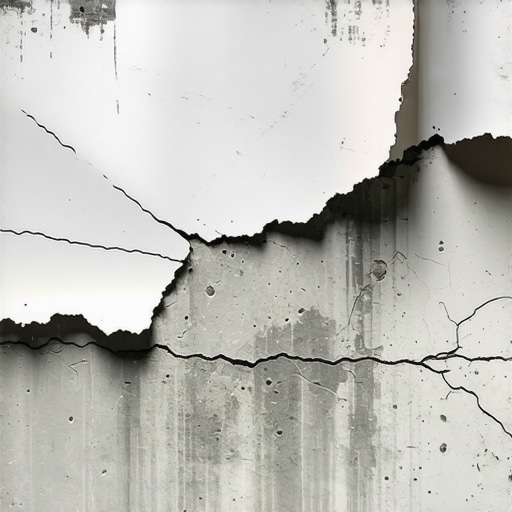
Subfloor flatness is the most misrepresented aspect of any floor leveling project because installers often rely on visual estimation rather than precise measurement. A slab can appear smooth while still possessing significant deflection or heaving that exceeds the NWFA tolerance of 1/8 inch over a 10 foot span. When you walk across a floor and hear a hollow thud, you are feeling the air pocket where the installer failed to address a low spot. [image_placeholder] This gap is not just an acoustic annoyance. It is a mechanical failure point. For click-lock systems, every step forces the tongue and groove to flex. Eventually, the plastic or wood fibers fatigue and break. This is why a leveler is not an option. It is a requirement for any professional grade installation.
“A floor is only as good as the subfloor beneath it; deflection is the enemy of every joint.” – Master Flooring Axiom
The physics of surface tension and air entrapment
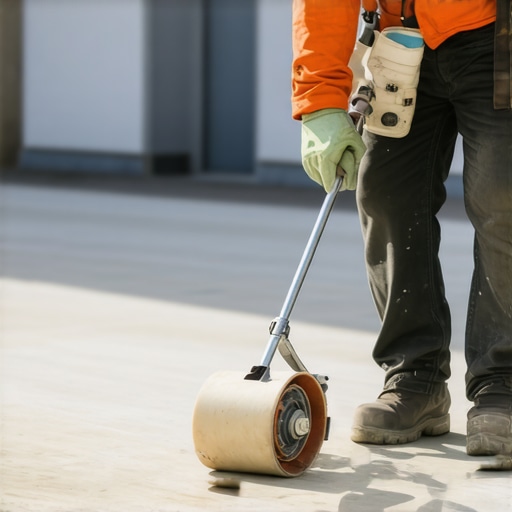
Self-leveling underlayment is a highly engineered fluid that uses calcium aluminate or portland cement chemistry to find its own level via gravity. However, the viscosity of the mix creates surface tension that traps air bubbles during the high-speed mixing process. These bubbles are the enemy of a glass-smooth finish. As the mix settles, the air attempts to rise. If the surface tension is too high, those bubbles remain trapped just beneath the surface or pop and leave tiny craters known as pinholes. This is where the spike roller comes in. It is not just a tool for spreading. It is a mechanical device designed to break the surface tension and allow the entrapped air to escape before the material begins its initial set.
How the spike roller breaks the surface tension
Spike rollers utilize rows of plastic or metal pins that penetrate the full depth of the liquid leveler to release carbon dioxide and nitrogen bubbles. This process, often called outgassing, is critical for achieving a dense, monolithic slab that can support heavy furniture. Without the roller, your leveler might look flat, but it will be riddled with microscopic voids. These voids weaken the structural compressive strength of the pour. If you are preparing for a carpet install, these pinholes might not matter. But for a thin-set tile application or showers, those voids can lead to bond failure or water pooling in the substrate. The roller also helps to blend the different pours together, eliminating the ‘seam’ where one bucket ended and the next began.
The chemical bond that saves your shower
Waterproof membranes and modified thin-set require a perfectly flat surface to ensure 100 percent coverage on the back of large format tiles. In showers, the floor leveling must be precise to maintain the necessary 1/4 inch per foot slope toward the drain. If the leveler is lumpy because you didn’t use a spike roller, the waterproofing will have thin spots. These thin spots are where leaks begin. I have seen TCNA standards ignored time and again in wet areas. It always results in mold. The chemistry of the primer is also vital. You cannot just pour leveler onto old concrete. The concrete will suck the moisture out of the leveler too fast, causing it to crack. You need a copolymer primer that seals the pores of the concrete and creates a bridge for the chemical bond.
“Subfloor deflection shall not exceed L/360 for ceramic tile or L/720 for natural stone under live and dead loads.” – Master Flooring Axiom
Navigating the 1/8 inch threshold
Floor flatness tolerances are measured using a 10 foot straightedge to ensure the substrate does not deviate more than 3 millimeters. This precision is what separates a DIY hack job from a master installation. When I prep for a laminate floor, I am looking for any dip that could cause the boards to ‘bridge’. A bridge is a recipe for disaster. The moment a heavy refrigerator or a piano is placed on a bridged section, the floor will bow. Use the leveler to fill the valleys, then use the spike roller to ensure the transition from leveler to the existing slab is feathered out to a microscopic edge. This eliminates the need for aggressive sanding later, which just creates more dust and mess.
| Substrate Type | Janka Rating (Approx) | Max Deflection | Leveler Thickness |
|---|---|---|---|
| Solid White Oak | 1360 | L/360 | 1/4 inch |
| Engineered Maple | 1450 | L/360 | 1/8 inch |
| LVP Click-Lock | N/A | 1/8″ in 10′ | 1/2 inch max |
| Ceramic Tile | N/A | L/360 | 3/16 inch |
The 1/8 inch that ruins everything
Deflection in a subfloor is often the result of joist spacing that is too wide or subfloor material that is too thin. Even if you use the best floor leveling compound, it will crack if the wood beneath it flexes. I always check the joist span before I even open a bag of leveler. If the floor has bounce, I’m adding a layer of 3/4 inch plywood or cement board. You have to solve the structural problem before you solve the cosmetic one. Many homeowners want to save money by skipping this step. I tell them they can pay me now to do it right, or they can pay me twice as much in two years to tear it all out and start over. The spike roller won’t fix a bouncy floor. It only fixes a rough surface.
- Check for subfloor moisture using a pin-less meter.
- Vacuum every speck of dust before applying primer.
- Mix leveler with a high-torque drill to avoid over-aeration.
- Pour in a continuous serpentine pattern to maintain a wet edge.
- Roll the spike roller in two perpendicular directions.
- Allow 24 hours of curing before any foot traffic.
Moisture barriers and the chemistry of adhesion
Vapor emissions from a concrete slab can reach 12 pounds per 1,000 square feet if not properly addressed. This moisture will push right through a standard floor leveling compound and delaminate your laminate or carpet install. I always use a moisture vapor barrier epoxy if the slab is ‘hot’. This creates an impenetrable seal. The leveler goes on top of this epoxy. This is the ‘gold standard’ for commercial builds. It ensures that no matter how much the groundwater rises, the floor stays dry. The spike roller is even more important here because bubbles in the leveler can create pathways for moisture to travel. A dense pour is your final line of defense against the elements.
The physics of the perfect pour
Rheology is the study of how matter flows, and it is the secret to a perfect floor. The water to powder ratio must be exact. If you add too much water, the sand in the leveler will sink to the bottom, leaving a soft, chalky layer of laitance on top. This layer will peel off when you try to glue down your floor. If you add too little water, the leveler won’t flow, and you will end up with ridges that look like a plowed field. I use a graduated measuring bucket for every single bag. Consistency is the mark of a professional. When you hit that sweet spot of flowability, the spike roller works like a dream. It moves through the liquid like a hot knife through butter, leaving nothing but a mirror finish behind.