How to Seal a Leaking Shower Corner Without Tearing Out Tile
The physics of capillary action in tile joints
To seal a leaking shower corner without removing tile, you must mechanically strip every trace of old caulk, disinfect the void with isopropyl alcohol, and apply a 100% neutral-cure silicone sealant. This creates a flexible, waterproof bridge that handles the structural expansion of the house without shearing or delaminating from the substrate.
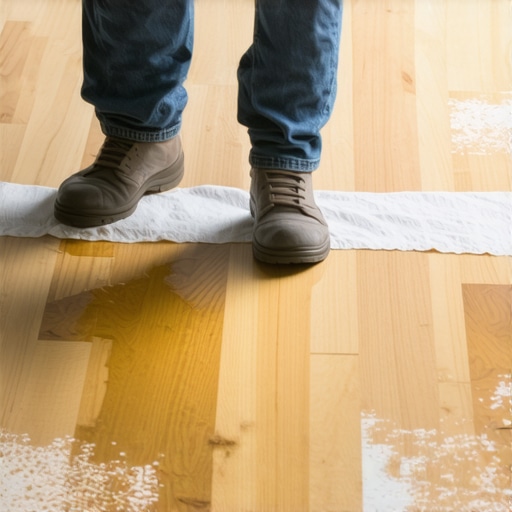
Most guys skip the leveling compound. They think the underlayment will hide the dip. It won’t. I spent three days grinding concrete on a job last month just so the floor wouldn’t click like a castanet. That job taught me a lesson about the interconnected nature of home physics. The shower in the adjacent bathroom had been leaking through a tiny hairline crack in the corner for three years. By the time I got there to do a simple floor leveling for a new laminate project, the subfloor was a wet sponge. The moisture had traveled through the floor joists, bypassed the bathroom threshold, and settled under the bedroom floor. This is why a leaking shower corner is never just a shower problem. It is a structural engineering threat that can ruin a carpet install or a high-end hardwood project three rooms away.
“A floor is only as good as the subfloor beneath it; deflection is the enemy of every joint.” – Master Flooring Axiom
The ghost in the expansion gap
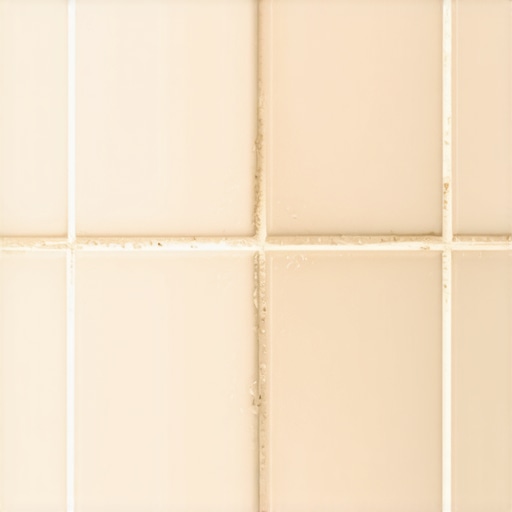
Shower corners fail because they are change-of-plane joints that experience constant movement from thermal expansion and structural settling. Unlike flat wall surfaces, these corners are where two different framing members meet, meaning they expand and contract at different rates, eventually cracking rigid grout and breaking the bond of cheap sealants.
When you step into a fiberglass or acrylic shower pan, your body weight causes a microscopic amount of deflection. If your subfloor was not perfectly level or if the installer used an inadequate mortar bed, that deflection increases. This movement is the primary killer of corner seals. Many homeowners try to fix a leak by smearing more grout into the corner. This is a waste of time. Grout is rigid. It has zero elongation. As soon as the house breathes or someone takes a hot shower, that new grout will crack just like the old stuff did. You are not just looking for a plug. You are looking for a structural gasket. This requires a material with a high movement capability, usually rated at 25 percent or higher. If you do not understand the Young’s modulus of the sealant you are using, you are just guessing at a solution. The physics of the leak involves water molecules finding the path of least resistance through these hairline fractures via capillary action. Once a single drop passes the tile, it begins the slow process of rotting the 2×4 studs behind the wall. By the time you see a stain on the ceiling below, the damage is already five figures deep.
The chemistry of the perfect seal
Choosing the right sealant requires understanding the difference between acetoxy-cure and neutral-cure silicones and their adhesion to non-porous surfaces. You must avoid siliconized acrylics, which are essentially paint with a bit of rubber, as they shrink during the curing process and eventually pull away from the tile edge.
I have seen guys use window and door caulk in a shower because it was on the truck. That is a recipe for disaster. Bathroom environments are unique because of the constant cycle of high humidity and alkaline soap residue. You need 100% silicone. Specifically, you want a neutral-cure silicone for stone or sensitive tile because it does not release acetic acid during the curing process. Acetic acid is what gives some silicone that vinegar smell, and it can actually etch certain natural stones or damage the silvering on the back of nearby mirrors. More importantly, the bond strength of high-quality silicone is measured in pounds per square inch of pull. When the wall moves, the silicone stretches. When the wall returns to its original position, the silicone recovers. This is the difference between a temporary patch and a permanent architectural solution. If you are preparing for a future carpet install or laminate flooring nearby, keeping this moisture contained is your top priority. Moisture under laminate causes the HDF core to swell, which ruins the locking mechanisms. A ten-dollar tube of the right silicone can save a three-thousand-dollar floor.
| Sealant Type | Movement Capacity | Water Resistance | Lifespan |
|---|---|---|---|
| 100% Silicone | +/- 25% to 50% | Maximum | 20+ Years |
| Siliconized Acrylic | +/- 12% | Moderate | 3 to 5 Years |
| Urethane Hybrid | +/- 35% | High | 15 Years |
| Standard Grout | 0% | Low | Fails on movement |
The 1/8 inch that ruins everything
Mechanical preparation is the most overlooked phase of shower repair, yet it dictates the success of the entire bond. You must remove the old material entirely to expose a clean, dry substrate, as new silicone will not adhere to old silicone or soap-scum-covered grout.
- Use a plastic scraper or a dedicated caulk removal tool to avoid scratching the tile surface.
- Remove every trace of mold and mildew using a bleach solution or a specialized fungicide.
- Scrub the joint with 91 percent isopropyl alcohol to remove any residual oils or soaps.
- Ensure the joint is 100 percent dry using a heat gun or a hair dryer before application.
- If the gap is deeper than 1/4 inch, insert a foam backer rod to prevent three-sided adhesion.
The reason most DIY repairs fail within six months is three-sided adhesion. If the silicone bonds to the back of the joint as well as the two sides, it cannot stretch properly. It gets pulled in three directions at once and tears down the middle. This is basic material science. By using a backer rod or ensuring the silicone only touches the two opposing tile edges, you allow the material to function like a rubber band. This is the same principle we use in expansion joints for floor leveling on large commercial slabs. We create a space for movement. The 1/8 inch gap is your friend. Do not try to minimize the bead. A tiny, thin bead of silicone has very little material to stretch. A robust, properly tooled bead is what survives the test of time.
The surgical application technique
Tooling the bead is not about aesthetics; it is about forcing the sealant into the microscopic pores of the tile and grout to create a mechanical lock. You should apply a steady, continuous bead and tool it with a finger dipped in soapy water or a dedicated smoothing tool to achieve a concave profile.
I see people masking the joint with blue tape. While that can help get a straight line, it often creates a small ridge of silicone that can catch water and harbor mold. I prefer the old school method. Cut the nozzle at a 45-degree angle to match the width of the joint. Push the caulk gun forward rather than pulling it. Pushing forces the material into the corner. Once the bead is down, you have a five-minute window before it begins to skin over. This is when the magic happens. By tooling the joint, you are pressing the silicone against the edges of the tile. If the surface is clean, the bond will be nearly impossible to break. If you are dealing with a shower that sits on a plywood subfloor, you should even consider filling the shower with water before you caulk. This weighs down the pan, mimicking the stress of a person standing in it. You caulk it while it is under load, let it cure, and then drain it. This ensures the seal is not being over-stressed the first time someone takes a shower.
“Water is the universal solvent; it will find every mistake you made in the first ten minutes of the job.” – Tile Council of North America Standard
The final word on moisture management
Once the corner is sealed, you must wait. Most 100% silicones require 24 hours to become water-resistant and up to 7 days for a full chemical cure. Do not rush this. If you turn on the shower too soon, the surface of the silicone will wash away, and the internal structure will never reach its maximum strength. This is the same patience required for a proper carpet install or floor leveling project. You cannot rush the chemistry. If you follow these steps, you will have a corner that is not just sealed, but engineered to withstand the movement of your home. You will protect your subfloor, your laminate, and your peace of mind. No more damp smells. No more soft spots in the plywood. Just a high-performance surface that does exactly what it was designed to do. Floor work is about the things you don’t see. The seal in that corner is the most important invisible thing in your bathroom.