How to Repair a Small Tear in Your Carpet Using Scrap Pieces
The precise science of repairing torn carpet with scrap pieces
I smell floor wax and burnt adhesive when I close my eyes. My knees have the permanent calluses of a man who has spent three decades chasing the perfect seam. Most people think carpet is just a soft blanket for their floor. They are wrong. Carpet is a complex structural system involving a primary backing, a secondary layer of SBR latex, and a tensioned field of synthetic or natural fibers. I once spent four hours fixing a tear in a high-end nylon saxony because the original installer did not check the subfloor moisture. That moisture caused the latex to crystallize and the fibers to pull away. It was a mess. Fixing a tear is not about hiding a hole. It is about restoring the structural continuity of the backing. If you fail to respect the physics of the pile or the chemistry of the adhesive, you are just putting a bandage on a gunshot wound. I spent three days grinding concrete on a job last month just so the floor would not click like a castanet, and that same level of detail belongs in your carpet repair. You need to approach this with the mindset of a mechanic. You are rebuilding a surface that must withstand thousands of pounds of foot traffic pressure over its lifespan. Don’t tell me it looks fine from a standing position. It needs to be right at the microscopic level.
The narrative of the ruined saxony
A successful carpet repair depends on matching the pile direction and the physical density of the scrap piece to the existing installation. You must use a row separator to isolate fibers and a sharp utility knife to cut through the backing without damaging the surrounding tufts or the underlying pad. I remember a job in a high-rise where a homeowner tried to fix a tear with a piece of scrap from a different dye lot. It looked like a sore thumb. The light hit the fibers at a different angle because he ignored the nap. He called me in to fix it. I had to cut out his entire patch, scrape the old glue off the subfloor, and start from scratch. Most guys skip the leveling compound when they do a carpet install, thinking the pad hides the sins. It does not. If the subfloor has a dip, the carpet stretches more in that spot. That is why tears happen. You have to fix the root cause. If you are working near showers or other high-moisture areas, the bond is even more sensitive to failure. I always keep a moisture meter in my truck for this reason. You cannot trust a subfloor just by looking at it. You have to know the data.
“A floor is only as good as the subfloor beneath it; deflection is the enemy of every joint.” – Master Flooring Axiom
The microscopic truth about pile direction
Pile direction or nap refers to the specific angle at which fibers emerge from the primary backing. Aligning the patch with the surrounding field prevents light refraction differences that make the repair visible. Use a row separator to find the natural valley between tufts before cutting. Every carpet has a grain. If you rub your hand across it, you will feel it. One way is smooth, and the other way provides resistance. This is the nap. When you take a scrap piece, you must mark the back with an arrow indicating this direction. If you flip that scrap 180 degrees, the patch will look darker or lighter than the rest of the floor. It is basic optics. The fibers act like tiny prisms. If the light hits the side of the fiber instead of the tip, the color shifts. This is why professionals use a row separator. You are not just hacking into the carpet. You are carefully moving the individual yarns aside to find the backing. This ensures that you only cut the structural mesh and not the visible fibers. If you cut the fibers, you create a permanent bald spot at the seam. That is the mark of an amateur. I have seen guys do this on a laminate transition where they just hacked at the edge. It ruins the whole aesthetic.
The structural integrity of secondary backing
The secondary backing of a carpet is usually a woven polypropylene mesh that provides dimensional stability. When a tear occurs, this mesh is compromised and must be bridged with a high-tack adhesive or heat-activated seam tape. Failure to secure this backing leads to edge raveling and patch migration. You have to understand what holds the carpet together. It is not just the yarn. It is the latex bond between the primary and secondary backings. When you cut your patch, you are creating a new edge. That edge is vulnerable. If you do not seal it, the tufts will start to pull out. This is called unraveling. I use a specialized seam sealer on every patch. It is a liquid thermoplastic that locks the fibers into the mesh. You also have to consider the subfloor. If you are over wood, you can use staples in the corners of the patch for extra security while the glue dries. If you are over concrete, you rely entirely on the chemical bond. This is where floor leveling becomes vital. If the concrete is uneven, the adhesive will not make full contact. You will end up with a hollow spot. It will buckle eventually. I have seen patches pop out like toast because the installer did not prep the surface.
The chemical bond of thermoplastic resins
Hot melt adhesives used in carpet repair are typically composed of ethylene-vinyl acetate or similar thermoplastic resins. These materials require a specific temperature range to reach their glass transition state, allowing them to flow into the pores of the carpet backing and create a permanent mechanical bond. If your iron is too cold, the glue just sits on top. If it is too hot, you melt the synthetic fibers of the carpet. Most installers use setting three or four. You have to move the iron slowly. You want the glue to sizzle slightly. This indicates that it is penetrating the weave. Once the glue is applied, you must use a star roller. This tool has spiked wheels that press the backing into the molten resin. It creates a physical interlock. Think of it like welding but for flooring. If you just lay the carpet on top of the glue, it will fail. You need that pressure. I always tell my apprentices that the star roller is the most important tool in the kit. It integrates the patch. It makes two separate pieces of material act as one. If you are doing a repair near a doorway where the carpet meets laminate, this bond is the only thing keeping the carpet from pulling out of the transition strip.
| Carpet Type | Backing Material | Patch Difficulty | Adhesive Requirement |
|---|---|---|---|
| Berber | Polypropylene | High | Low-moisture hot melt |
| Plush | ActionBac | Medium | Standard seam tape |
| Frieze | Jute | Low | High-tack liquid |
| Commercial | Unitary | Extreme | Pressure sensitive |
The physics of the row separator
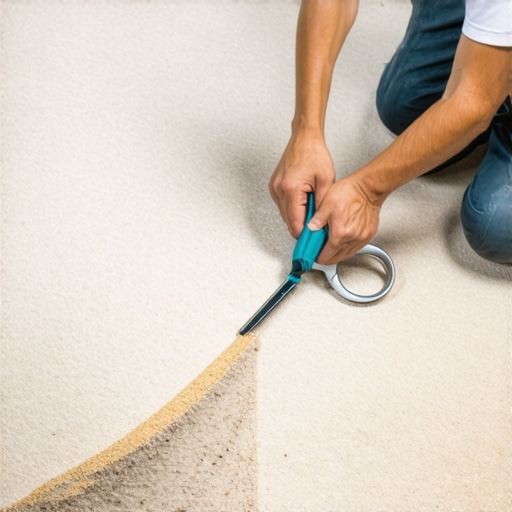
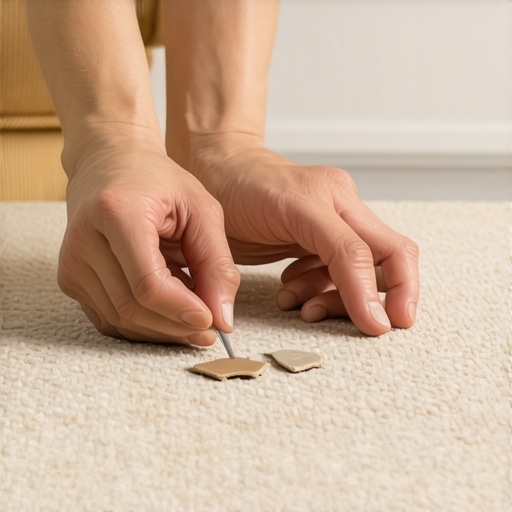
A row separator is a specialized tool designed to create a path between the tufted loops of a carpet without damaging the yarn. By following the natural grid of the backing, the installer ensures a clean cut that can be matched perfectly to the replacement scrap piece. You cannot just use a box cutter. The blades on those things are too thick. I use a professional-grade carpet knife with a thin, double-edged blade. But before the blade ever touches the floor, the row separator does the work. You find a row of tufts and slide the tool along the backing. It pushes the fibers left and right. This creates a clear line of sight. When you cut along this line, the fibers on the edge of the patch will fall over the seam. This is how you make a repair invisible. If you skip this step, you will have a visible line where the fibers were cut in half. It looks like a scar. A real pro makes the seam disappear into the texture of the carpet. This is especially difficult with low-pile commercial carpets. In those cases, you have to be precise to the millimeter. If you are off by a fraction, the pattern will not line up. It will look like a glitch in a video game. I have seen guys lose their jobs over a bad seam in a hotel lobby.
“Precision is not an act; it is a habit formed through the repetition of technical excellence.” – Master Flooring Axiom
A checklist for a professional finish
- Verify the pile direction of both the floor and the scrap piece.
- Clean the subfloor surface to remove dust and old adhesive residues.
- Ensure the carpet pad is intact and not compressed or damp.
- Use a row separator to create a clean path for the cutting tool.
- Apply seam sealer to the edges of the patch to prevent unraveling.
- Heat the adhesive to the correct thermoplastic state for the backing type.
- Use a star roller to integrate the fibers and seat the backing.
- Groom the pile with a carpet brush to blend the new fibers.
Integrating patches near tile transitions
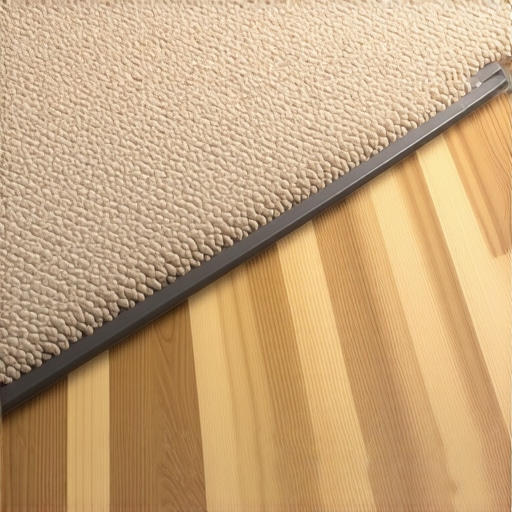
Repairs located near hard surfaces like showers or tiled entryways require additional attention to moisture barriers and transition hardware. The carpet must be tucked tightly against the tack strip to maintain the tension required to keep the patch from shifting under lateral load. If you have a tear near a bathroom, check the subfloor for rot. Water from showers often migrates under the carpet. This ruins the tack strip. If the tack strip is soft, it will not hold the carpet. Your patch will pull away the first time someone walks on it. I always replace the tack strip if there is any sign of water damage. It is cheap insurance. You also have to consider the height of the floor. If you have done floor leveling in the bathroom, the tile might be higher than the carpet. You need a proper transition piece to protect the edge of the carpet. A torn carpet at a transition is usually the result of a poor original install. The carpet was not stretched enough. When the carpet is loose, it flexes. That flex leads to fatigue in the backing. Eventually, it snaps. My job is to fix the snap and the tension. It is a dual-layered repair. You cannot have one without the other.
The 1/8 inch that ruins everything
In the world of professional flooring, a gap of one-eighth of an inch is the difference between a successful repair and a total failure. This tolerance level applies to subfloor flatness, seam gaps, and the alignment of the carpet nap. I have seen homeowners try to fill a gap with extra glue. It does not work. The glue shrinks as it cools. The gap reappears. You have to cut the patch exactly to size. I use the stay-plate method. I lay the scrap over the hole and cut through both layers at once. This ensures that the patch is the exact shape of the hole. It is a perfect fit. If the subfloor is not flat, the patch will sit higher or lower than the rest of the floor. This creates a trip hazard. It also causes the patch to wear faster because it is taking more direct impact from foot traffic. I always carry a straight edge. If I see a dip, I fill it. Even for a small carpet repair, the foundation matters. You would not build a house on sand. Do not put a patch on a bad subfloor. It is a waste of time. I pride myself on repairs that last as long as the carpet itself. That requires discipline. It requires a refusal to take shortcuts. It requires the heart of a mechanic who loves the smell of sawdust and the feel of a sharp blade.