How to Pour Leveler Around a Toilet Flange Without Sealing It Shut
I spent three days grinding concrete on a job last month just so the floor wouldn’t click like a castanet. Most guys skip the leveling compound. They think the underlayment will hide the dip. It won’t. If you are prepping a bathroom for laminate or tile, the subfloor is your foundation. When you start pouring self-leveling underlayment, or SLU, it acts like water. It wants to find the lowest point. In a bathroom, that lowest point is usually the gaping hole around your toilet flange. If you do not isolate that flange, you will end up with a solid block of cement where your plumbing should be. My name is the Master Floor Installer, and I have spent twenty five years fixing mistakes made by people who thought they could just pour and pray.
The anatomy of a protected toilet flange
To protect a toilet flange during a floor leveling pour, you must create a physical dam that rises above the intended height of the leveler. This involves using foam backer rods, specialized plastic collars, or sacrificial cardboard barriers sealed with silicone to ensure the fluid cement cannot penetrate the drain pipe or the bolt slots. The physics of this are simple but unforgiving. Self-leveling underlayment is an exothermic hydraulic cement. As it sets, it generates heat and expands slightly. If that material gets inside your flange, it will bond to the PVC or cast iron. You will be left with a chisel and a lot of regret. I always tell my apprentices that if they spend one hour on prep, they save four hours on the jackhammer. You need a barrier that is water tight. If water can leak through, the leveler will follow. This is not about being pretty. This is about being a professional who understands fluid dynamics.
Why your subfloor is lying to you
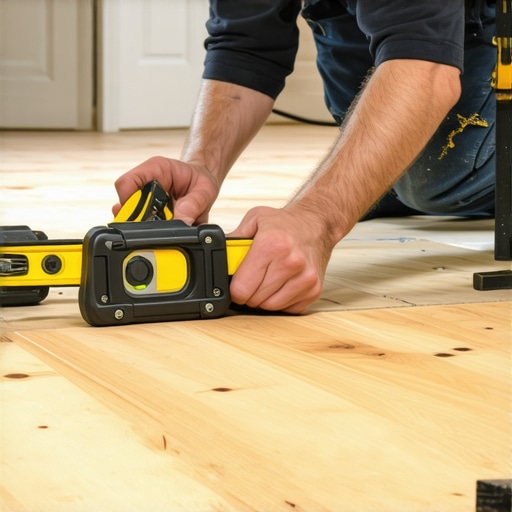
Subfloors often look flat to the naked eye but contain microscopic and macroscopic deviations that will ruin a laminate or tile installation. Using a ten foot straight edge is the only way to reveal the dips that cause structural deflection and eventual joint failure in floating floors. When we talk about showers and bathroom floors, we are talking about high moisture environments. A subfloor that is out of level by even an eighth of an inch over ten feet can cause your laminate to bounce. That bounce creates a vacuum effect. It sucks moisture and air through the joints. Eventually, the core of your laminate swells and the floor is ruined. You must check the moisture vapor transmission rate of your concrete before you ever open a bag of leveler. If the slab is pushing out too much moisture, the leveler will delaminate. It will pop off the floor like a scab. That is why priming is not optional. You need a high solids acrylic primer to seal the pores of the concrete. This prevents the substrate from sucking the water out of the leveler too fast, which leads to pinholes and cracking.
“A floor is only as good as the subfloor beneath it; deflection is the enemy of every joint.” – Master Flooring Axiom
Damming strategies for the professional installer
The most effective way to dam a toilet flange is to use a combination of closed cell foam and weatherstripping to create a perimeter that the leveler cannot breach. This allows for the natural expansion of the floor while keeping the plumbing hardware clean and accessible for the final wax ring set. I have seen guys try to use duct tape alone. It fails every time. The weight of the leveler, which is roughly 120 pounds per cubic foot, will push that tape right into the hole. Instead, take a piece of four inch PVC pipe, cut a small sleeve, and slip it over the flange. Seal the bottom with a bead of silicone. This creates a hard barrier. Alternatively, use a foam toilet flange protector. These are cheap and effective. The goal is to keep the leveler at least a quarter inch away from the flange itself. This gap is the ghost in the expansion gap. It allows the subfloor and the finished floor to move independently of the plumbing. Without this gap, the floor can actually shear the flange bolts right off when the house settles or the temperature changes.
| Damming Material | Effectiveness | Ease of Removal | Best Use Case |
|---|---|---|---|
| Expanding Foam | High | Low | Large irregular gaps |
| Foam Backer Rod | Medium | High | Tight circular perimeters |
| PVC Sleeve | Very High | Medium | Standard 4 inch flanges |
| Cardboard Collar | Low | High | Quick DIY fixes only |
The chemistry of the pour and water ratios
The success of a self leveling pour depends on the precise water to powder ratio specified by the manufacturer to ensure the proper flow rate and compressive strength. Deviating from these instructions by adding too much water will lead to a weak surface that will crumble under the weight of furniture. Most guys want the leveler to be thin so it spreads easier. That is a mistake. Too much water causes the heavy aggregates to sink to the bottom while the fine cement paste rises to the top. This creates a brittle surface. You want the consistency of a thick milkshake. When you pour around the toilet flange, start at the far wall and work your way toward the door. Use a gauge rake to set the depth. If you are installing carpet later, you might think the levelness does not matter as much. You are wrong. A dip in the floor will be felt through the pad and carpet. It will feel like a soft spot, and it will wear the carpet fibers unevenly. Professionals do not build floors with soft spots. We build performance surfaces.
The 1/8 inch that ruins everything
Precision in floor leveling is measured in sixteenths of an inch because even minor height transitions can prevent the proper seating of a toilet or the locking of a laminate plank. A flange that sits too low after the leveler is poured will require a jumbo wax ring or a flange extender to prevent leaks. This is the contrarian data point most people miss. While most people want the thickest underlayment for comfort, too much cushion actually causes the locking mechanisms on LVP and laminate to snap under pressure. The same logic applies to the leveler. You want it just thick enough to achieve flatness, not necessarily thickness. If you pour the leveler too high around the flange, the toilet will not sit flush. It will rock. A rocking toilet breaks the wax seal. A broken wax seal leads to rot in your subfloor. This is why we use the TCNA standards for floor flatness. For large format tile, you need the floor to be flat within an eighth of an inch over ten feet. That is a tight tolerance. It requires a steady hand and a spiked roller to remove the air bubbles from the leveler.
“Substrate preparation is the most critical phase of any flooring installation; the finished product will always reflect the flaws beneath it.” – Master Flooring Axiom
A checklist for flange protection and leveling
- Clear all debris and old wax from the flange area using a putty knife.
- Vacuum the substrate to remove every grain of dust before priming.
- Apply two coats of acrylic primer, allowing the first to go tacky before the second.
- Install a foam or plastic dam around the flange and seal the base with silicone.
- Measure the water into the mixing bucket first, then add the powder.
- Mix for exactly three minutes with a high torque drill and a specialized paddle.
- Pour the leveler and use a spiked roller to release trapped carbon dioxide.
- Remove the dam only after the leveler has reached its initial set, usually four hours.
The hidden cost of a clogged drain
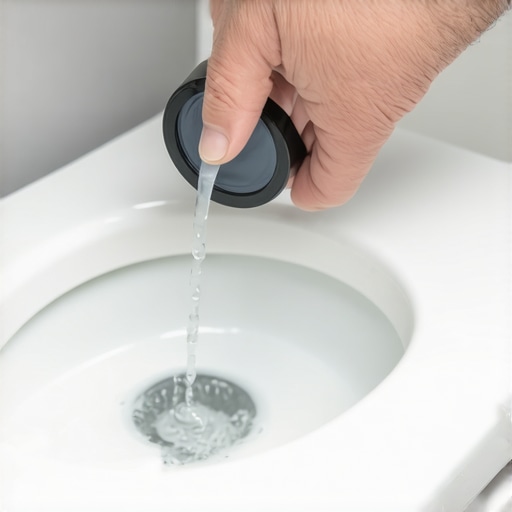
If leveler enters the drainage system, it will settle in the P-trap or the main line and harden into a stone like mass that cannot be cleared with a standard snake or chemicals. This often results in a multi thousand dollar plumbing repair that involves cutting into the slab or the ceiling below. I remember a job in a high rise where a DIY guy poured five bags of leveler without a dam. It ran down the drain and filled the stack for three floors. He had to pay for the relocation of three tenants and the replacement of the entire stack. This is why we don’t take shortcuts. When you are pouring near a shower or a toilet, you are playing with the veins of the house. Treat the plumbing with respect. Cover the open pipe with a rag or a plastic cap before you even start mixing. Dust from the leveler is also an irritant. It contains silica. Wear a respirator. Smelling like oak dust and WD-40 is part of the job, but breathing in cement dust is just poor planning.
Final thoughts on the pour
The physics of flooring are simple but the execution is everything. You are building a structural bridge between the joists and the feet of the people who live there. Whether you are prepping for a carpet install or high end laminate, the floor leveling process is where the quality is won or lost. Do not be afraid of the leveler. Respect its flow. Protect your drains. Build a floor that will last longer than the house. If you follow these steps, your toilet will sit flat, your laminate will stay locked, and you won’t have to spend three days on your knees with a grinder like I did last month. Real craftsmanship is about the things people never see, like the perfectly level concrete hidden under their bathroom tile.