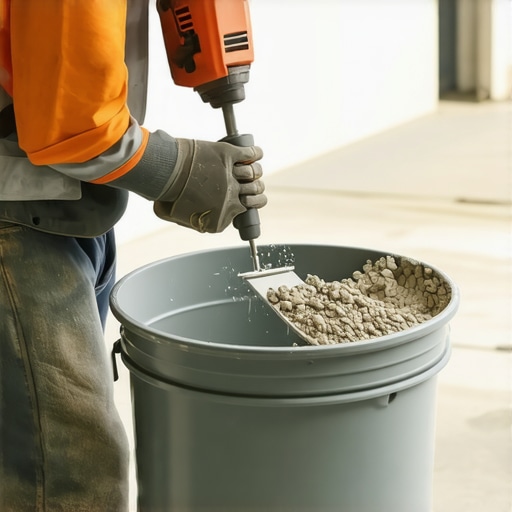
The ‘Bucket’ Trick for Mixing Self-Leveling Compound Without Lumps
The ghost in the expansion gap
Self-leveling compound requires a precise ratio of water to polymer-modified powder to achieve the necessary flow and structural integrity. Most installers fail because they ignore the chemistry of hydration and the physics of the vortex during the mixing process. Achieving a lump-free pour is the difference between a successful carpet install and a floor leveling disaster that causes laminate planks to fail. I spent three days grinding concrete on a job last month just so the floor wouldn’t click like a castanet. The previous guy thought he could just eyeball the water. He was wrong. The subfloor is the soul of the room. If the subfloor is uneven, every single material you put on top of it, whether it is high-end hardwood or a simple carpet install, will eventually reveal those hidden sins. In the world of professional flooring, we do not hope for the best. We engineer for the absolute flat. This requires a level of obsession with the mixing bucket that most homeowners find exhausting. But when you see a laminate floor that feels like a solid slab of stone under your feet, you know the prep was handled with surgical precision. My hands are stained with the gray dust of a thousand bags of cement, and my knees have the permanent calluses of a man who knows that the truth is always found at the 1/8 inch mark. There are no shortcuts in this trade. If you try to save ten minutes on the mix, you will spend ten hours on the fix.
The 1/8 inch that ruins everything
Floor leveling standards require a surface to be flat within 3/16 of an inch over a 10 foot radius to prevent the snapping of laminate locking mechanisms or the cracking of tile in showers. When a subfloor has dips or humps, the flooring material must bridge that gap, creating a trampoline effect. This constant deflection under foot traffic eventually fatigues the joints of your floor. I once saw a beautiful luxury vinyl plank floor completely pull apart because the installer thought a thick underlayment would hide a half-inch valley. It did not. The underlayment compressed, the joints snapped, and the floor became a tripping hazard. You have to treat the subfloor like a structural engineering project. This is especially true in showers, where the pitch must be perfect to ensure drainage while providing a flat enough surface for large format tile. If your self-leveling compound has lumps, those lumps become high spots that you have to grind down later. Grinding is a dusty, miserable job that gets silica everywhere. The bucket trick is the only way to ensure that your pour is as smooth as glass from the moment it hits the substrate. It is about controlling the hydration of the cement particles so they do not clump together like bad pancake batter.
“A floor is only as good as the subfloor beneath it; deflection is the enemy of every joint.” – Master Flooring Axiom
The chemistry of the perfect pour
Polymer-modified self-leveling compounds use advanced chemical additives to increase flow and reduce the amount of water needed for hydration. These polymers are sensitive to shear force and temperature. If you mix too fast, you introduce air bubbles that create pinholes in your finished floor. If you mix too slow, the heavy aggregates settle to the bottom while the fines float to the top. This stratification ruins the strength of the floor. The bucket trick involves a two-stage mixing process where you never allow dry powder to sit at the bottom of the vessel. You start with the exact amount of cool, clean water. You never use warm water because it accelerates the set time and ruins the flow. You want the material to stay open long enough to find its own level. When the powder hits the water, it needs to be integrated immediately into a vortex. This is not just about stirring. It is about high-shear integration. We use specialized paddles, usually a helical design, that pulls the bottom material up while pushing the top material down. This ensures that every single grain of cement is coated in water. Without this, you get ‘dry pockets’ that stay hidden until you pour the material onto the floor. By then, it is too late. The lumps will stay there, and you will be on your knees with a trowel trying to fish them out while the rest of the floor is already starting to skin over.
| Material Type | Janka Hardness / Durability | Max Subfloor Deviation | Acclimation Time |
|---|---|---|---|
| Solid White Oak | 1360 lbf | 1/8 inch per 6 feet | 7 to 14 days |
| Engineered Maple | 1450 lbf | 3/16 inch per 10 feet | 3 to 5 days |
| Laminate Flooring | AC4 / AC5 Rating | 1/8 inch per 8 feet | 48 hours |
| LVP (Vinyl Plank) | 20 mil Wear Layer | 3/16 inch per 10 feet | 48 hours |
Why your subfloor is lying to you
Subfloors often appear flat to the naked eye but contain micro-fluctuations that will cause laminate clicking or carpet install ripples over time. You cannot trust your eyes. You must trust a 10 foot straightedge and a calibrated level. When we talk about the bucket trick, we are talking about consistency. The consistency of the mix determines the consistency of the height. If one bucket is slightly thicker than the next, you will have a visible ridge where the two pours meet. This is called a ‘cold joint.’ It is the hallmark of an amateur. To avoid this, you need a team. One person mixes while the other pours. The person mixing is the most important person on the job site. They are the chemist. They are the one using the bucket trick to ensure that every batch is identical to the last. This is especially vital when prepping for showers where the waterproofing membrane needs a perfectly smooth substrate to bond correctly. Any lump or ridge in the leveling compound can create a point of failure in the waterproof seal. I have seen showers leak into the crawlspace because a tiny lump of unmixed compound created a void under the liner. It is a disaster that costs thousands to fix, all because someone didn’t want to use a second bucket to double-mix their mud.
The secret sequence for a lump-free mix
The bucket trick relies on the double-mixing method which involves transferring the compound between two buckets to catch unhydrated powder. Here is the professional checklist for a perfect mix every single time.
- Measure the water to the exact ounce using a dedicated measuring pitcher.
- Add the water to the first bucket before adding any powder.
- Start the mixer at a low RPM and slowly sift the powder into the water.
- Mix for two minutes until the texture is uniform.
- Pour the entire contents into a second, clean bucket.
- Scrape the sides and bottom of the first bucket to ensure no dry clumps remain.
- Mix the second bucket for an additional sixty seconds.
- Allow the material to ‘slake’ for two minutes if required by the manufacturer.
- Give it a final ten-second spin to break the surface tension before pouring.
This process seems tedious, but it is the only way to guarantee that the polymers are fully activated. Most guys skip the second bucket. They think they can reach the bottom corners with their paddle. They can’t. There is always a ring of dry powder at the very bottom edge of the bucket. When you pour, that dry powder comes out last and sits right on top of your floor. It won’t level. It won’t bond. It will just be a lump of sand that ruins your laminate layout. By transferring it to a second bucket, you force that bottom material to the top where the paddle can finally eat it up. This is the ‘Bucket Trick’ that the old-timers used before we had fancy high-flow chemicals. It still works today because the laws of physics haven’t changed.
“Consistency in the bucket leads to longevity in the home; a floor is only as permanent as its preparation.” – Tile Council of North America Standard
The physics of the pour and the perimeter
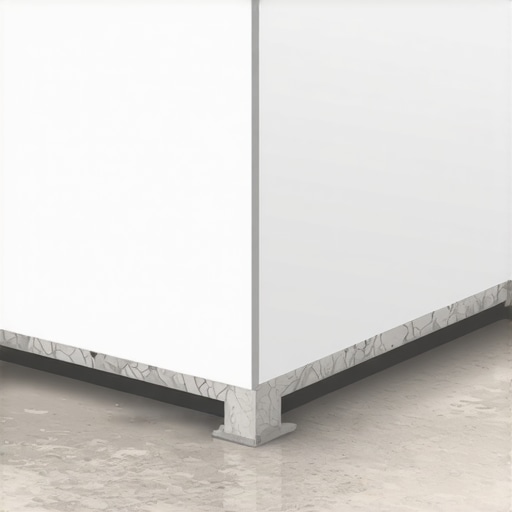
Gravity is your best friend and your worst enemy when working with self-leveling compounds on a floor leveling project. The material wants to be flat, but surface tension and friction will try to stop it. If the mix is too thick because of lumps, it won’t have the energy to travel to the low spots. You also have to consider the perimeter. You must install foam expansion strips around the entire edge of the room. If the leveling compound touches the drywall or the studs, it creates a rigid bridge. When the house shifts or the temperature changes, that floor has nowhere to go. It will crack. Or worse, it will heave and pop your laminate or tile right off the substrate. This is why we are so obsessive about the ‘Bucket Trick.’ We need the material to be thin enough to flow into the tightest corners but strong enough to support the weight of the furniture. We are creating a floating island of stone. That island needs to be perfectly level and perfectly smooth. If you are doing a carpet install, people think you can be messy. They think the pad will hide it. But if you have a lump the size of a nickel, the homeowner will feel it every time they walk across the room. It will feel like a rock in their shoe. That is the kind of call-back that kills a business. Do the work in the bucket so you don’t have to do it on your knees later.