How to Install a Linear Drain Without Cutting Your Floor Joists
Most guys skip the leveling compound. They think the underlayment will hide the dip. It won’t. I spent three days grinding concrete on a job last month just so the floor wouldn’t click like a castanet. That is the reality of professional flooring. If you do not respect the subfloor, the finish material will betray you every single time. My hands still smell like WD-40 and oak dust from that project, a reminder that labor is ninety percent preparation and ten percent installation. When we talk about showers and linear drains, the stakes get higher. You are not just dealing with aesthetics; you are managing hydraulic pressure and structural gravity.
The structural lie of the shower floor
Installing a linear drain without cutting joists requires a deep understanding of floor leveling and subfloor geometry. Most installers take the easy route by notch cutting the tops of the floor joists to create a slope, which compromises the integrity of the home. Instead, the professional path involves recessing the subfloor between the joists or building up the surrounding floor height to meet the drain requirements without sacrificing the load-bearing capacity of the lumber.
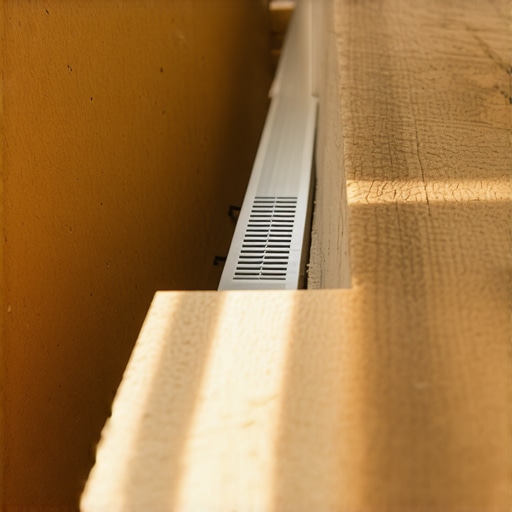
When you look at a standard floor joist, you are looking at a structural member designed to handle tension and compression. The moment you notch that joist to accommodate a drain pipe or a slope, you have introduced a point of failure. According to the International Residential Code, you cannot notch the middle third of a span, and even where allowed, the notch depth is strictly limited. To avoid this, we use the sistering method. We install 2×4 or 2×6 cleats along the sides of the joists, recessed down by the thickness of the drain body and the slope material. This allows the new subfloor to sit lower than the original plane without a single saw blade touching the structural joist tops.
“A floor is only as good as the subfloor beneath it; deflection is the enemy of every joint.” – Master Flooring Axiom
Why your subfloor is lying to you
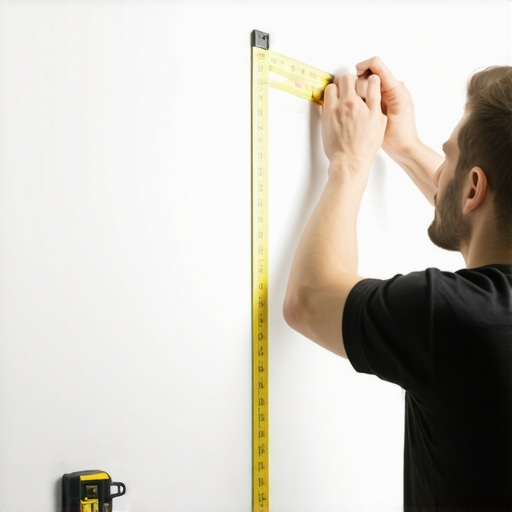
Floor leveling is the most misunderstood aspect of modern bathroom renovations and shower builds. You might think your subfloor is flat because it looks okay to the naked eye, but a ten-foot straightedge will reveal the truth of the dips and crowns that ruin a tile installation. For a linear drain to function, the floor must be perfectly planar toward the trough, or you will experience pooling and mold growth in the corners.
If you are transitioning from a carpet install or laminate in the bedroom to a curbless shower in the master bath, the heights rarely align. This is where the physics of self-leveling underlayment (SLU) comes into play. We are talking about high-flow, cementitious compounds that have a compressive strength often exceeding 5,000 PSI. These materials are not just fillers; they are structural layers. You must prime the wood subfloor with a high-solids acrylic primer to prevent the wood from sucking the moisture out of the SLU, which would lead to pinholing and cracking. The molecular bond between the primer and the substrate determines if your floor stays quiet or starts to groan under the weight of the bathtub.
The 1/8 inch that ruins everything
Precision in shower drainage is measured in fractions of an inch across the entire span. A standard 1/4 inch per foot slope is the industry benchmark for traditional center drains, but linear drains allow for a single-plane slope. This simplifies the tile work but complicates the subfloor preparation. If your slope is even 1/8 inch off over a four-foot run, the surface tension of the water might prevent it from ever reaching the drain.
| Feature | Standard Center Drain | Low Profile Linear Drain || — | — | — || Minimum Rough-in Depth | 3 to 4 inches | 1.5 to 2.25 inches || Slope Complexity | 4-way Compound Slope | Single Plane Slope || Joist Modification Risk | High | Low to Moderate || Required Waterproofing | Traditional Pan Liner | Integrated Bonded Membrane |
The chemistry of the adhesive used for the waterproofing membrane is equally vital. We use ANSI A118.15 improved modified thin-set. The polymer content in these mortars allows for a slight degree of flexibility. This is essential because even the stiffest floor has a deflection rating, usually L/360 for ceramic and L/720 for natural stone. As the house settles and the seasons change, that thin layer of polymer-modified cement prevents the tiles from popping off the membrane like a scab. You need that chemical hook to ensure the shower remains a sealed vessel.
The ghost in the expansion gap
Every material in your home expands and contracts with humidity changes except for the tile. Wood is hygroscopic; it breathes. Tile is stable. When you lock a tile floor against a wall without a perimeter expansion gap, you are asking for a tenting disaster. I have seen laminate floors buckle two inches off the ground because some handyman pushed the planks tight against the baseboard. In a shower, we use 100 percent silicone sealant at the change of plane because it can handle the movement without cracking like grout would.
- Verify subfloor deflection using a digital level and load simulation.
- Recess subfloor panels using 2×4 blocking and structural screws.
- Apply a vapor-reduction primer if working over a damp concrete slab.
- Install a topical waterproofing membrane such as Kerdi or NobleSeal.
- Perform a 24-hour flood test to verify the integrity of the drain bond.
The sound of a floor matters. When you walk across a properly leveled subfloor, it feels like stone. When you walk across a cheap builder-grade job, it sounds hollow. That hollowness is the sound of air pockets where thin-set failed to reach. We use a notched trowel to create ridges, then collapse those ridges to ensure 100 percent coverage. It is a physical workout that separates the masters from the amateurs. You do not just lay a floor; you engineer a walking surface that should outlast the mortgage of the house.
“Surface preparation is not a suggestion; it is the fundamental law of the Tile Council of North America.” – TCNA Handbook Extract
The molecular reality of waterproofing
Liquid waterproofing membranes are essentially high-performance rubber skins that protect your joists from rot. These coatings are applied at a specific mil thickness, usually measured with a wet-film gauge to ensure consistency. If the coating is too thin, it will fail under the weight of the water. If it is too thick, it may not cure properly, leaving a gummy residue that prevents the tile mortar from bonding. We are looking for that sweet spot of twenty to thirty mils of dry thickness. This creates a monolithic barrier that is impervious to the capillary action of water.
Think about the vapor drive. In a heated bathroom, moisture wants to move from the warm air into the cool subfloor. Without a proper vapor barrier, your joists will eventually become a breeding ground for fungi. By using a bonded membrane system directly under the tile, we move the waterproofing to the very top of the assembly. This keeps the mortar bed dry and prevents the musty smell that plagues old-school mud bed showers. It is a cleaner, more hygienic approach to bathroom engineering that relies on modern polymer science rather than old-fashioned lead pans and tar.
Final thoughts on structural integrity
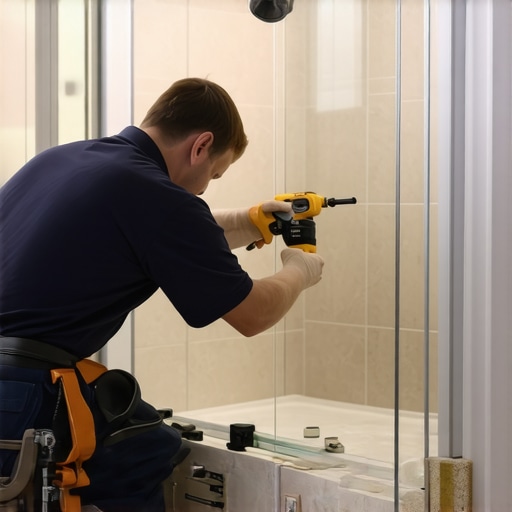
Building a shower without cutting joists is about respecting the architecture of the home. It is about choosing the right low-profile linear drain and being willing to do the hard work of leveling the entire room to accommodate the new height. It is about the smell of the sealer and the grit of the thin-set. When the job is done, the homeowner will only see a beautiful, flat floor. But you will know that underneath that tile is a system of recessed plywood, structural sistering, and high-performance chemistry that keeps the house standing and the water where it belongs.