The ‘Sanding Hack’ for Removing Ridges from Dried Leveler
Most guys skip the leveling compound. They think the underlayment will hide the dip. It won’t. I spent three days grinding concrete on a job last month just so the floor wouldn’t click like a castanet. The homeowner had bought this expensive European laminate. It was beautiful stuff. But the slab looked like the surface of the moon. If I had just thrown the planks down, every joint would have failed within six months. That is the reality of the trade that many weekend warriors ignore. You cannot fix a bad foundation with a pretty surface. When you walk across a floor and hear that hollow ticking sound, you are hearing the ghost of a ridge that someone was too lazy to sand down. I smell like WD-40 and oak dust most days, and that scent comes from the labor of perfection. A floor is a performance surface, not a rug you just toss down. If your subfloor is not flat, your finished floor is garbage.
The physics of the imperfect pour
Removing ridges from dried floor leveling compound requires a silicon carbide rub stone or a low-speed floor buffer equipped with a 16-grit sanding disc to flatten the surface. These ridges occur when the viscosity of the mixture prevents it from merging with previous pours, creating cold joints. Correcting these high spots is essential before a laminate or carpet install.
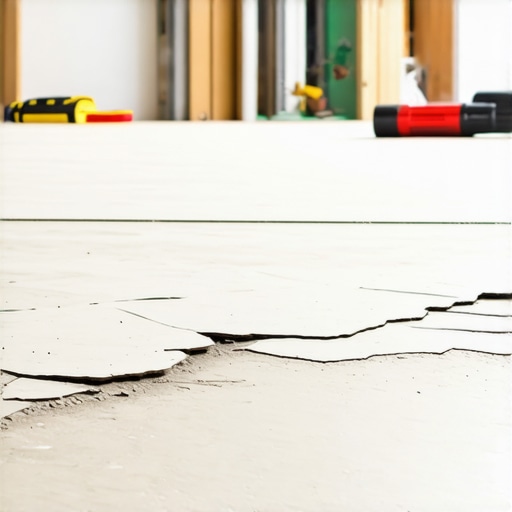
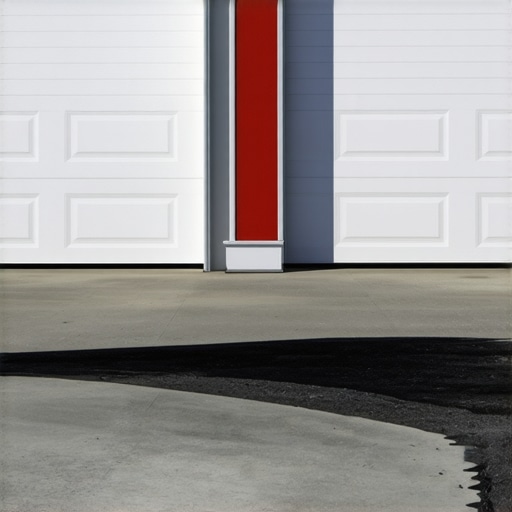
Self-leveling underlayment is a bit of a marketing lie. It is actually self-smoothing, not self-leveling. If you don’t move it correctly with a gauge rake or a spiked roller, the surface tension of the liquid creates humps. These humps are often found at the doorway where one bucket ended and the next began. Once that material cures, it has the compressive strength of several thousand pounds per square inch. You aren’t just wiping away a little dust. You are engaging in a mechanical battle with a cementitious matrix. The chemistry of these products often involves calcium aluminate cement, which sets fast and hard. This fast-setting nature is what causes the ridges. The material begins to lose its flowability while the installer is still trying to move it. This creates a lip that can be as thick as a nickel or as wide as a silver dollar.
“A floor is only as good as the subfloor beneath it; deflection is the enemy of every joint.” – Master Flooring Axiom
Why your subfloor is lying to you
A subfloor may look flat to the naked eye, but optical illusions caused by overhead lighting often hide deviations that exceed industry standards. Professionals use a 10-foot straightedge to identify gaps. Any ridge higher than 1/8 inch over a 10-foot span will cause locking mechanisms in laminate flooring to fail under deflection.
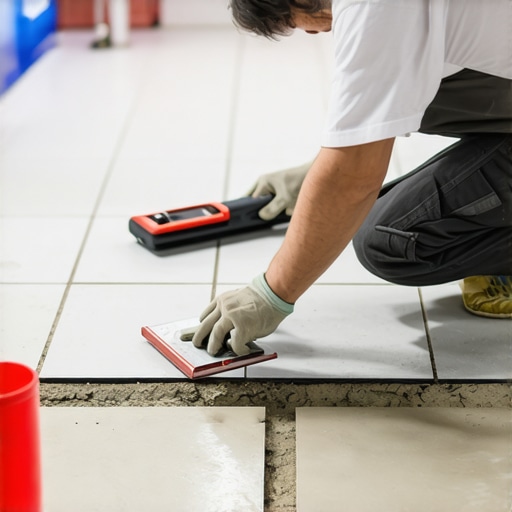
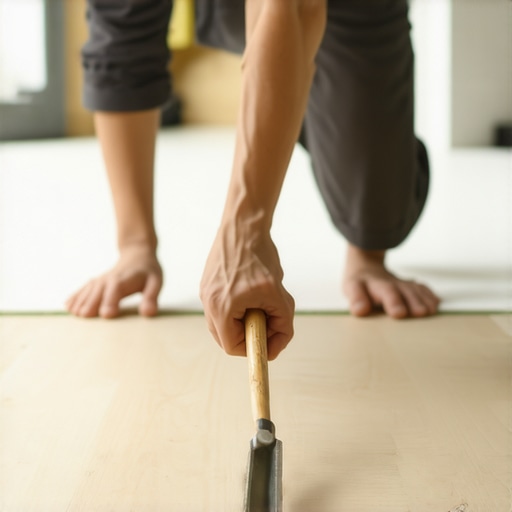
When you stand back and look at a grey expanse of dried leveler, it looks like a lake. But your feet will tell a different story. If you drag a straightedge across that surface, you will see light pouring under the bar in some spots and the bar will teeter-totter on others. That teetering is the ridge. In the world of high-end installations, we talk about the substrate as the skeleton. If the skeleton is crooked, the skin will look terrible. For those working in showers, the flatness of the substrate is even more vital for large format tile. A single ridge can cause a tile to crack when a person steps on it because of the void created next to the high spot. We are talking about microscopic gaps that lead to macroscopic failures. The physics of weight distribution requires a 100 percent contact patch between the floor and the subfloor.
The 1/8 inch that ruins everything
The industry standard for subfloor flatness is a maximum deviation of 1/8 inch within a 10-foot radius. Exceeding this tolerance leads to joint fatigue in floating floors and accelerated wear in carpet install projects. Sanding down ridges is the only way to bring the substrate back into spec without adding unnecessary thickness.
If you ignore a 1/8 inch ridge, you are essentially asking your flooring to bend in a way it wasn’t designed to. Laminate is made of high-density fiberboard. It is stiff. When it bridges a ridge, it creates a trampoline effect. Every time you walk on it, the tongue and groove rub together. This friction eventually snaps the locking profile. Then you get gaps. Then you get moisture infiltration. Then the whole floor is ruined. People think thick underlayment is the solution. It is not. While most people want the thickest underlayment, too much cushion actually causes the locking mechanisms on LVP to snap under pressure. You need a flat, hard base. Period. There are no shortcuts here.
| Tool | Application | Material Removal Rate |
|---|---|---|
| Concrete Rub Stone | Small high spots and drips | Low |
| Angle Grinder with Shroud | Aggressive ridge removal | High |
| Floor Buffer (175 RPM) | Large area flattening | Medium |
| Drywall Pole Sander | Fine smoothing of gypsum | Very Low |
Tools for the surgical removal of high spots
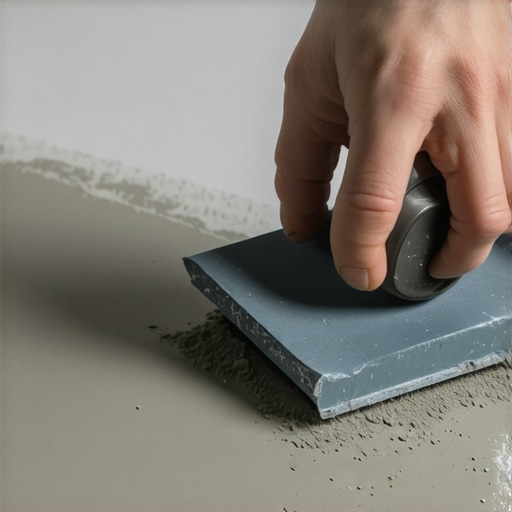
The most effective tool for removing ridges is a handheld concrete rub stone with a 20-grit surface for small areas. For larger floor leveling projects, a 7-inch angle grinder with a diamond cup wheel and a vacuum shroud is necessary. These tools allow for precise mechanical abrasion of the cementitious surface without damaging the surrounding flat areas.
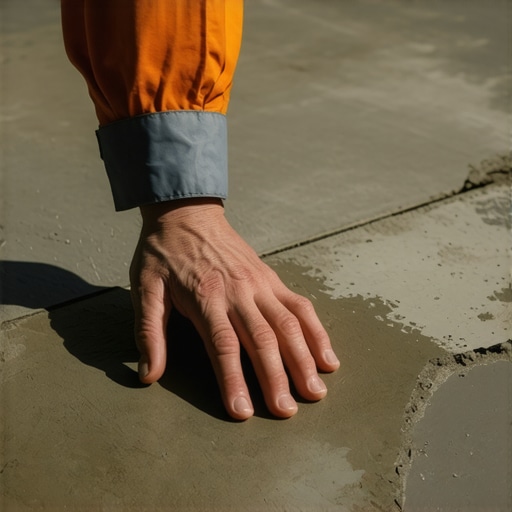
If you are doing this in a house that is already finished, you have to be careful about dust. The dust from sanding leveler is like flour; it gets into everything. I always use a shroud connected to a HEPA vacuum. If you don’t, you’ll be cleaning fine grey powder out of the homeowner’s curtains for the next five years. The rub stone is the old-school way. It takes elbow grease. You get down on your knees and you scrub that ridge until it disappears. You can feel the progress through your palms. When the stone stops catching and starts gliding, you are done. It is honest work that saves a thousand dollars in potential repairs later.
The grit selection for concrete and gypsum
Choosing the correct abrasive grit depends on the compressive strength of the leveler, which usually ranges from 3,000 to 5,000 PSI. For Portland cement based products, a 16-grit or 24-grit silicon carbide disc is required. Gypsum-based levelers are softer and can be sanded with 40-grit or 60-grit sandpaper to achieve a smooth finish.
Not all levelers are created equal. Some are soft enough that you could scrape them with a putty knife. Others are as hard as a sidewalk. You need to know what you are dealing with before you start spinning a disc at 175 RPM. If you use a grit that is too fine, you will just glaze over the surface and create heat. That heat can actually soften the polymers in the leveler, making a gummy mess. You want the abrasive to bite into the material and turn it into dust. This is why 16-grit is the gold standard for floor prep. It is aggressive enough to level a mountain but leaves a profile that adhesives can actually bond to. If you are prepping for a glue-down carpet install, that profile is vital for the tack of the adhesive.
“Subfloor flatness is not a suggestion; it is a structural requirement for the longevity of the wear layer.” – National Wood Flooring Association
How ridges destroy a laminate carpet install
Ridges create stress points that manifest as telegraphing in thin flooring materials like luxury vinyl or commercial carpet. In a carpet install, a ridge will cause the nap of the carpet to wear down prematurely in that specific spot. For laminate, a ridge acts as a fulcrum, putting constant upward pressure on the plank joints.
Telegraphing is the industry term for when the sins of the subfloor show up on the surface. If there is a ridge underneath a piece of vinyl, you will see a line on the surface within a month. It looks like a vein popping out of the floor. With carpet, it is even more insidious. You might not see the ridge immediately, but as people walk over it, the fibers on the high spot get crushed against the hard ridge underneath. It creates a bald spot. I have seen $5,000 carpet jobs ruined because the installer didn’t want to spend twenty minutes sanding a cold joint in the leveler. It is pure negligence.
Managing the dust cloud of a sanding hack
Proper dust mitigation involves using a Class M vacuum and sealing off HVAC vents to prevent silica exposure. The Occupational Safety and Health Administration (OSHA) has strict guidelines for crystalline silica because the fine dust generated from sanding floor leveling compounds can cause respiratory issues. Always use a NIOSH-approved respirator during the sanding process.
- Use a vacuum with a HEPA filter and a mechanical shaker.
- Seal the work area with plastic sheeting and painters tape.
- Mist the floor slightly with water to keep dust down if using a rub stone.
- Always check the moisture content of the slab after sanding.
- Clean the surface three times with a damp microfiber mop before applying flooring.
Dust management is not just about cleanliness; it is about health. When you are grinding down a ridge, you are aerosolizing minerals and polymers. You do not want that in your lungs. I have seen guys think they are tough and skip the mask. They are usually the ones coughing for three days after the job is over. Be smart. Use the vacuum. Keep the site clean. A clean site is the mark of a professional. Once the sanding is done, the floor must be pristine. Any leftover dust will act as a bond breaker for your adhesive or your underlayment tape.
The chemistry of the bond
The mechanical bond of a flooring adhesive depends on the porosity of the subfloor after the sanding hack is complete. Sanding removes the laitance, which is a weak, milky layer of cement that rises to the top of the leveler during the drying process. Removing this layer exposes the aggregate and ensures the laminate underlayment or carpet glue adheres properly.
Laitance is the enemy of a good bond. It looks like the rest of the floor, but it has no structural integrity. If you glue something to laitance, the glue will eventually just peel that thin layer right off the concrete. By sanding the ridges, you are doing two things at once. You are flattening the floor and you are opening up the pores of the material. This allows your primer or your adhesive to penetrate deep into the substrate. This creates a root system for the bond. In showers, this is even more critical because the waterproofing membranes need a solid surface to grab onto. If the surface is dusty or has a weak layer of laitance, the whole waterproofing system can delaminate. It all comes back to the prep work. The sanding hack is not just about making things flat; it is about making things permanent.