How to Anchor a Glass Door to a Tiled Shower Curb Safely
I spent three days grinding concrete on a job last month just so the floor wouldn’t click like a castanet, and that same level of structural obsession applies to your shower. I once walked into a master suite where a $4,000 custom glass enclosure had literally pulled away from the wall. The installer thought a plastic wall plug in a half inch of grout was enough to hold eighty pounds of tempered glass. It wasn’t. The weight of that door had pulled the anchors out, cracking three tiles and breaching the waterproofing. The subfloor underneath was a rotting mess of black mold and damp plywood because water had traveled down those loose screws for six months. I still smell the rot when I think about it. You can’t sand a mistake out of a porcelain curb. You have to build it right the first time, or you are just setting a timer on a structural failure.
The invisible fracture in the curb core
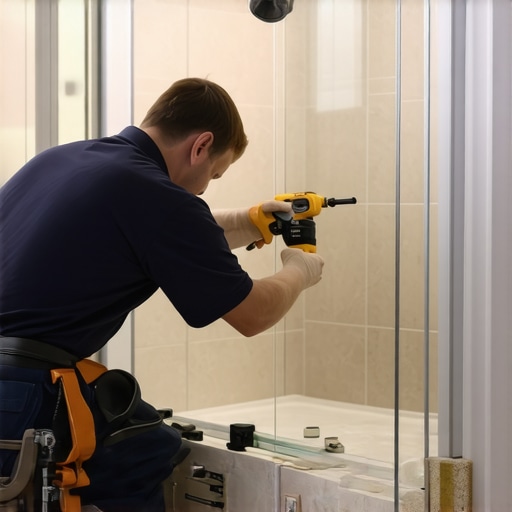
Anchor glass doors to tiled shower curbs by using diamond-tipped drill bits, stainless steel fasteners, and 100 percent silicone sealant. You must penetrate the solid wood blocking or mortar core without breaching the waterproof membrane integrity. Structural stability depends on the curb substrate material and fastener depth. If you miss the solid framing, the vibration of the door opening will eventually loosen the mounting hardware. This leads to water infiltration and tile delamination. The curb is not just a visual border. It is a load bearing bridge that must support the lateral and vertical forces of a heavy glass panel.
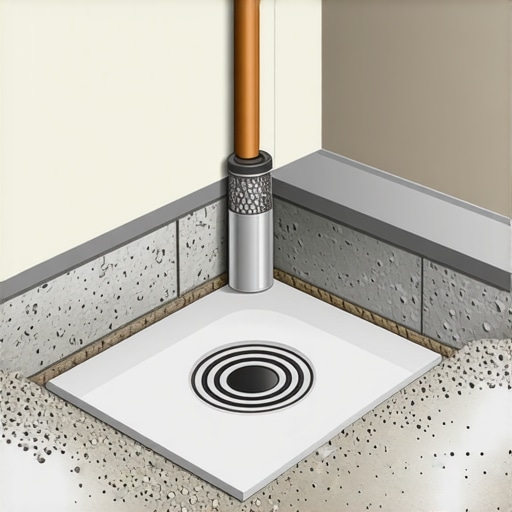
When we talk about the curb, we are talking about a sandwich of materials. At the center, you likely have a stack of three 2x4s or a pre-formed high-density foam block. If it is wood, you are looking for a bite of at least two inches into the timber. If it is foam, your anchor better be long enough to pass through the foam and hit the subfloor or the structural framing of the shower pan. The physics of weight distribution dictate that a pivot door exerts a lever force on the curb. Every time you swing that door, you are trying to pry the screws out of the ground. Without a solid core, the tile is the only thing holding that weight. Tile is strong in compression, but it is brittle. It will crack under the tension of a pulling screw every single time.
The physics of the diamond grind
Selecting the correct drill bit involves understanding the MOHS hardness scale of your porcelain or ceramic tile. You should use diamond-core bits rather than carbide tipped bits to prevent heat-induced stress fractures in the tile body. Operating at low RPMs with a constant water cooling source is mandatory for a clean penetration. A carbide bit works like a hammer. It chips away at the material. That is fine for a soft ceramic wall tile, but for a modern, dense porcelain, it is a recipe for a disaster. You will end up with a jagged hole that is larger than the screw head, leaving no room for a waterproof seal.
The diamond bit works by abrasion. It is a steel mandrel with industrial diamond dust bonded to the tip. As it spins at a controlled 400 to 600 RPM, it wears away the silica and minerals. You need water. Not just a sprinkle, but a steady flow to carry away the slurry. If that slurry stays in the hole, it acts as an abrasive that wears out the bit before you even hit the substrate. I usually take a piece of scrap plywood and drill a hole in it first. I use that as a template to keep the bit from wandering across the glossy surface of the tile. Once the bit bites, you can remove the template. But keep that water flowing. If the bit gets too hot, the metal will expand and the diamonds will flake off. Then you are just rubbing a hot stick of metal against a rock. It will burn the tile, and you will be replacing the whole curb.
“A floor is only as good as the subfloor beneath it; deflection is the enemy of every joint.” – Master Flooring Axiom
The chemistry of the waterproof bond
Preventing water intrusion through the anchor points requires a neutral-cure 100 percent silicone sealant. You must inject the sealant directly into the drilled hole before inserting the stainless steel screw to create a gasket effect. This prevents capillary action from drawing moisture into the curb core. Most guys just put a dab on the screw head. That is a amateur move. You want the entire shaft of the screw encased in silicone. This creates a plug. When you drive the screw in, the excess silicone should squeeze out the top. That is how you know the hole is full.
Wait, there is more to it than just any old caulk. You need to understand the difference between acetoxy and neutral cure. Acetoxy silicone smells like vinegar. It is common and cheap. But the acetic acid released during the curing process can react with certain metals and even some stone types. Neutral cure silicone is more expensive, but it adheres better to non-porous surfaces like glass and metal without the corrosive byproduct. It stays flexible. That flexibility is vital because the glass door and the tiled curb have different coefficients of expansion. They move at different rates when the bathroom heats up from a shower. If your sealant is too rigid, it will pull away from the tile, leaving a micro-gap for water to enter. Water is a patient enemy. It will find that gap.
| Substrate Type | Anchor Recommendation | Min. Penetration Depth | Risk Level |
|---|---|---|---|
| Solid Wood (3x 2×4) | #10 Stainless Wood Screw | 2.0 Inches | Low |
| High-Density Foam | Long-Reach Structural Screw | 3.5 Inches | Medium |
| Mortar / Brick | Stainless Wedge Anchor | 1.5 Inches | Low |
| Hollow Concrete Block | Toggle Bolt or Epoxy Anchor | N/A | High |
The 1/8 inch that ruins everything
Precision in measuring the curb center ensures the glass weight sits directly over the structural blocking. A deviation of even one eighth of an inch can cause the tempered glass to hang off-balance, putting uneven torque on the hinges. Use a laser level to verify the curb is perfectly level before drilling. If the curb slopes outward, the door will want to swing open on its own. If it slopes inward, it will slam shut. Neither is good for the longevity of the anchors. You are looking for a perfectly flat, level surface that is dead center on your framing.
If you find that the curb is not level, do not try to fix it with the glass. You have to shim the U-channel or the hinges. But be careful. Shimming creates a gap. That gap has to be filled with silicone, and a thick bead of silicone is never as strong as a thin, compressed layer. This is why I get so cranky about the subfloor. If the person who built the curb didn’t use a level, the person installing the glass is the one who pays the price. I have spent hours with a stone polisher trying to grind down a high spot on a marble curb just so the glass track would sit flush. It is tedious work. It smells like wet rock and regret.
- Verify the location of internal plumbing or radiant heat wires before drilling.
- Check the tile for hollow spots by tapping with a plastic mallet.
- Mark the drill points with a permanent marker on a piece of masking tape to prevent slipping.
- Clear the dust from the hole using a vacuum or compressed air.
- Fill the hole 75 percent with silicone before the fastener enters.
- Hand-tighten the screws to avoid stripping the wood or snapping the head.
The metallurgy of longevity
Using 316-grade stainless steel fasteners is the only way to prevent galvanic corrosion in a high-moisture environment. Standard zinc-plated screws will rust within months when exposed to alkaline thin-set and constant humidity. The tensile strength of the fastener must match the shear force exerted by the door. A rusted screw expands. When it expands inside a hole in the tile, it creates internal pressure. This is a common cause of mysterious cracks that appear in shower curbs years after the installation. The rust is literally exploding the tile from the inside out.
I have seen guys use drywall screws to save five dollars. Drywall screws are brittle. They have zero shear strength. You can snap them with a pair of pliers. Now imagine eighty pounds of glass pulling on that screw every morning. It is a death wish. You want 316 stainless. It has higher molybdenum content than 304 stainless, which makes it much more resistant to chlorides and salt. Even if you don’t live by the ocean, the chemicals in your soap and shampoo can be surprisingly aggressive. I have seen 304 stainless pit and tea-stain in a heavy-use shower. 316 is the gold standard for a reason. It stays clean. It stays strong.
“Deflection is the silent killer of tile; if the substrate moves, the grout fails, and the water wins.” – Master Flooring Axiom
The ghost in the expansion gap
Maintaining a proper expansion gap between the glass metal channel and the tile surface prevents cracking from thermal movement. You should leave a one sixteenth inch gap to be filled with silicone rather than resting the metal directly on the tile. This acts as a shock absorber for the glass assembly. If the metal channel is jammed tight against the porcelain, any movement in the house framing will translate directly into the tile. This leads to the tile popping off the curb or the glass shattering if the pressure is high enough.
Think about the seasons. In the winter, your house shrinks. In the summer, it expands. The wood inside that curb is moving. The tile is not. This differential movement is what causes most flooring and tile failures. By using a soft joint, which is just a fancy word for a silicone-filled gap, you allow the materials to slide past each other without breaking the bond. It is the same reason we leave expansion gaps at the perimeter of a hardwood floor. Without them, the floor buckles. In a shower, without that gap, the tile cracks. It is simple physics. It is not an aesthetic choice. It is a structural requirement. Don’t let a minimalist architect tell you otherwise. They don’t have to go back and fix the leaks three years later.