How to Hide Transition Gaps Between Carpet and Tile
I spent three days grinding concrete on a job last month just so the floor wouldn’t click like a castanet. Most guys skip the leveling compound. They think the underlayment will hide the dip. It won’t. I walked onto that site and smelled the failure before I even saw the transition gaps. The previous installer tried to bridge a half-inch height difference with nothing but extra carpet padding and a prayer. The result was a transition that felt like stepping into a hole. You cannot hide a bad transition with decorative trim. You solve it with structural engineering and subfloor prep. My hands are still stained with the grey residue of that self-leveling compound, but that floor is now flatter than a frozen pond. If you want to fix the gap between your carpet and tile, you have to stop looking at the surface and start looking at the substrate.
The structural reality of the threshold gap
Hiding transition gaps between carpet and tile requires a precise mechanical tuck or a graduated shim to ensure the subfloor height is perfectly managed. The transition strip or Z-bar must be anchored to the concrete slab or plywood subfloor using specialized fasteners to prevent lateral movement of the carpet fibers against the tile edge. A gap is usually a symptom of a height mismatch. If your tile sits higher than your carpet, you are going to see a raw edge that catches dirt and destroys socks. The physics of the situation are simple. Carpet is a compressible textile while tile is a rigid ceramic or porcelain surface. To hide the gap, you must create a tensioned bridge. This is not about aesthetics. It is about the mechanical bond between two different material densities. When I approach a transition, I am looking at the mil-thickness of the tile and the face weight of the carpet. These two numbers dictate the solution.
Why your subfloor is lying to you
Subfloor preparation and floor leveling are the most fundamental steps in carpet install or laminate projects because they eliminate subfloor deflection. Using a straightedge to find low spots and filling them with polymer-modified self-leveling underlayment ensures the tile-to-carpet junction remains flush and structurally sound. I have seen too many guys try to use cardboard or extra staples to level a floor. That is a crime against the trade. Last year, I worked on a remodel where the homeowner was convinced their tile was defective. It was not. The subfloor had a dip that caused the tile to sit lower than the carpet, creating a massive gap that the transition strip could not cover. I had to rip out the first three rows of tile, grind the thin-set down to the bare wood, and apply a high-flow leveling compound. Only then could we achieve the zero-threshold look they wanted. You have to respect the 1/8 inch rule. If your floor varies more than that over a ten-foot span, your transition is doomed from the start.
“A floor is only as good as the subfloor beneath it; deflection is the enemy of every joint.” – Master Flooring Axiom
The physics of the Z bar and the tuck method
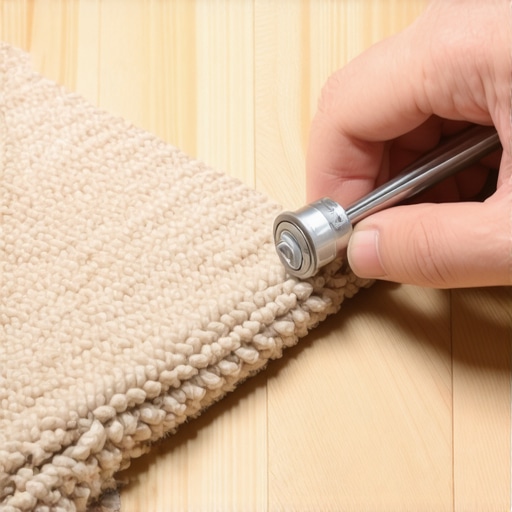
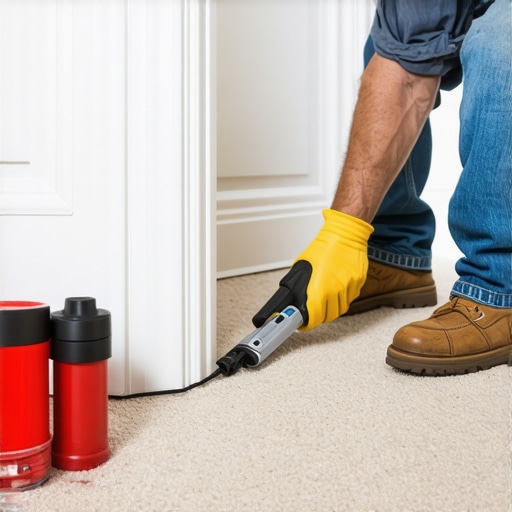
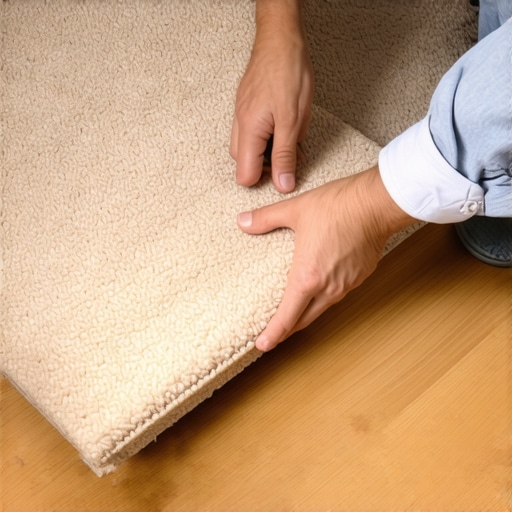
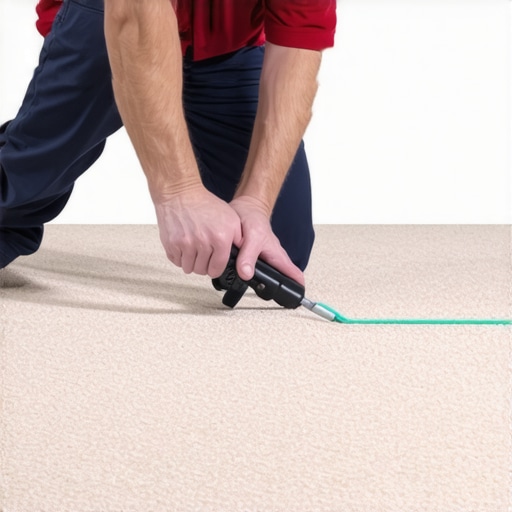
Z-bar installation provides the mechanical tension necessary to tuck carpet under a metal edge, creating a hidden transition that protects the carpet backing. This method involves notching the tack strip and using a power stretcher to pull the carpet weave tight against the tile assembly, ensuring the primary backing does not fray. The Z-bar is a piece of thin-gauge metal shaped like its namesake. One side sits under the tile during the mortar phase, and the other side provides a channel for the carpet. When you tuck that carpet in, you are creating a compressed edge that looks like it grew out of the tile. It is a clean look that the minimalists love. But you have to be careful. If you don’t use enough tension, the carpet will pull out of the bar the first time someone runs a vacuum over it. I always use a stair tool to drive that carpet deep into the crevice. It is about the mechanical grip of the teeth on the bar. If you ignore the tension, you are just hiding a gap that will reappear in three weeks.
| Material Type | Transition Method | Durability Rating | Visual Profile |
|---|---|---|---|
| Porcelain Tile | Schluter-RENO-U | High | Exposed Metal Edge |
| High-Pile Carpet | Z-Bar Tuck | Medium | Invisible Flush Edge |
| Natural Stone | Carpet-to-Tile Shim | High | Zero-Threshold |
| Laminate Wood | T-Molding | Low | Raised Surface |
Tile thickness dictates your transition strategy
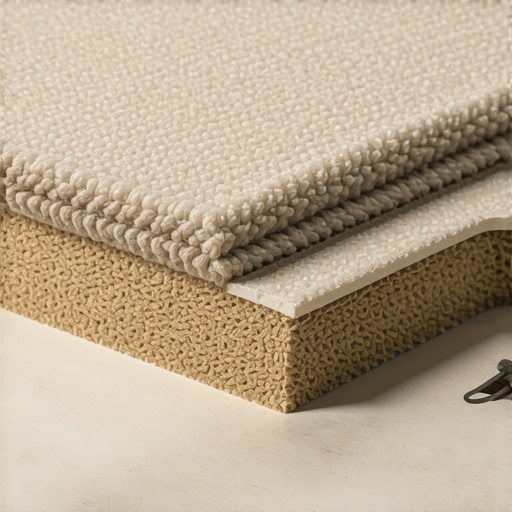
Tile thickness and thin-set coverage determine the vertical offset that must be compensated for during the transition installation. Following TCNA Handbook standards for mortar bed thickness allows for a predictable height that matches premium carpet padding, preventing the stumble hazard associated with uneven flooring surfaces. If you are using a thick travertine or a large format porcelain, your floor height is going to rise significantly. Most guys forget to account for the thickness of the mortar. A 1/2 inch notched trowel doesn’t just mean 1/2 inch of glue. It means a specific compressed height. If you don’t calculate that, your carpet will sit way too low. I often use a plywood shim or a double layer of underlayment under the carpet for the last three feet leading up to the tile. This creates a gentle ramp that the human eye cannot see but the feet can feel. It is a subtle trick that separates the masters from the amateurs.
“Ensure the transition between different flooring materials maintains a height variation of less than 1/4 inch to prevent tripping.” – Tile Council of North America Standard
Moisture migration at the junction point
Moisture barriers and perimeter expansion gaps are essential components of a carpet to tile transition, especially when installing over concrete slabs. The hygroscopic nature of carpet fibers means they can wick moisture from the thin-set or the grout if the sealant is not properly cured before the carpet install. I’ve seen carpet edges turn black with mold because the installer rushed the tuck while the grout was still wet. You have to let the tile breathe. In high-humidity areas like Florida or the Gulf Coast, this is a non-negotiable step. The concrete will hold onto moisture for weeks. If you lock that moisture under a transition strip, it has nowhere to go but up into your carpet backing. I always use a moisture meter to check the slab before I even think about laying the tack strip. If it is over 4 percent, we wait. There is no shortcut for physics. A wet transition is a failing transition.
The ghost in the expansion gap
Expansion gaps are the invisible spaces required by structural flooring standards to allow for thermal expansion and contraction of flooring materials. While many people think the thickest underlayment is better, excessive cushion causes the locking mechanisms of laminate or the tuck of the carpet to fail under load. If the carpet can bounce too much at the edge, it will eventually work its way out of the transition. You need a firm foundation at the threshold. I actually prefer to use a denser, thinner pad near the tile. It provides the support needed to keep the carpet from dipping when people step on the joint. The gap itself is a ghost that will haunt you if you don’t respect it. In the winter, the wood subfloor shrinks. In the summer, it expands. If your transition is too tight, it will buckle. If it is too loose, the gap appears. You have to find that sweet spot, the goldilocks zone of flooring.
- Inspect the subfloor for any protrusions or recessed nails.
- Verify that the tile edge is clean and free of excess thin-set.
- Ensure the carpet is acclimated to the room temperature for 48 hours.
- Use a high-quality Z-bar that matches the height of the tile.
- Tension the carpet with a power stretcher, not just a knee kicker.
- Apply a bead of seam sealer to the cut carpet edge to prevent fraying.
Regional climate factors in the transition
The local climate and ambient humidity levels dictate the acclimation period required for flooring materials before the final transition tuck. In dry climates like Arizona, the subfloor will contract, leading to wider gaps, whereas in humid regions like Louisiana, the swelling of wood joists can pressure the transition. I always tell my clients that the house is a living thing. It breathes. If you install a transition in the middle of a swampy summer without the AC running, you are asking for trouble. The wood is at its maximum size. When the heat kicks on in the winter and dries the air out, everything shrinks. Suddenly, that gap you hid so well is wide open. I adjust my gaps based on the season. If it is humid, I leave a tiny bit more room. If it is dry, I make it tight. This is the kind of knowledge you only get after decades of seeing floors fail. You can’t learn this from a YouTube video.
The final inspection of the threshold
Quality control for a floor transition involves a visual check and a pressure test to ensure the carpet and tile meet at a consistent elevation. The integrity of the tack strip and the bond strength of the adhesive must be verified to ensure the transition remains hidden under heavy foot traffic. I like to take a marble and roll it across the transition. If it jumps, the transition is bad. If it rolls smooth, I did my job. I also walk it in my socks. You can feel a bad transition better than you can see it. If your toe catches even a fraction of an inch, you need to go back and grind or shim. Don’t be the guy who says it is good enough. In this business, good enough is just a slow-motion failure. My name is on every floor I lay, and I don’t like my name associated with gaps. Keep your tools sharp and your subfloors level. That is the only secret there is.