How to Fix Peaking Carpet Seams Without a Full Re-Stretch
I have spent thirty years on my knees with a power stretcher and a row cutter. I have seen every mistake a residential installer can make. I once walked onto a job where a five thousand dollar patterned Wilton looked like a mountain range. The installer thought he could get away with a standard duty seam tape on a high tension stretch. He was wrong. The subfloor was uneven, the tape was cheap, and the heat iron was set too high. I spent three days remediating that mess, grinding the concrete flat and re-doing every single transition. A floor is not a rug. It is a structural component of the building. When a seam peaks, it is a sign that the physics of the installation have failed. You do not always need to rip the whole room up, but you do need to understand the molecular bond of the adhesive and the mechanical tension of the primary backing to fix it properly.
The physics of the carpet seam peak
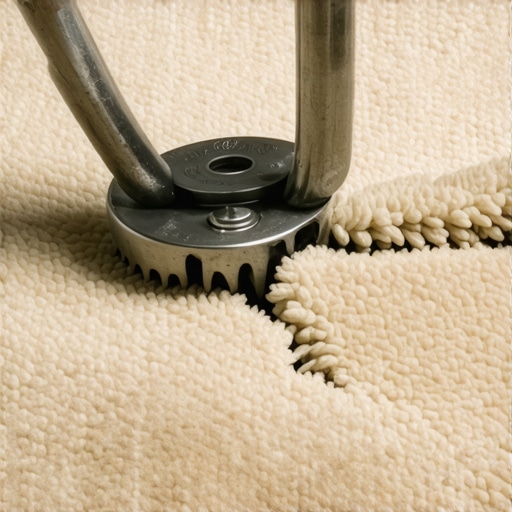
Peaking carpet seams occur when the tension of the stretch pulls the two edges of the carpet together faster than the adhesive can hold them flat. This creates a tent-like ridge at the seam line. To fix it without a full re-stretch, you must neutralize the mechanical stress and reactivate the thermoplastic resin in the seam tape using a seam iron and heavy weights. This process requires precise heat management to avoid damaging the synthetic fibers or the secondary backing.
Carpet is a complex layered system. You have the face fibers, the primary backing where the yarn is tufted, and the secondary backing which provides dimensional stability. These layers are held together with a layer of latex. When you cut a carpet to make a seam, you are breaking that structural integrity. The seam tape is the only thing restoring it. If that tape is not fully bonded, or if the carpet was stretched too hard before the glue cooled, the seam will peak. It is a simple matter of force. The tension of the carpet is trying to pull the edges inward. If the tape is flexible or the bond is weak, the edges move toward each other and have nowhere to go but up. This creates the peak that catches the light and drives homeowners crazy.
“A floor is only as good as the subfloor beneath it; deflection is the enemy of every joint.” – Master Flooring Axiom
Why your subfloor is lying to you
Floor leveling is the most overlooked step in any carpet install. If the subfloor has a high spot directly under the seam, the carpet will naturally peak regardless of how well the seam tape is applied. Using a self-leveling compound or grinding down concrete humps is the only way to ensure a flat transition. In many cases, what looks like a peaking seam is actually a telegraphing subfloor defect that has nothing to do with the carpet glue.
Before you blame the seam, you need to check the flatness of the floor. I use a six foot straight edge. If there is a hump larger than an eighth of an inch over ten feet, your carpet is going to show it. This is even more critical when transitioning from carpet to hard surfaces like laminate or showers. If the subfloor in the hallway is higher than the subfloor in the bathroom, that transition will always look like garbage. You cannot hide a hill with a piece of fluff. If you find a hump, you might need to pull the carpet back and address the substrate. For wood subfloors, this means a belt sander. For concrete, it means a diamond cup wheel on a grinder. It is messy work, but it is the difference between a floor that lasts twenty years and one that fails in six months.
The role of humidity in seam failure
Moisture levels in the home significantly impact the stability of the carpet backing. High ambient humidity causes the latex binder to soften, which allows the carpet fibers to shift and the seam to peak. In regions like the humid Gulf Coast, moisture barriers and dehumidification are required to keep the structural integrity of a carpet install intact. If the subfloor moisture is too high, the adhesive bond will never reach full shear strength.
| Tape Type | Heat Setting | Cooling Time | Application |
|---|---|---|---|
| Standard Duty | 3 or 4 | 10 Minutes | Low traffic bedrooms |
| High Tension | 4 or 5 | 20 Minutes | Large living areas |
| Silicone Shield | 2 or 3 | 15 Minutes | Delicate patterned goods |
| Double Sided | N/A | Instant | Temporary transitions only |
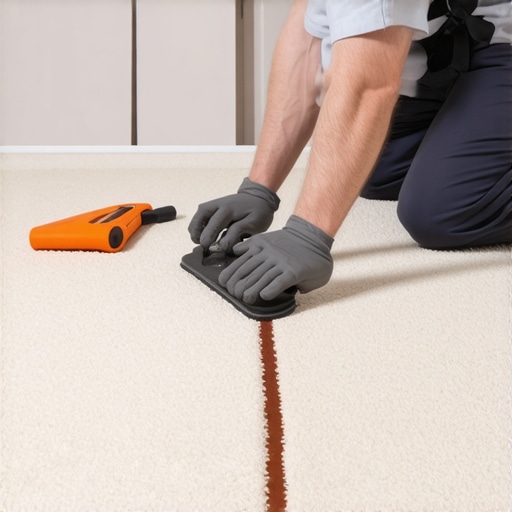
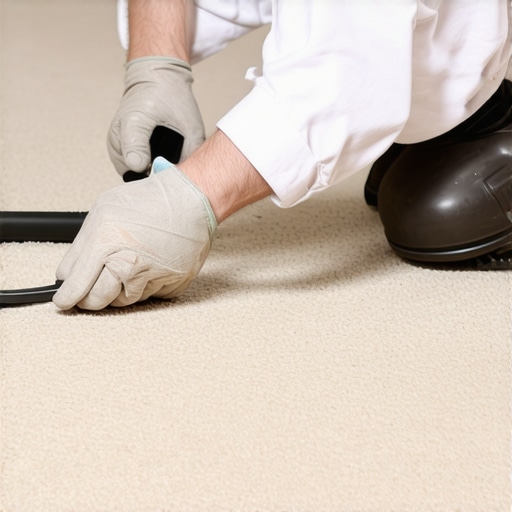
The chemistry of the adhesive is fascinating. Most seam tapes use a thermoplastic resin that melts at around 250 degrees Fahrenheit. If you do not get the iron hot enough, the glue does not penetrate the secondary backing. If you get it too hot, you scorch the face fibers. It is a delicate balance. When I am fixing a peak, I am essentially doing a surgical strike. I use a seam iron to reheat the existing tape through the carpet. This is risky. You have to use a Teflon shield and move slowly. Once the glue is molten again, I press the seam flat and immediately move a heavy steel weight onto the spot. The weight holds the seam in a flat position while the glue recrystallizes. This freezes the carpet in its new, flat orientation.
The 1/8 inch that ruins everything
Precision cutting is the foundation of a flat carpet seam. If the carpet edges are cut even one eighth of an inch too long, they will butt against each other and force a peak. This is known as over-compression. Conversely, if the gap is too wide, the seam will dip. Achieving a perfect butt joint requires a row cutter or top cutter and a steady hand to ensure the primary backing of both pieces meets perfectly without overlapping.
- Check the subfloor for humps using a straight edge.
- Identify if the peak is caused by tension or over-cutting.
- Gather a professional seam iron and a seam weight or heavy toolbox.
- Use a clean white cloth to protect the face fibers from scorching.
- Apply heat steadily until the underlying adhesive reaches a liquid state.
- Compress the seam and hold it flat until the temperature drops below 100 degrees.
I have seen guys try to fix this by just steaming the carpet. Steam does nothing for the adhesive. It might relax the fibers for an hour, but as soon as the carpet dries, the peak is back. You have to get to the glue. If the peak is caused by the carpet being cut too long, you actually have to open the seam up, trim a few microns of backing off one side, and then re-seal it. This is why I tell people to hire a professional. If you trim too much, you have a gap. If you don’t trim enough, you still have a peak. It is a game of millimeters. Most homeowners think carpet is soft and forgiving. It is actually quite rigid when it is under tension. It wants to go back to the shape it had on the roll.
“Adhesion failure is rarely a product defect; it is almost always a failure of surface preparation or temperature control.” – Master Flooring Axiom
Transitioning between carpet and showers
Managing transitions to wet areas like showers requires a specialized approach to prevent edge curling. Because carpet is absorbent, moisture migration from a bathroom floor can degrade the seam adhesive near the threshold. Using a transition strip or a synthetic tack strip in these areas ensures that the carpet remains taut and the seams stay flat even in high moisture environments.
When you have carpet meeting a tile shower area, you have to be careful. The water on the tile will eventually find its way to the carpet edge. If you used a standard water-based latex to seal that edge, it will rot. I always use a synthetic sealer for transitions near wet areas. It keeps the moisture from wicking into the carpet backing. If the backing gets wet, it expands. If it expands, the seam peaks. It is a chain reaction. I have seen beautiful laminate floors ruined because the transition to the carpet was not handled correctly. The laminate needs an expansion gap, and the carpet needs a solid anchor point. If they fight each other, nobody wins. The floor will click, the carpet will peak, and the homeowner will be calling me to fix it. I prefer to do it right the first time. Flatten the floor, use the right tape, and respect the chemistry of the bond.
{“@context”:”https://schema.org”,”@type”:”HowTo”,”name”:”How to Fix Peaking Carpet Seams Without a Full Re-Stretch”,”description”:”A professional guide on repairing peaking carpet seams by reactivating adhesives and managing subfloor defects.”,”step”:[{“@type”:”HowToStep”,”name”:”Assess the Peak”,”text”:”Determine if the peak is caused by subfloor humps, over-cutting, or tension issues.”},{“@type”:”HowToStep”,”name”:”Prepare the Iron”,”text”:”Heat a professional seam iron to the appropriate setting for the carpet backing type.”},{“@type”:”HowToStep”,”name”:”Reactivate Adhesive”,”text”:”Carefully apply heat to the seam area to melt the existing thermoplastic resin in the seam tape.”},{“@type”:”HowToStep”,”name”:”Compress and Cool”,”text”:”Apply a heavy weight to the flattened seam and allow it to cool completely to lock the bond in place.”}]}