How to Fix a Crack in Your Shower Grout Before it Causes a Leak
How to Fix a Crack in Your Shower Grout Before it Causes a Leak
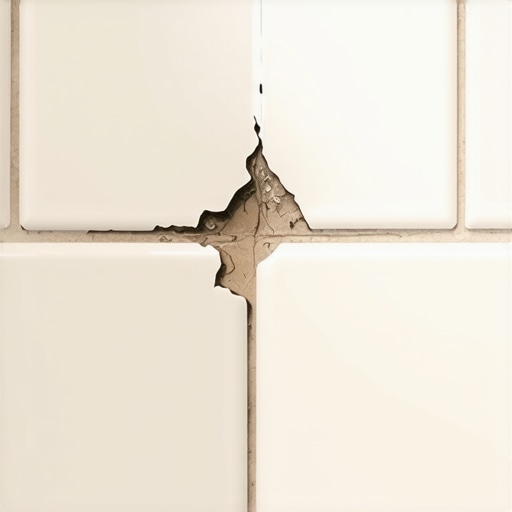
I spent three days grinding concrete on a job last month just so the floor would not click like a castanet. Most guys skip the leveling compound because they think the underlayment will hide the dip. It will not. This same laziness ruins shower installs. I recently walked into a bathroom where the homeowner was terrified of a tiny hairline crack in the corner of their walk-in shower. They thought a little dab of hardware store caulk would save them. It did not. Underneath that grout, the subfloor was saturated. The plywood was delaminating because someone ignored the TCNA standards for a change of plane. When you see a crack in your grout, you are not looking at a cosmetic blemish. You are looking at a structural warning sign that the bond between your tile and the substrate has been compromised by movement, moisture, or poor chemistry.
The physics of a failing grout joint
Grout failure occurs when the structural deflection of the subfloor exceeds the tensile strength of the cementitious bond. This usually happens because the floor leveling was ignored or the laminate mindset of floating floors was applied to a rigid tile installation. When the joists flex, the grout, which is essentially a brittle rock, must crack to relieve the pressure. This is why the TCNA requires a deflection rating of L/360 for ceramic tiles. If your grout is cracking, your floor is moving too much. Most homeowners ignore this until the water finds the path of least resistance through the capillary pores of the cement and begins rotting the floor joists. Repairing this requires more than just a surface patch. You must address the void. If you treat a shower floor like a carpet install where you can just stretch things over a bump, you will fail every single time. A floor is a performance surface. It requires total rigidity or planned flexibility.
“A floor is only as good as the subfloor beneath it; deflection is the enemy of every joint.” – Master Flooring Axiom
Why your shower pan is actually moving
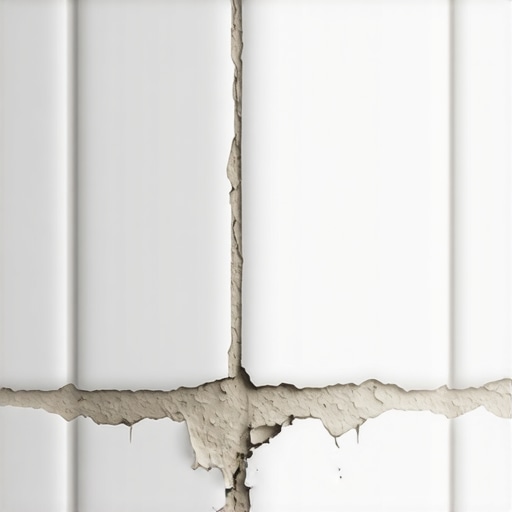
Movement in a shower pan is caused by thermal expansion or structural settling of the house. When hot water hits cold tile, the ceramic or porcelain expands at a different rate than the thin-set and the wood framing beneath it. This differential movement creates shear stress at the grout line. If the installer did not use a 100 percent silicone sealant at the corners, the grout will inevitably snap under the pressure of this expansion. I have seen laminate installers try to do tile work and they always forget that tile does not breathe like wood. It resists. When it cannot resist anymore, it cracks. In regional climates like the humid Southeast, the moisture in the air causes the wooden framing to swell and shrink seasonally. This constant tug-of-war is what tears your grout apart. You need to identify if the crack is a result of one-time settling or a chronic moisture problem in the subfloor.
The molecular difference between sanded and unsanded grout
Sanded grout contains fine silica sand that acts as a structural filler for joints wider than one-eighth inch. The sand particles create a mechanical bond that prevents the grout from shrinking as the water evaporates during the curing process. Unsanded grout is a pure Portland cement mix used for narrow joints where sand would not fit. If you use unsanded grout in a large floor joint, it will pull away from the tile edges as it dries. This creates a microscopic gap that invites water. Modern polymer-modified grouts add latex or acrylic resins to the mix. These polymers increase the flexural strength of the joint. They allow the grout to bend slightly before it breaks. When I repair a shower, I look at the grain size of the existing grout. If I see visible sand grains, I know I need a sanded repair mix to match the structural integrity of the original install.
| Grout Type | Joint Width | Flexibility Rating | Best Use Case |
|---|---|---|---|
| Sanded Grout | 1/8 to 1/2 inch | Low | Floor tiles and large joints |
| Unsanded Grout | Less than 1/8 inch | Low | Wall tiles and polished stone |
| Epoxy Grout | Any width | High | High moisture and chemical areas |
| Acrylic Siliconized | Varies | Very High | Change of plane and corners |
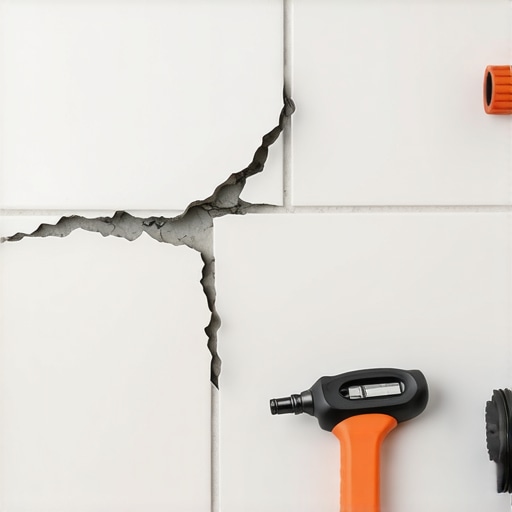
Tools for a professional extraction
Successful grout repair depends on the total removal of the damaged material using a carbide-tipped grout saw or a multi-tool with a diamond blade. You cannot simply smear new grout over the old crack because the new layer will be too thin to bond properly. You must excavate at least two-thirds of the depth of the tile to create a sufficient mechanical anchor for the new material. I keep my shop vac running the whole time. Dust is the enemy of a good bond. If there is dust in the joint, the new grout will sit on the dust instead of the tile edge. This is why most DIY repairs fail within six months. They do not clean the wound before they apply the bandage. I use a stiff nylon brush and denatured alcohol to ensure the tile edges are pristine. Any trace of soap scum or body oils will act as a bond breaker, ensuring your new grout pops out the first time you take a hot shower.
- Carbide-tipped manual grout saw
- Oscillating multi-tool with a 1/16 inch diamond blade
- High-power vacuum with a HEPA filter
- Stiff nylon scrubbing brush
- Denatured alcohol for surface prep
- Pre-mixed polymer-modified grout
- Small rubber grout float
- Microfiber sponge
Mixing the perfect repair slurry
Mixing grout requires a precise water-to-powder ratio to ensure the chemical hydration of the Portland cement is complete. Most people add too much water because it makes the grout easier to spread. This is a critical mistake that leads to pinholes and weak joints. When the excess water evaporates, it leaves behind a network of air pockets. This makes the grout soft and porous. You want the consistency of thick peanut butter. It should hold its shape on the margin trowel without slumping. I let the mix slake for ten minutes. This allows the polymers to fully saturate. After slaking, I mix it one more time by hand. Do not use a high-speed drill. That whips air into the mix and ruins the density. You want a solid, heavy paste that you can pack deep into the joint with a rubber float held at a 45-degree angle. Packing the joint is the only way to ensure there are no air voids beneath the surface.
“Grout is a pervious material; it is the management of water beneath the tile that determines the life of the shower.” – TCNA Handbook Reference
Preventing the return of the hairline fracture
Preventing future cracks requires the application of a high-quality penetrating sealer and the replacement of rigid grout with flexible silicone at all changes of plane. A change of plane is anywhere the wall meets the floor or where two walls meet. These areas move independently. If you put hard grout in these corners, it will crack every time. I use a color-matched 100 percent silicone caulk for these joints. It allows the shower to breathe. For the flat areas, a penetrating sealer goes into the pores of the grout and stays there. It does not sit on top like a film. It works through hydrophobic action to repel water molecules while still allowing vapor to escape. This prevents the hydrostatic pressure that can blow a grout joint out from the inside. I tell my clients to stay off the floor for at least 24 hours. The chemistry of the cure cannot be rushed. If you get it wet too early, you stop the hydration process and end up with a chalky, weak repair.
When the subfloor demands a full tear out
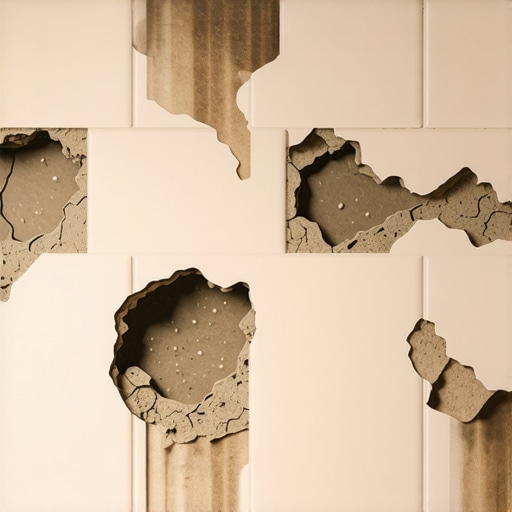
A full tear out is necessary when the grout cracks are accompanied by loose tiles or a hollow sound when tapped. This hollow sound, known as delamination, indicates that the thin-set mortar has detached from the substrate. No amount of new grout will fix a floor that has lost its bond. If you press on a tile and see water or bubbles squish out of the grout line, your shower is a total loss. The subfloor is rotted. In my years of experience, I have seen people try to save money by just replacing the cracked grout in a failing shower. They end up spending triple when the mold spreads into the bedroom walls. If the crack keeps coming back in the same spot, the house is telling you that the structure is moving too much. You might need to crawl underneath and sister those joists or add a layer of plywood to stiffen the assembly. A floor is a system, and if the foundation is weak, the finish will always fail.