The ‘Flashlight Test’ for Spotting Poorly Finished Grout Joints
The flashlight test is a brutal method for revealing lippage and grout depth inconsistencies by casting long shadows across the floor surface. If your tile guy claims the floor is flat, this test will tell the truth. Most guys skip the leveling compound. They think the underlayment will hide the dip. It won’t. I spent three days grinding concrete on a job last month just so the floor wouldn’t click like a castanet. I have seen too many homeowners accept a floor that looks fine under soft overhead lighting only to realize it looks like a mountain range when the morning sun hits it. This is why the oblique light test, or the flashlight test, is the industry standard for those of us who actually care about the Tile Council of North America standards. We are looking for variations in height that exceed one thirty second of an inch. That might sound like a small margin, but at the molecular level of a shoe sole or a chair leg, it is a massive structural failure. When you lay a flashlight flat against the tile, any high edge will cast a shadow that looks like a canyon. This is not just an aesthetic issue. It is a maintenance nightmare. High edges catch dirt and grease. They chip when you move furniture. They are the primary reason grout starts to crack and flake away within the first six months of installation. If your shower floor looks uneven under this light, it means your slope to the drain is likely compromised, leading to pooling and eventual mold growth within the thin-set bed. We do not build floors to look good in photos. We build them to withstand decades of foot traffic and structural settling.
The unforgiving truth of the oblique light test
Oblique lighting reveals surface irregularities by magnifying the height of shadows cast by grout joints or tile edges. To perform this correctly, you must place a high lumen flashlight directly on the floor and sweep the beam across the joints. You are looking for any shadow that extends more than a fraction of an inch from the tile edge. This technique is often used by forensic flooring inspectors to document poor workmanship in high end residential projects. The physics are simple. Light traveling parallel to a plane will be interrupted by any vertical deviation. If the grout is too low, you see a dark trench. If the tile is lipped, you see a jagged shadow. I once walked into a house where a fifteen thousand dollar wide plank walnut floor was cupping so bad it looked like a potato chip because the installer did not check the crawlspace humidity, but tile is even more permanent. You cannot sand down a bad tile job. You either live with the shadows or you rip it out. This test is the only way to verify that your installer followed the 1/8 inch over 10 feet flatness requirement for large format tiles. If the subfloor leveling was neglected, the flashlight will expose every hump and valley in the slab. This is where the chemistry of the installation meets the physics of the environment.
“A floor is only as good as the subfloor beneath it; deflection is the enemy of every joint.” – Master Flooring Axiom
How subfloor deflection destroys grout integrity
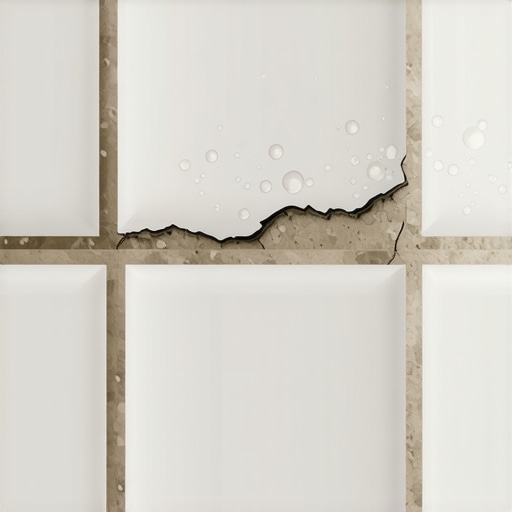
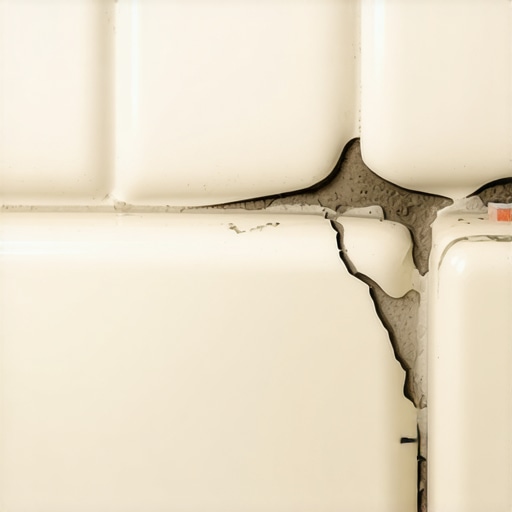
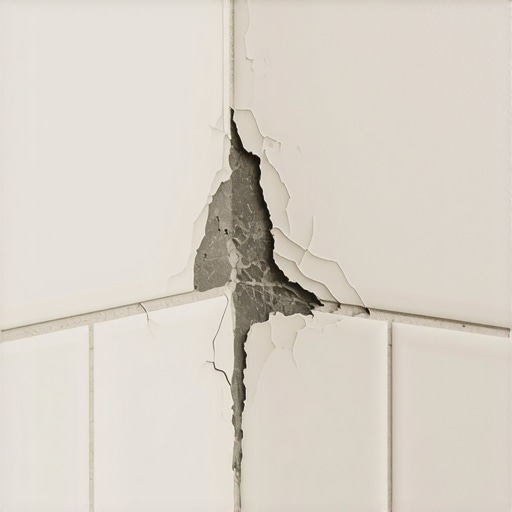
Subfloor deflection causes grout cracking because cementitious materials have high compressive strength but very low tensile strength. When a subfloor flexes under the weight of a person, the grout joints are compressed and then stretched. If the subfloor is not rigid enough, the grout will inevitably fail. This is why we obsess over the E modulus of the plywood or the PSI of the concrete. For a natural stone installation, the requirements are even stricter. You need a double layer of subfloor to prevent any bounce. I have seen laminate floors installed over bouncy subfloors that survived because the locking mechanism has a bit of give, but grout is unforgiving. It is a brittle crystalline structure. When you zoom in on a grout joint, you are looking at a matrix of sand and Portland cement held together by a hydration reaction. If that matrix is stressed by subfloor movement, the bonds snap. This is why we use modified thin-set with high polymer content. Those polymers act like tiny springs at the microscopic level, providing just enough flexibility to resist minor vibrations. However, no amount of polymer can save a floor that has more than L/360 deflection. If your subfloor is moving, your grout is dying. This is the structural engineering reality that most big box store installers ignore.
The chemistry of cement hydration and water ratios
Grout strength depends on the water to cement ratio during the mixing process to ensure proper crystal growth. If you add too much water, you dilute the polymers and create a porous, weak joint. This is a common mistake made by installers who want the grout to be easier to spread. When the excess water evaporates, it leaves behind microscopic voids. These voids are what make grout look blotchy and soft. Under the flashlight test, these soft spots often appear as dusty or recessed areas. The hydration process requires a precise amount of water to convert the powder into a solid stone-like material. In humid regions like the Gulf Coast, the drying time is extended, which can actually help the grout reach its maximum strength if it is not disturbed. In arid climates like Phoenix, the water evaporates too fast. This causes the grout to shrink and pull away from the tile edges. I always tell my guys to use distilled water if the local tap water is hard. Minerals in the water can react with the pigments in the grout, causing efflorescence. That white, powdery film is not just an eyesore. It is a sign that salts are leaching out of the cement matrix, which weakens the entire joint. We are managing a chemical reaction on our hands and knees.
| Grout Type | Joint Width Range | Best Application Scenario | Moisture Resistance |
|---|---|---|---|
| Sanded Grout | 1/8 inch to 1/2 inch | Large format floor tiles | Moderate |
| Unsanded Grout | 1/16 inch to 1/8 inch | Polished marble walls | Low |
| Epoxy Grout | Any width | Commercial kitchens and showers | High |
Why your subfloor is lying to you
Concrete slabs often hide moisture that can migrate upward and cause grout discoloration or adhesive failure. Just because a slab looks dry does not mean it is ready for tile. We use calcium chloride tests or in-situ probes to measure the relative humidity deep within the concrete. If the slab is venting moisture, it will carry alkalis to the surface. This creates a high pH environment that can eat away at the bonds of your thin-set. When we talk about floor leveling, we are not just talking about making it flat. We are talking about creating a stable substrate that is chemically compatible with the flooring material. I have spent countless hours with a diamond grinder, wearing a respirator, just to get a slab down to the point where the self-leveling underlayment will actually bond. Most people think they can just pour the leveler and walk away. That is a recipe for a hollow-sounding floor. You have to prime the substrate. You have to map the high spots. You have to understand that the floor is a living part of the building that expands and contracts with the seasons. If you ignore the expansion joints at the perimeter, the floor will eventually tent. The flashlight test will show that pressure before the tiles actually pop.
“Lippage occurs when the edge of one tile is higher than the adjacent tile, creating a shadow that the flashlight test amplifies.” – Tile Council of North America Standards
The ghost in the expansion gap
Expansion gaps prevent floor tenting by allowing the material to grow and shrink without internal pressure. Every hard surface floor needs a gap around the perimeter. For laminate and LVP, this is usually 1/4 to 3/8 of an inch. For tile, we use movement joints filled with 100 percent silicone instead of grout. If you fill a movement joint with grout, it will crack. The house moves. The foundation settles. The wood framing swells with humidity. If the floor has nowhere to go, it will push against the walls. The weakest point is the grout joint. It will buckle upward. You can see this happening with a flashlight long before the tile breaks. Look for tiny hairline cracks running parallel to the wall. This is the floor screaming for space. I have seen beautiful carpet installs ruined because the installer did not tack the strip correctly at the transition, leading to the tile edge being exposed and chipped. Every transition is a potential failure point. We use T-moldings and reducers not because they look good, but because they allow the different materials to move at different rates. If you want a zero threshold transition, your subfloor prep has to be perfect. There is no room for error when two different expansion coefficients meet in a doorway.
The checklist for a perfect grout finish
- Verify the subfloor is within 1/8 inch of flat over 10 feet before laying a single tile.
- Measure the moisture content of the substrate using a calibrated meter.
- Mix grout with a low speed drill to avoid introducing air bubbles into the paste.
- Apply grout at a 45 degree angle to ensure the joints are packed from bottom to top.
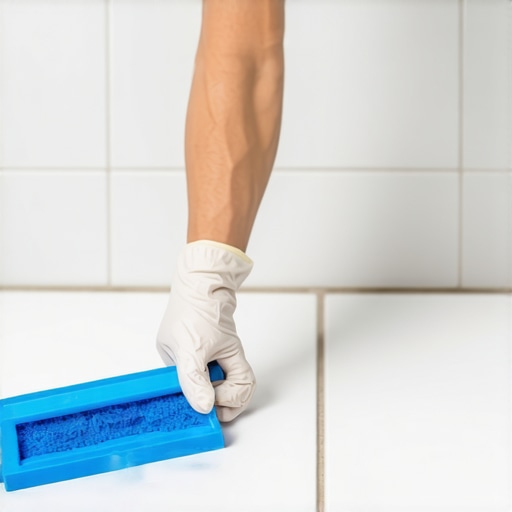
- Wait for the grout to haze before using a damp, but not dripping, sponge for the first wipe.
- Conduct the flashlight test immediately after the first cleaning to catch lippage while the thin-set is still workable.
- Use a pH neutral cleaner for the final haze removal to avoid damaging the cement bonds.
The 1/8 inch that ruins everything
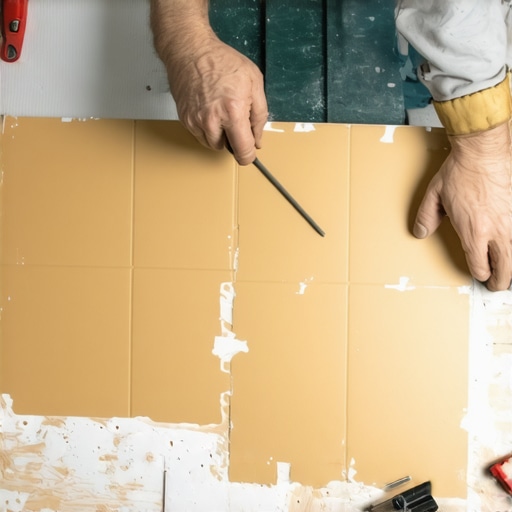
Precision leveling prevents tile lippage and ensures that the grout joints are uniform in depth and width. When you are working with large format tiles, like the 24 by 48 inch planks that are popular now, the margin for error is zero. These tiles often have a slight bow from the factory. If you do not use a mechanical leveling system, you will have lippage. A leveling system uses clips and wedges to pull the tiles into a single plane while the thin-set cures. But even these systems can fail if the mortar bed is not notched correctly. You need 100 percent coverage. You need to collapse the ridges of the thin-set to remove air pockets. If you have an air pocket under a tile, it will sound hollow when you walk on it. Eventually, the grout around that tile will crumble because the tile is moving every time it is stepped on. This is the structural reality of flooring. It is about managing the transfer of loads from the surface to the structure. Whether it is a shower floor or a living room, the principles are the same. You need a flat, stable, dry substrate. Anything less is just a temporary decoration that will fail. The flashlight test is the final exam. If you pass that, you have a floor that will last a lifetime.