How to Tell if Your Shower Pan Leak is the Drain or the Liner
The 1/8 inch that ruins everything
Most homeowners assume a wet ceiling in the kitchen means a plumber needs to swap out a pipe. After twenty five years of pulling up moldy subfloors, I can tell you that the culprit is usually a microscopic failure in the shower assembly. I once spent three days grinding concrete on a job last month just so the floor wouldn’t click like a castanet, only to find the shower pan was weeping into the slab for years. The difference between a failed drain and a compromised liner is the difference between a hundred dollar repair and a ten thousand dollar renovation. If your shower is leaking, you are not just fighting water, you are fighting physics and chemistry. A shower floor is a structural engineering challenge that demands precision. If the installer did not respect the pre-slope or the weep holes, the system will fail. It is not a matter of if, but when. You smell that damp, earthy scent in the hallway? That is the smell of a subfloor that has given up the ghost because someone ignored the TCNA standards. We are going to isolate the problem using the same rigorous diagnostic steps I use before I ever think about laying down new tile or planning a carpet install in the adjacent master suite.
The physics of the shower drain leak
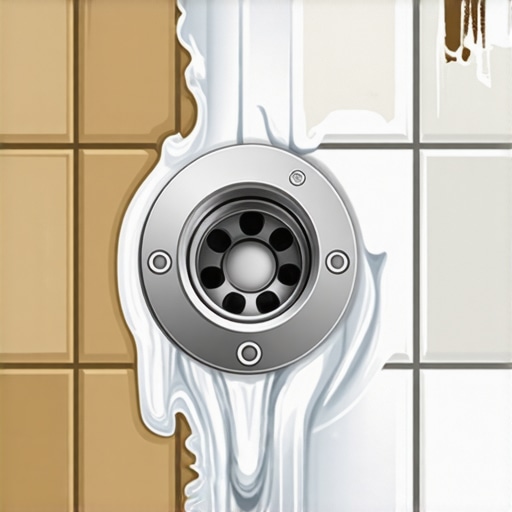
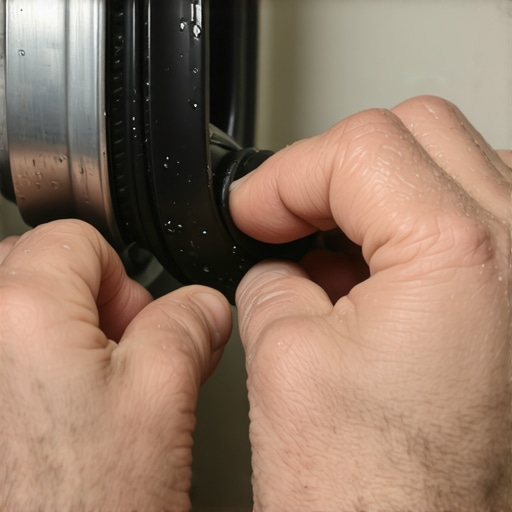
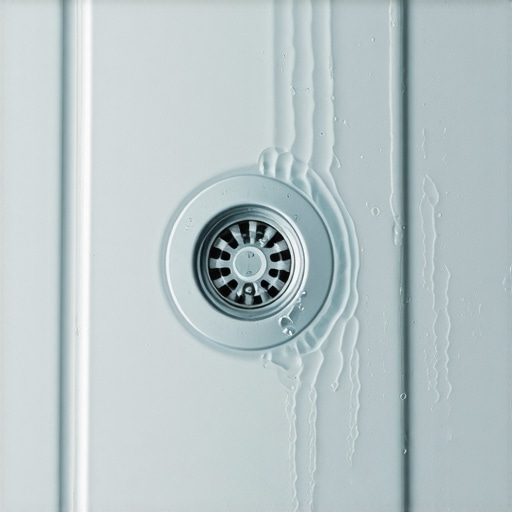
A drain leak occurs when the connection between the plumbing waste line and the shower drain body fails or when the clamping ring is not properly sealed. This specific failure typically manifests as an immediate, active drip that coincides exactly with the timing of the shower being in use. Unlike a liner failure, the water escaping a drain issue is usually concentrated in a single, predictable location. The chemistry of the bond between the PVC pipe and the drain flange is vital. If the solvent weld was not applied in a full circumference, or if the plumber used the wrong primer, the vibration of the house can eventually snap that bond. You also have the mechanical seal to consider. Modern drains rely on a rubber gasket or a bead of 100 percent silicone. If that silicone was applied to a dusty surface, it will peel.
“A floor is only as good as the subfloor beneath it; deflection is the enemy of every joint.” – Master Flooring Axiom
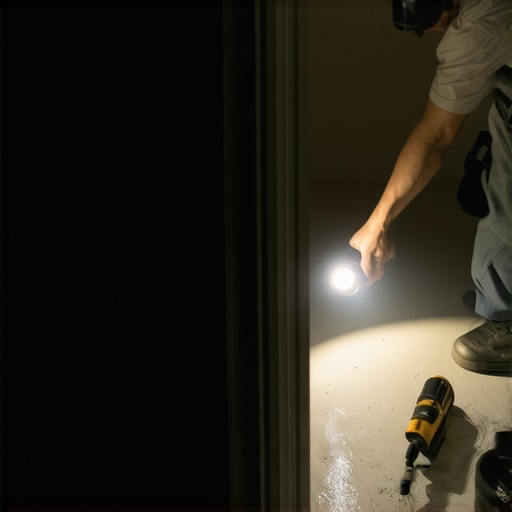
The drain assembly is particularly sensitive to floor leveling issues. If the subfloor has a dip near the drain, the weight of a person stepping into the shower creates a microscopic movement that tugs at the drain flange. Over time, this mechanical stress fatigues the plastic until it cracks. If you suspect the drain, the first step is a simple visual inspection with a flashlight, but the real proof comes from the splash test.
The ghost in the expansion gap
Identifying a liner leak requires understanding that the waterproof membrane is the secondary line of defense beneath the mortar bed. When a liner fails, the leak is often slow, persistent, and appears several hours after the shower has been used. This is because the water must saturate the entire mud bed before it finds the breach in the PVC or CPE sheet. Liners usually fail because of poor craftsmanship at the curb or the corners. I have seen installers use a staple gun below the flood line. That is pure negligence. Each staple represents a hole that water will eventually find. In regions with high humidity, like the coastal South, these small leaks never dry out. They create a petri dish for rot. If your laminate flooring in the bedroom is starting to cup or buckle near the bathroom wall, the liner is likely the culprit. The water travels along the subfloor via capillary action, reaching out several feet from the actual shower. It ruins the carpet install in the walk in closet before you even see a spot on the ceiling. This is the structural zooming we talk about. We are looking at the molecular movement of moisture through the wood fibers of your joists.
The hydrostatic plug test
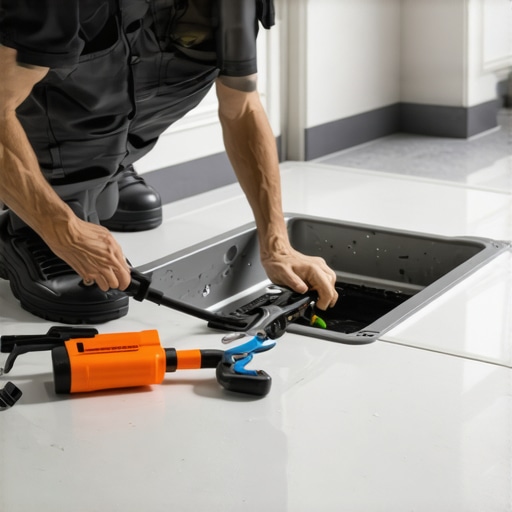
The plug test is the industry standard method for leak detection that isolates the shower liner from the drain pipe by flooding the pan. You must purchase a 2 inch expandable rubber test plug from a hardware store. Remove the drain grate and insert the plug past the clamping ring but above the P-trap. This ensures that no water can enter the plumbing stack. Fill the shower base with water until it is about an inch below the top of the curb.
| Material Type | Typical Thickness | Failure Point | Lifespan |
|---|---|---|---|
| PVC Liner | 40 mil | Corner Folds | 15 Years |
| CPE Sheet | 40 mil | Adhesive Joints | 30 Years |
| Liquid Membrane | 20 mil | Thin Application | 25 Years |
Once the water is at the desired level, take a grease pencil or a piece of tape and mark the exact water line on the tile. Now, you wait. A liner leak will cause the water level to drop over the next twelve to twenty four hours, even though the drain is plugged. If the water level stays exactly on your mark, the liner is solid. The leak is in your drain or your supply lines. This test is mandatory because it removes all guesswork. Do not trust your eyes; trust the water level.
Why your subfloor is lying to you
A failed shower pan often masks itself as a floor leveling problem or a foundation crack because of how water distributes weight and pressure. When the subfloor absorbs moisture, the plywood or OSB begins to swell and delaminate. This causes the tile on top to crack or the grout to crumble. You might think your house is settling, but in reality, the wood is expanding. This expansion puts immense pressure on the perimeter of the room.
“A shower system must be viewed as a managed water environment where every layer contributes to the integrity of the substrate.” – Master Flooring Axiom
In my decades on the job, I have seen homeowners try to fix this by adding more floor leveler over the top. This is a disaster. You are just adding weight to a rotting structure. You have to get down to the bones. If the moisture meter reads above 12 percent on the surrounding subfloor, you have a systemic failure. This is especially true if you have laminate floors nearby. Laminate is basically high density fiberboard, which is fancy talk for compressed sawdust. Once it touches water from a leaking liner, it acts like a sponge and will never return to its original shape. You will see the edges rise, creating a tripping hazard that no amount of heavy furniture can flatten.
The professional checklist for leak detection
To successfully diagnose a leak, you must follow a sequential protocol that eliminates variables one by one. Skipping a step leads to false positives and wasted money. Follow this checklist to find the truth:
- Inspect the grout for pinholes or missing sections especially at the transition between the floor and the wall.
- Check the silicone caulk around the drain flange for signs of peeling or mold growth.
- Perform the splash test by pouring water specifically into the drain with a funnel to avoid wetting the floor.
- Execute the 24 hour hydrostatic plug test to confirm liner integrity.
- Use a moisture meter on the drywall outside the shower to check for lateral wicking.
- Check the shower arm and mixing valve behind the wall by removing the trim plate.
If you follow these steps, you will know more than 90 percent of the handymen out there. It is about being methodical. You cannot rush a leak test. Water moves at its own pace.
The final verdict on moisture management
Once you identify if the drain or the liner is the problem, you must act quickly. Leaving a liner leak alone for a few months can result in the entire bathroom floor needing to be ripped out. The joists can rot, the subfloor can fail, and the mold can become a health hazard. In the world of high end flooring, we say that the best floor is the one you only install once. Whether you are looking at a new carpet install in the master bedroom or a fresh laminate layout, it all depends on the shower staying bone dry. Do not let a small leak turn into a structural catastrophe. Respect the chemistry of the adhesives and the physics of the water. Your home deserves a foundation that is level, dry, and built to last another twenty five years. The tools are in your hands, the process is clear, and the water will tell the story if you are willing to listen.”, “image”: {“imagePrompt”: “A high-quality, realistic photograph of a professional master flooring installer using a moisture meter on a wooden subfloor next to a tiled shower, showing the contrast between the dry tile and a damp, dark spot on the wood, with a 2-inch rubber test plug sitting on the shower floor.”, “imageTitle”: “Professional Shower Leak Diagnostics”, “imageAlt”: “A master floor installer testing a shower pan for leaks using a moisture meter and a drain plug.”}, “categoryId”: 0, “postTime”: “”}