How to Level a Plywood Subfloor Without Adding Too Much Weight
The 1/8 inch that ruins everything
Leveling a plywood subfloor without adding too much weight requires specialized high-performance patching compounds like feather-finish Portland cement or lightweight gypsum-based underlayments. These materials provide the necessary flat surface for laminate or carpet install without exceeding the L/360 deflection limits of your existing floor joists or structural framing.
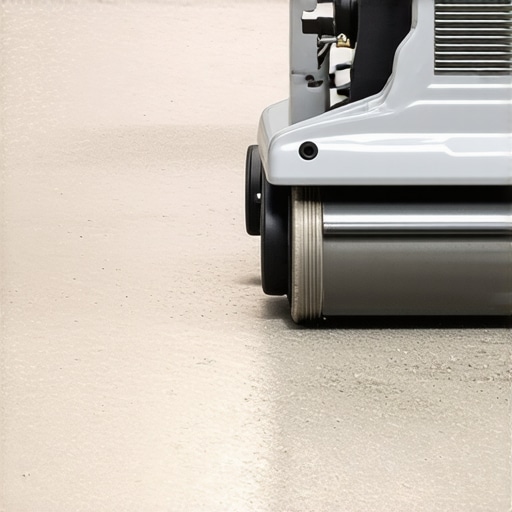
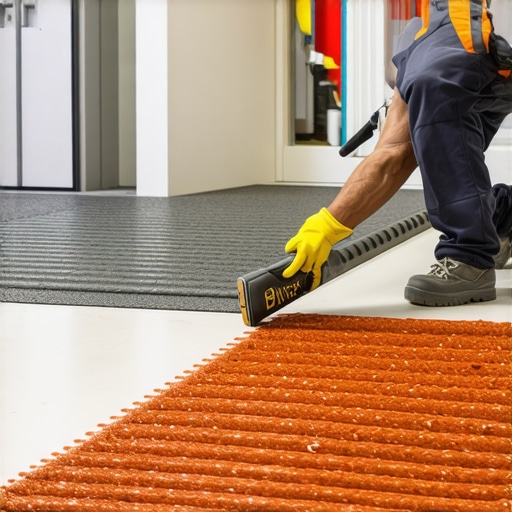
I spent three days grinding concrete on a job last month just so the floor wouldn’t click like a castanet. Most guys skip the leveling compound. They think the underlayment will hide the dip. It won’t. I remember a specific job in a mid-century modern remodel where the homeowner wanted a wide-plank laminate. The subfloor had a massive 1/2 inch dip over an eight-foot span. The previous contractor suggested pouring two inches of standard self-leveling concrete. I had to stop them. That much weight would have bowed the floor joists until the kitchen cabinets pulled away from the wall. We had to use the structural zooming approach, looking at the physics of the joist rather than just the flatness of the surface. Plywood is a living material. It breathes. It moves. If you dump five hundred pounds of heavy wet mud on it, you aren’t fixing a dip, you are creating a structural hazard. The smell of oak dust and WD-40 is the scent of a job done right, and a job done right starts with understanding that level and flat are two different animals. A floor can be out of level but must be flat within 3/16 of an inch over ten feet to prevent the locking mechanisms of modern laminate from snapping under the pressure of foot traffic.
The structural lie of the floor joist
Identifying subfloor irregularities involves using a ten-foot straight edge to locate every deviation that exceeds the National Wood Flooring Association standards. You must map the high and low spots before selecting a lightweight leveling agent to ensure you do not compromise the weight-bearing capacity of the wooden subfloor system.
When we look at a plywood subfloor, we are looking at a series of laminated veneers held together by phenolic resins. These sheets are usually 23/32 of an inch thick, and they are designed to span sixteen or twenty-four inches on center. The physics of deflection, specifically the L/360 rule, dictates that a floor should not bend more than the length of the span divided by 360. When you add weight, you change that equation. Traditional self-leveling compounds are dense. They often weigh between 120 and 130 pounds per cubic foot. If you have a deep pocket to fill, you could easily add several hundred pounds to a single room. This is why we turn to feather-finish compounds. These products use advanced polymers and lighter aggregates to achieve a compressive strength of 3,000 to 5,000 PSI while maintaining a much lower density. You are effectively creating a bridge over the low spots. The chemistry of the bond is where the battle is won. You need a primer that penetrates the wood fibers, creating a mechanical link that prevents the patch from popping loose when the house settles in the winter. Most failures happen because the installer ignored the moisture content of the plywood. If the wood is too dry, it sucks the water out of the leveling compound too fast, causing it to crack and crumble. If it is too wet, the bond fails entirely.
“A floor is only as good as the subfloor beneath it; deflection is the enemy of every joint.” – Master Flooring Axiom
The chemistry of the lightweight bond
Lightweight leveling is achieved through the use of modified gypsum or polymer-fortified Portland cement patches that offer high coverage with low mass. These materials allow for a feather-edge transition that eliminates the need for full-room pours, focusing only on the specific areas where the straight edge reveals a significant structural dip.
| Leveling Method | Weight per Sq Ft (1/4″) | Max Thickness | Best Use Case |
|---|---|---|---|
| Standard Self-Leveler | 2.5 – 3.0 lbs | 5 inches | Concrete slabs |
| Lightweight Gypsum | 1.5 – 1.8 lbs | 3 inches | Upper level plywood |
| Polymer Feather Finish | 0.5 – 0.8 lbs | 1/2 inch | Minor dips and seams |
| Plywood Shimming | 0.4 lbs | N/A | Deep structural sags |
The molecular structure of a polymer-modified patch is fascinating. Unlike old-school mortar, these patches contain long-chain polymers that act like tiny rubber bands within the cement matrix. This gives the material a slight flexural strength. Wood moves; concrete does not. By adding these polymers, we allow the leveling layer to expand and contract slightly with the plywood subfloor. This is vital when preparing for a carpet install or laminate. With carpet, a dip will eventually show as a dark wear pattern because the fibers are being crushed unevenly. In showers, the subfloor must be even more precise. While we are talking about plywood, many bathrooms use a plywood base before the cement board goes down. If that plywood is not flat, the cement board will flex, the waterproofing will stretch, and the grout lines in your tile will eventually crack. It is a domino effect of failure that starts with a simple dip in the wood. I always tell apprentices that the 1/8 inch you ignore today will be the 1/2 inch gap in the baseboard next year. The moisture meter is your best friend here. You want the subfloor to be within two to four percent of the flooring material you are installing. If you are in a humid climate like New Orleans, that plywood is going to be swollen. If you are in the high desert of Nevada, it will be bone dry. You have to account for that before you ever open a bag of patch.
The physics of the feather edge
Applying a feather-edge compound involves a steel trowel and a steady hand to create a smooth transition from the deepest part of the dip to the high point of the subfloor. This technique minimizes material usage and keeps the added weight to a negligible level while providing a perfectly flat substrate for floor coverings.
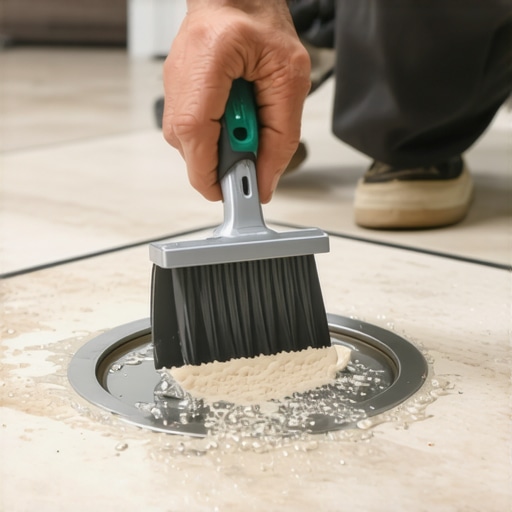
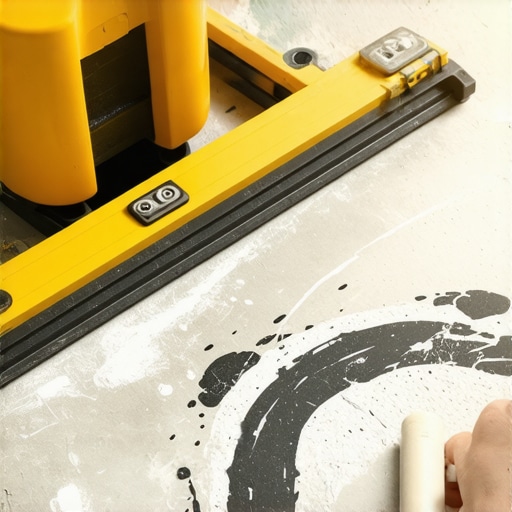
- Identify high spots using a 10-foot straight edge and mark them with a carpenter pencil.
- Sand down high spots at the plywood seams to reduce the amount of filler needed.
- Vacuum the subfloor three times to remove all sawdust, as dust acts as a bond-breaker.
- Apply a high-solids acrylic primer to the plywood to prevent moisture loss from the patch.
- Mix the lightweight compound in small batches to ensure it does not set before application.
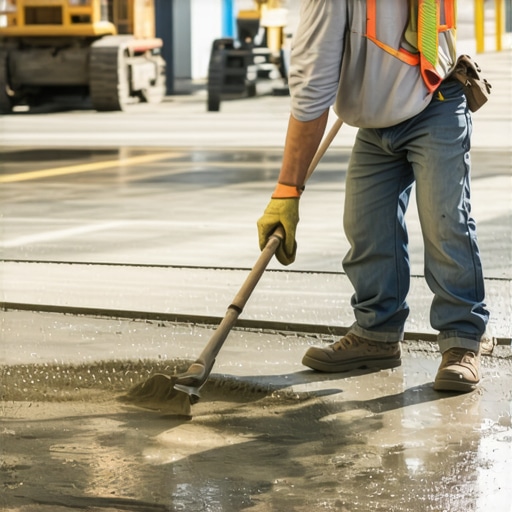
- Spread the material using a flat trowel, pulling it tight against the high spots.
- Check the flat surface again with the straight edge once the material is dry to the touch.
One contrarian data point that many big-box retailers won’t tell you is that the thickest, most expensive underlayment is often the worst choice for a flat floor. People buy that thick foam thinking it will level the floor. It won’t. Too much cushion actually causes the locking mechanisms on laminate and LVP to snap under pressure because the floor is bouncing in the air pockets. You want a firm, flat subfloor and a thin, high-density underlayment. The goal is zero movement. I have seen countless floors fail because the homeowner thought they could skip the leveling and just buy the ‘premium’ padding. It is a lie. The padding is for sound and moisture, not for structural correction. When you are working around showers, the precision becomes even more critical. The transition from the subfloor to the shower pan must be perfectly flush. If the plywood dips at the entrance of the shower, the weight of the person stepping in will cause the subfloor to deflect, eventually breaking the waterproof seal between the floor and the pan. That is how you get rotted joists and mold. A little bit of lightweight patch can save you ten thousand dollars in structural repairs down the road.
“Subfloor preparation is the only part of the job that cannot be seen but will always be felt.” – NWFA Installation Guidelines
The ghost in the expansion gap
Maintaining an expansion gap at the perimeter is the final step in ensuring your newly leveled subfloor remains stable over the long term. Even after leveling, the wood will continue to react to environmental changes, and without a 1/4 inch to 3/8 inch gap, the entire floor system could buckle or crown.
Precision is not an accident. It is a result of obsessive measurement. When I am on my knees checking a floor, I am looking for the light under the level. If I can see light, there is a dip. If the level rocks, there is a hump. The lightweight approach to leveling is an art form. You are essentially sculpting the floor. In my twenty-five years, I have seen the industry shift from heavy mud beds to these high-tech polymers. It makes the work easier on our backs, but it requires more brainpower. You have to understand the pot life of the material and the ambient temperature of the room. If the room is eighty degrees, your patch will set in ten minutes. If it is fifty degrees, it might take two hours. You have to be faster than the chemistry. Most homeowners think they can just pour it and it will find its own level. That is rarely true on plywood. You have to move it. You have to work it into the pores of the wood. You have to ensure that every seam of the plywood is covered so the laminate doesn’t telegraph the lines through the surface. It is about the microscopic reality of the installation. Every grain of sand in that patch has a purpose. Every drop of polymer is there to hold the house together. When you finish, the floor should be as flat as a sheet of glass, and it should stay that way for the next fifty years. No clicks, no pops, and no structural sagging. That is the hallmark of a master floor architect. Done correctly, the leveling is invisible, but the stability is permanent. The floor becomes a performance surface, a structural achievement that stands the test of time, weight, and weather. This is how you build a legacy, one flat floor at a time. The work is hard, the sawdust is everywhere, but the result is undeniable. Flatness is the foundation of beauty in any home renovation project.