The Chalk Mark Trick for Perfectly Level Subfloors Every Time
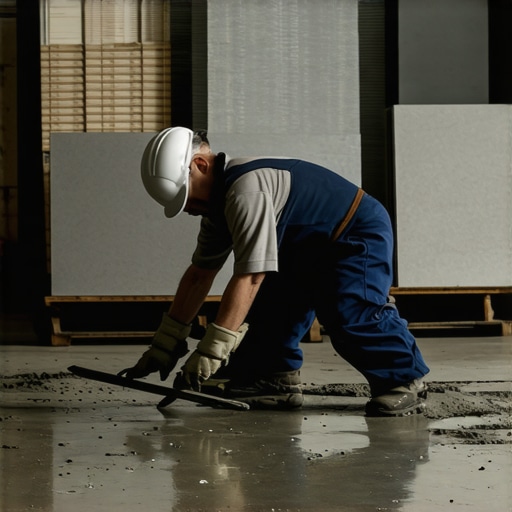
I spent three days grinding concrete on a job last month just so the floor would not click like a castanet. Most guys skip the leveling compound. They think the underlayment will hide the dip. It will not. I once walked into a luxury condo where a brand new laminate floor felt like a trampoline because the installer ignored a half inch valley in the center of the room. You can buy the most expensive material in the world, but if the substrate is trash, the final result is trash. My hands still vibrate from the grinder, and the smell of pulverized portland cement is stuck in my nostrils, but that floor is now dead flat. That is the difference between a floor that lasts thirty years and one that fails in three months.
The 1/8 inch that ruins everything
Subfloor levelness defines the structural integrity of your finished surface. Most manufacturers require a tolerance of 1/8 inch deviation over a 10 foot radius. If your floor exceeds this, the locking mechanisms on laminate or LVP will eventually snap under the weight of foot traffic. Professional floor leveling is the only way to ensure longevity.
When you walk across a floor that has not been leveled, you are feeling the physics of deflection. Deflection occurs when the flooring material bridges a low spot in the subfloor. As you step on that bridge, the material bends. For a floating floor like laminate, this bending puts immense stress on the thin plastic or wood fiber tongues. Over time, those tongues shear off. Now you have a plank that moves independently, creates gaps, and lets moisture penetrate the core. This is why floor leveling is not an optional aesthetic choice. It is a structural engineering requirement. I have seen countless homeowners blame the product when the real culprit was the lazy installer who did not own a straightedge. You cannot hide a valley with foam. Foam compresses. Hardwood does not. If there is air under your floor, you have a problem that no amount of fancy transition strips can fix.
The physics of floor deflection
Deflection is the vertical movement of a floor system under a load, and it is the primary enemy of tile and hardwood installations. Excess deflection causes grout to crack and wood joints to squeak. Maintaining a stiff subfloor through proper joist spacing and plywood thickness is the first step in high quality flooring.
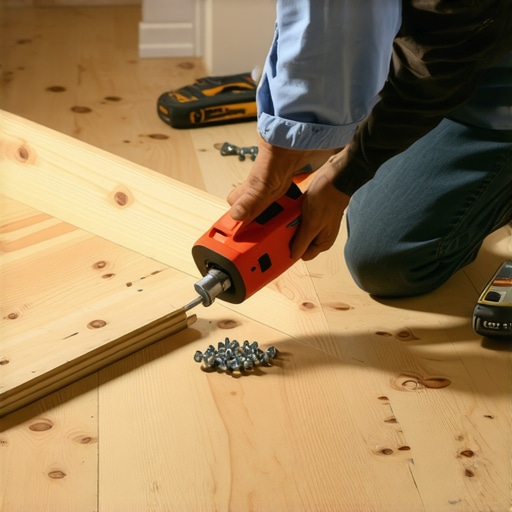
You have to understand the chemistry of the materials you are working with. If you are prepping for a tile job in a shower, you are looking at the Tile Council of North America standards. They demand a deflection rating of L/360 for ceramic tile. That means the floor should not bend more than the length of the span divided by 360. If you are doing natural stone, it is even tighter at L/420. When I see guys trying to do a carpet install over a subfloor that is full of dips, I cringe. While carpet is more forgiving, those same dips will eventually show up as wear patterns. The high spots will lose their pile faster because they take more friction. It is all connected. The subfloor is a living part of the house, and it reacts to humidity and weight. [IMAGE_PLACEHOLDER_1]
“A floor is only as good as the subfloor beneath it; deflection is the enemy of every joint.” – Master Flooring Axiom
The chalk mark trick for identifying low spots
The chalk mark trick is a diagnostic technique used to map the topography of a subfloor. By sliding a long straightedge across the surface and marking gaps with chalk, installers create a visual map of high and low spots. This allows for precise application of leveling compounds or targeted grinding of high points.
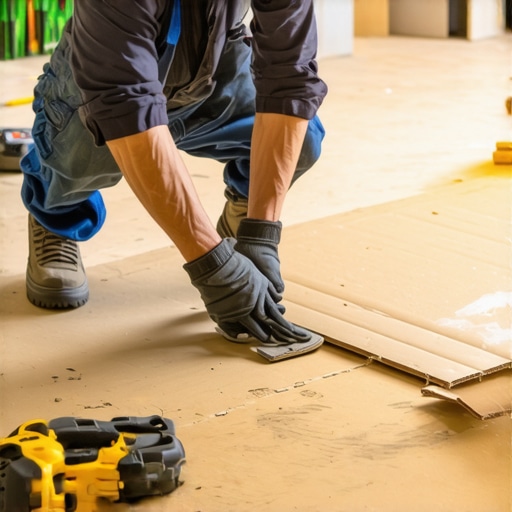
Here is how the old timers do it. You do not need a laser level that costs a thousand dollars. You need a 10 foot straightedge and a piece of blue sidewalk chalk. You start at one corner of the room and pivot the straightedge in a fan pattern. Everywhere you see light passing under the edge, you draw a circle. That is a valley. Everywhere the straightedge rocks or pivots on a single point, you draw an X. That is a hill. Once you have mapped the entire room, it looks like a tactical map. You can see exactly where the joists are crowning or where the concrete slab settled during the pour. For a laminate floor, you cannot have a gap wider than a nickel. If that chalk circle shows a gap where you can slide a quarter under the straightedge, you are not ready for planks. You need to fill that void. If you have an X, you need to get the sander or the grinder out. Dust will be everywhere, but your floor will be flat.
Concrete moisture and the chemistry of failure
Concrete moisture levels must be measured using a calcium chloride test or an in-situ RH probe before any flooring installation begins. High moisture vapor emission rates will destroy adhesives and cause organic materials like wood to swell or rot. Proper moisture barriers are mandatory for any slab on grade application.
I have seen $20,000 worth of wide plank oak turn into a wavy mess because of hydrostatic pressure. Concrete is a sponge. It looks solid, but it is full of microscopic capillaries that pull moisture from the earth. If you seal that moisture under a layer of laminate without a proper barrier, it has nowhere to go but into the floor. The molecules of water vapor find the wood fibers and cause them to expand. This is called cupping. The edges of the board sit higher than the center. You cannot sand this out while the moisture is still there. You have to address the subfloor. I use a Wagner moisture meter on every single job. If the slab is reading over 4 percent, we are not laying a single board. We wait, or we use a high grade epoxy moisture mitigator. It is expensive, but it is cheaper than ripping out a failed floor next year.
| Material Type | Max Deviation over 10ft | Expansion Gap Requirement |
|---|---|---|
| Solid Hardwood | 3/16 inch | 3/4 inch |
| Engineered Wood | 3/16 inch | 1/2 inch |
| Laminate Flooring | 1/8 inch | 3/8 inch |
| Ceramic Tile | 1/8 inch | 1/4 inch (perimeter) |
| Luxury Vinyl Plank | 1/8 inch | 1/4 inch |
The ghost in the expansion gap
An expansion gap is a mandatory space left at the perimeter of a room to allow for the natural movement of flooring materials. Without this gap, seasonal changes in humidity will cause the floor to buckle against the walls. This leads to peaked joints and structural failure of the locking system.
People always try to push the floor right up against the drywall. They think it looks better. Those people are the ones who call me in August when their floor is lifting off the ground like a tent. Wood and laminate are hygroscopic. They grow and shrink. If you lock them in place with baseboards or heavy kitchen islands, they will find the weakest point and snap. I have seen LVP floors buckle so hard they actually popped the shoe molding off the wall. You need at least a quarter inch, but I prefer a half inch on larger spans. And do not even get me started on heavy cabinets. If you are doing a kitchen, you put the cabinets in first. You never, ever pin a floating floor down with a thousand pound granite island. You are essentially anchoring one side of the floor while the other side tries to move. Something has to give. It is usually the locking joint.
“Wood flooring will always reach an equilibrium with its environment; you must provide the space for that transition or face the consequences of physics.” – NWFA Technical Manual
Surface preparation checklist
- Vacuum the subfloor three times to remove every grain of grit that could cause crunching sounds.
- Check for protruding nail heads or screw heads in plywood and drive them flush.
- Use a moisture meter to verify the substrate is within the manufacturer’s specified range.
- Map the room with a 10 foot straightedge and use the chalk mark trick to identify deviations.
- Prime the subfloor before applying any self-leveling underlayment to ensure a chemical bond.
- Scrape off any paint overspray or drywall mud that will interfere with adhesive or underlayment.
The truth about waterproof vinyl labels
Waterproof vinyl refers only to the material’s resistance to liquid damage, not its ability to act as a waterproofing membrane for the subfloor. Moisture can still migrate through the seams and become trapped underneath, leading to mold growth and subfloor rot. Proper ventilation and moisture testing remain necessary.
Marketing teams have done a real number on homeowners. They see the word waterproof and think they can install it in a flooded basement. The plastic might be waterproof, but the plywood underneath it is not. If you have a leak, the water goes through the clicks and sits there. It creates a greenhouse for mold. I have pulled up waterproof floors that were only two years old and found the subfloor completely black with rot. You still need to manage the environment. You still need a flat subfloor. In fact, because LVP is so thin, it telegraphs every imperfection. If you leave a pebble on the subfloor, you will see a bump in your floor within six months. The bottom line is that prep is 90 percent of the job. The actual laying of the floor is just the victory lap.