The ‘Blue Tape’ Hack for Preventing Grout Haze on Porous Tiles
The physics of pigment migration in porous stone
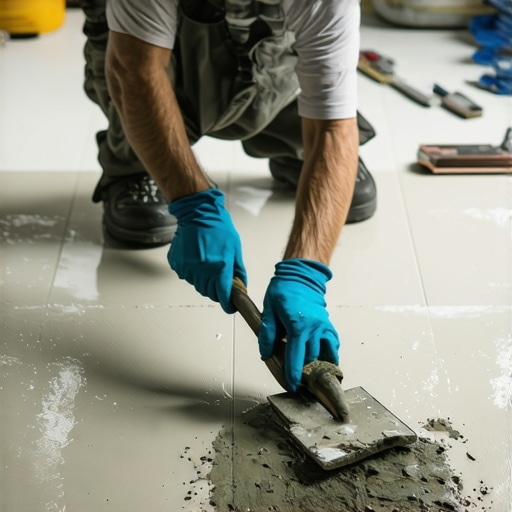
Porous tiles like terracotta, slate, and travertine possess a high absorption rate that pulls grout pigments deep into the capillary structure of the material. This capillary action creates a permanent stain known as grout haze which cannot be removed by standard acidic cleaners or mechanical scrubbing. Most guys skip the leveling compound. They think the underlayment will hide the dip. It won’t. I spent three days grinding concrete on a job last month just so the floor wouldn’t click like a castanet, and that same level of obsessive prep is what you need for stone. If you don’t respect the porosity of the stone, the stone will punish you. Natural stones are basically hard sponges. When you spread a liquid cementitious mixture over them, they drink. They don’t just drink the water, they drink the dyes. Once that pigment is locked in the microscopic pores of a Moroccan cement tile, you are looking at a total rip out. I have seen fifteen thousand dollar installations go to the landfill because the installer was too lazy to mask. It is a tragedy of the trade.
The blue tape hack for clean stone surfaces
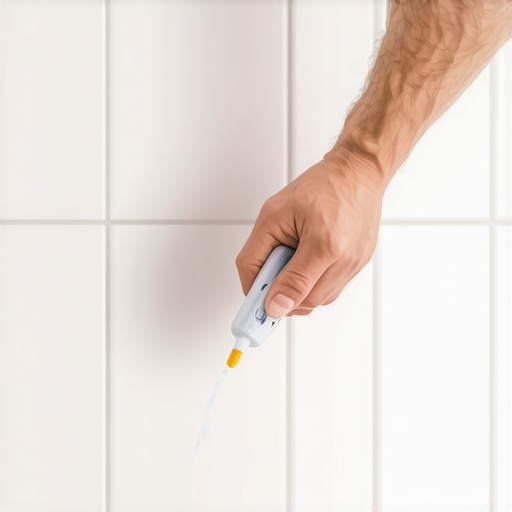
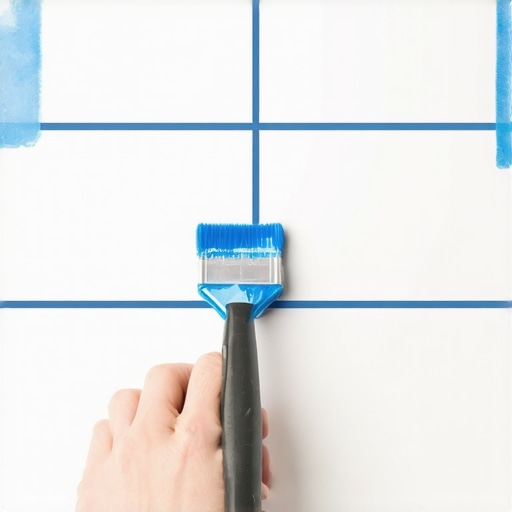
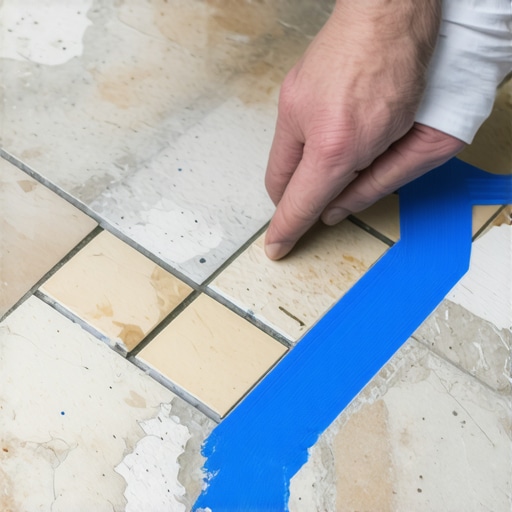
Blue painters tape serves as a physical barrier between the porous surface of the tile and the cementitious grout. By masking the face of the tile and leaving only the grout joint exposed, installers prevent pigment transfer and surface staining during the grouting process. This method is the only way to ensure a zero-haze finish on high-contrast stone installations. You take your 1.5 inch blue tape and you run it right to the edge of the bevel. It takes forever. Your back will scream. But when you pull that tape and see a crisp, clean line against a virgin stone face, it is worth every second. The tape creates a dam. It allows you to pack the joint tight without ever touching the face of the stone with the float. This is how you handle high-end jobs where the client expects perfection. It is not about speed, it is about the chemistry of the bond. If the grout never touches the stone, the stone can’t absorb it. Simple physics.
“A floor is only as good as the subfloor beneath it; deflection is the enemy of every joint.” – Master Flooring Axiom
The 1/8 inch that ruins everything
Floor leveling requires a tolerance of 1/8 inch over 10 feet to prevent tile lippage and structural cracking. Using self-leveling underlayment with high polymer content ensures a flat substrate that supports large format tiles without hollow spots. If your subfloor is wavy, your tile will be wavy. There is no magic thinset that fixes a bad slab. I have seen guys try to build up a half inch of mortar to compensate for a dip. That mortar shrinks as it cures. When it shrinks, it pulls the tile down, and suddenly you have a trip hazard that will catch a toe and snap the bond. You need to get the grinder out. You need to find the high spots and turn them into dust. Wear your respirator, get the vacuum hooked up, and make it flat. A flat floor is the only foundation for a lasting tile job, especially in showers where drainage slopes are critical. If the floor is not right, the water won’t move, and you will end up with mold and standing water.
| Material Type | Janka Hardness / Density | Porosity Level | Acclimation Time |
|---|---|---|---|
| Solid White Oak | 1360 lbf | Medium | 7 to 14 Days |
| Travertine Tile | High Density | High | None |
| Laminate Core | High Density Fiberboard | Low | 48 Hours |
| Unfinished Slate | Variable | Extreme | None |
The ghost in the expansion gap
Expansion gaps must be maintained at 1/4 inch around the perimeter of every hard surface floor to allow for thermal expansion and moisture fluctuations. Failure to provide this perimeter relief leads to floor buckling, peaking joints, and structural failure of the locking mechanism. People think tile is static. It is not. The house moves. The wood subfloor beneath the tile moves. If you butt that stone tight against the baseboard or the drywall, you are asking for a blowout. When the house settles or the humidity spikes, that energy has to go somewhere. It will go up. It will pop your grout lines and crack your tiles. I always leave the gap and cover it with shoe molding. It is not just a suggestion, it is the law of physics in a living structure. You have to give the materials room to breathe. Even in a climate controlled room, the moisture in the crawlspace is pushing against your slab. It is a constant battle.
Shower waterproofing and the capillary break
Shower installations require a bonded waterproof membrane that prevents moisture migration into the wall cavity and subfloor assembly. Using liquid applied membranes or sheet membranes creates a watertight seal that protects the structural integrity of the home from water damage and mold growth. If you are still using greenboard in a shower, you are living in the dark ages. You need a real system. The TCNA is very clear on this. You need a pre-sloped pan and a membrane that goes up the walls. Every penetration, every pipe, every niche has to be sealed. I see guys skip the corners. They think the thinset is waterproof. It isn’t. Thinset is a sponge. If water gets behind the tile, it will find the wood. Once it finds the wood, the clock starts ticking on your rot. Do it right the first time so I don’t have to come back in five years and tear it out. Moisture meters are your best friend here. Check the studs before you even hang the board. If the wood is wet, you are sealing in the rot.
“Cementitious grout is inherently porous and requires a mechanical or chemical barrier to prevent permanent staining in natural stone applications.” – TCNA Guide to Ceramic Tile
Why your subfloor is lying to you
Subfloor deflection is the vertical movement of the floor joists under a load, which must be limited to L/360 for ceramic tile and L/720 for natural stone. Excessive deflection causes grout joints to crumble and tiles to delaminate from the substrate. You might think your floor feels solid when you walk on it. Your feet are not a measuring tool. You need to check the span of the joists. You need to check the thickness of the plywood. If you have 24 inch centers and a single layer of 5/8 inch subfloor, your tile will fail. I don’t care how much blue tape or fancy grout you use. The floor will bounce, the bond will break, and you will have a pile of expensive trash. I always recommend a second layer of underlayment grade plywood or a cement backer unit. Glue it, screw it, and make it a tank. A floor should feel like a sidewalk, not a trampoline. That is the difference between a pro and a handyman.
- Check subfloor moisture content with a pin meter.
- Grind high spots and fill low spots with polymer modified leveler.
- Mask all porous stone edges with blue tape before grouting.
- Mix grout with a low speed drill to avoid air bubbles.
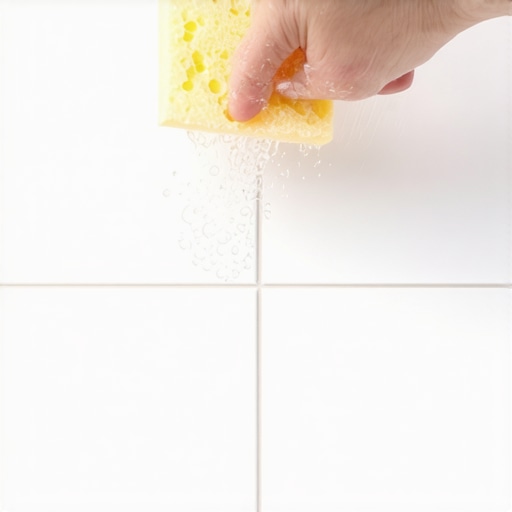
- Clean the joints with a damp, not soaking, sponge to prevent washing out pigment.
- Seal the stone and the grout after the cure cycle is complete.
The chemistry of the adhesive bond
Modified thin-set mortar contains polymers that increase flexural strength and adhesion to non-porous surfaces. The chemical bond created by these additives allows for tile installation over challenging substrates like existing tile or radiant heat systems. While most people want the thickest underlayment, too much cushion actually causes the locking mechanisms on LVP to snap under pressure. For tile, you want a dense, non-compressible bed. You need to look at the bag. Does it meet ANSI A118.4? If not, put it back. You want the good stuff. The stuff that bites into the stone and never lets go. When you are working with porous tiles, the thinset actually migrates into the back of the stone. It becomes part of the stone. That is why you can’t just pop a tile off once it sets. It is a molecular marriage. If you use a cheap, unmodified mud on a large format porcelain, it will just sit there. It won’t bond. It will just be a dry biscuit under a heavy sheet of glass. Use the right chemistry for the right material.
Laminate and carpet versus the permanence of tile
Carpet installation and laminate flooring offer lower initial costs but lack the durability and moisture resistance of a properly installed tile floor. Tile provides a permanent wear surface that, when sealed correctly, can last the lifetime of the structure. Carpet is a filter for dirt and allergens. It is a temporary solution. Laminate is just compressed sawdust with a picture of wood on top. It hates water. One leak from a dishwasher and your laminate floor is a topographical map. Tile is different. Tile is an architectural choice. It requires a different mindset. You aren’t just laying a floor, you are building a monument. That is why the blue tape hack is so vital. It preserves the integrity of that monument. It keeps the stone looking like stone, not a smeared mess of cement. When you walk into a room with a perfectly grouted slate floor, you feel the weight of it. You feel the quality. That only happens when you pay attention to the details that others ignore. Detail is the only thing that separates us from the hacks.