The ‘Double Primer’ Secret for Leveling Over Old Plywood Subfloors
The Double Primer Secret for Leveling Over Old Plywood Subfloors
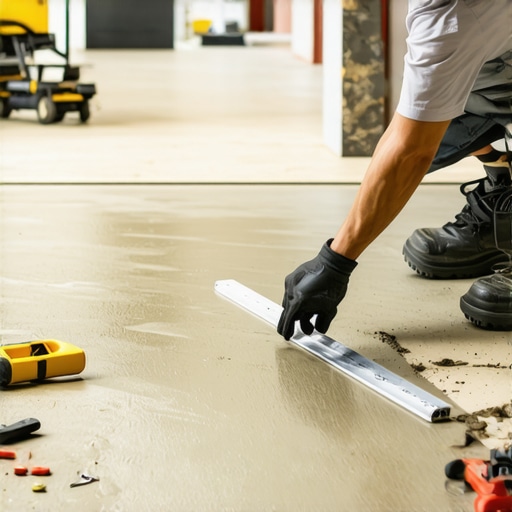
Most guys skip the leveling compound. They think the underlayment will hide the dip. It won’t. I spent three days grinding concrete on a job last month just so the floor wouldn’t click like a castanet. When it comes to old plywood, the situation is even more dire. I have seen hundreds of thousands of dollars in high-end hardwood and expensive laminate ruined because the installer thought a few extra nails would fix a structural sag. It does not work that way. Plywood is a biological product. It moves. It breathes. It expands and contracts based on the humidity in your crawlspace or the moisture coming off your concrete pad. If you do not treat that wood like a living entity before you pour a single drop of self-leveling underlayment, you are begging for a failure. I have been doing this for twenty-five years and the smell of oak dust and floor wax is part of my DNA. I do not care about the color of your curtains. I care about the deflection of your joists and the chemical bond of your primer.
The myth of the flat plywood sheet
Plywood subfloors are rarely flat because wood fibers react to ambient moisture and structural load over time. To fix this, you must apply a high-quality acrylic or epoxy primer before using a self-leveling compound to ensure the wood does not absorb water from the wet leveler too quickly. When you walk into a renovation, you are looking at decades of settling. That old 3/4 inch CDX plywood has likely seen everything from plumbing leaks to humid summers. The wood becomes thirsty. If you pour a cementitious leveler directly onto old plywood, the wood acts like a sponge. It sucks the hydration right out of the leveling mix. This ruins the chemical cure of the cement. The result is a brittle, dusty mess that will crack the moment you walk on it. You need a barrier that stops this osmotic suction while providing a mechanical tooth for the leveler to grab onto.
“A floor is only as good as the subfloor beneath it; deflection is the enemy of every joint.” – Master Flooring Axiom
The chemistry of the first coat
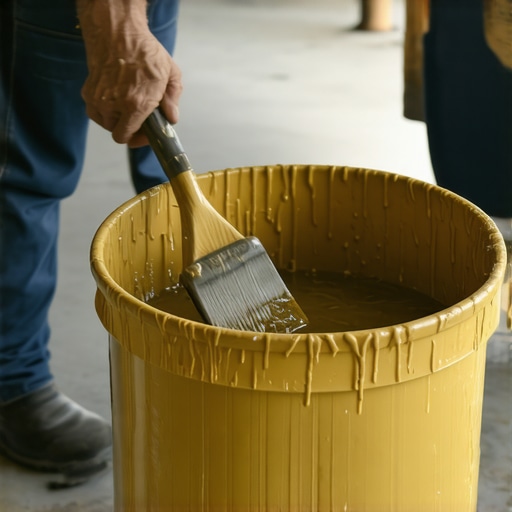
The first coat of primer acts as a deep-penetrating sealer that fills the microscopic pores of the plywood to prevent pinholing and dehydration of the leveler. It creates a waterproof boundary that stops tannins from bleeding through and prevents the wood from warping when the wet leveler hits it. You want a primer that can soak into the top layer of the wood grain. This is about molecular anchoring. Old plywood is often covered in residues of old carpet glue or drywall dust. Even after you scrape it, those pores are clogged. The first coat of primer must be diluted correctly if the manufacturer allows it, or applied full-strength to saturate the thirsty fibers. I have seen guys try to use cheap latex paint as a primer. Do not do it. You need a polymer-modified bonding agent that is specifically designed to handle the high pH of cement-based leveling compounds. If that first coat does not soak in, your leveler is just floating on top, waiting to delaminate.
Why the second coat stops the thirst
The second coat of primer is the insurance policy that creates a tacky surface for the self-leveling compound to grip. While the first coat seals the wood, the second coat provides the surface tension needed for the leveler to flow smoothly without air bubbles rising from the plywood. This is the secret that separates the pros from the hacks. One coat of primer often leaves thin spots where the wood was particularly dry. If you pour your leveler over those thin spots, you get pinholes. These tiny volcanoes are caused by air escaping the wood as the leveler tries to settle. Two coats create a glass-like film that is completely airtight. This allows the self-leveling compound to reach its maximum fluid state. It flows like water into the low spots. If you are prepping for a laminate installation, this flatness is the difference between a floor that feels solid and one that bounces like a trampoline. For showers and wet areas, this double priming is non-negotiable because it adds an extra layer of protection against subfloor rot.
| Subfloor Type | Primer Recommendation | Drying Time (Hours) | Max Deflection Ratio |
|---|---|---|---|
| Old CDX Plywood | Double Acrylic Coat | 2 to 4 | L/360 |
| New OSB | Advanced Epoxy Primer | 6 to 12 | L/480 |
| Concrete Slab | Single High-Solids Primer | 1 to 3 | N/A |
| Radiant Heat Subfloor | Thermal-Resistant Primer | 4 to 8 | L/600 |
Managing moisture in the wet zones
Moisture management in areas like showers and kitchens requires a subfloor that is not only flat but also isolated from liquid penetration. Using a double-primer method before leveling creates a stable base for waterproof membranes and prevents the wood from expanding under the tile assembly. When you are doing a floor leveling job for a bathroom, you have to think about the shower pan. If the plywood under the shower is not perfectly level, your pre-slope will be off. This leads to standing water and eventual mold. I have seen carpet install crews ignore these dips, thinking the pad will hide it. It does not. The carpet eventually wears out in the high spots and looks like a dirty rag in the lows. You must treat every room like a structural engineering project. The 1/8 inch dip in the corner of the kitchen will eventually cause your click-lock laminate to snap its tongues. It is inevitable. The chemistry of the bond is what keeps the whole system together.
The technical data of subfloor stability
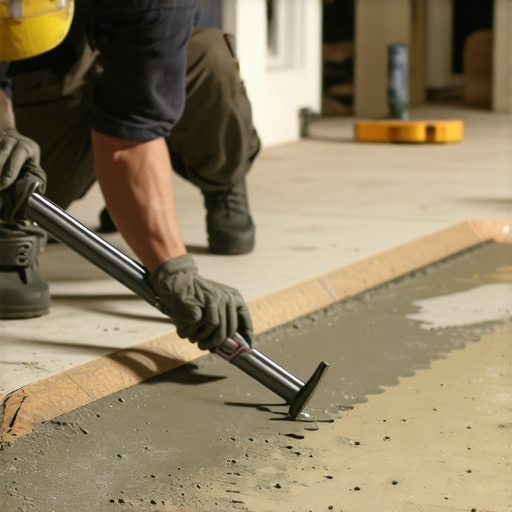
Structural stability of a subfloor is measured by its ability to resist deflection under a concentrated load. For tile and stone, you need a subfloor that does not bend more than 1/360th of the span between the joists to prevent grout cracking. If your plywood is bouncing, no amount of primer will save you. You need to screw that subfloor down every 6 inches on the edges and every 8 inches in the field. Use 2-inch deck screws, not nails. Nails pull out. Screws stay put. Once the floor is mechanically fastened, then you bring in the double primer. This creates a monolithic slab on top of your wood. It turns a weak, shifting floor into a rigid platform. This is especially important for laminate floors which require a tolerance of 3/16 of an inch over 10 feet. If you are outside that tolerance, your floor will fail within two years. I have seen it happen a thousand times.
“Every failure in the finish floor can be traced back to a shortcut taken in the subfloor preparation.” – TCNA Guidelines Analysis
- Inspect plywood for rot and structural integrity before priming.
- Vacuum the floor three times to remove every speck of dust.
- Screw down the subfloor to eliminate any squeaks or movement.
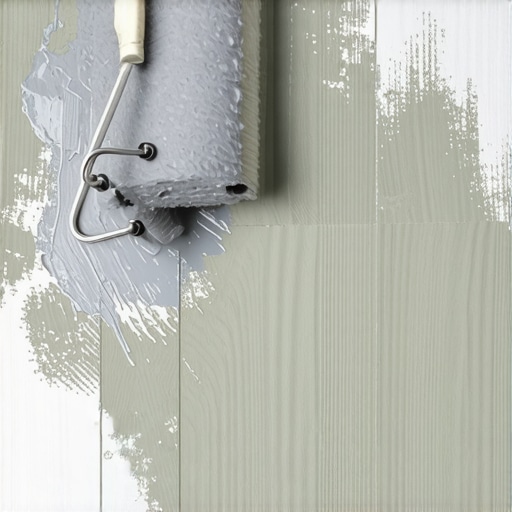
- Apply the first coat of primer with a soft-nap roller.
- Wait for the first coat to be completely dry and clear.
- Apply the second coat perpendicular to the first coat.
- Seal the perimeter with foam expansion strips to prevent leveler leaks.
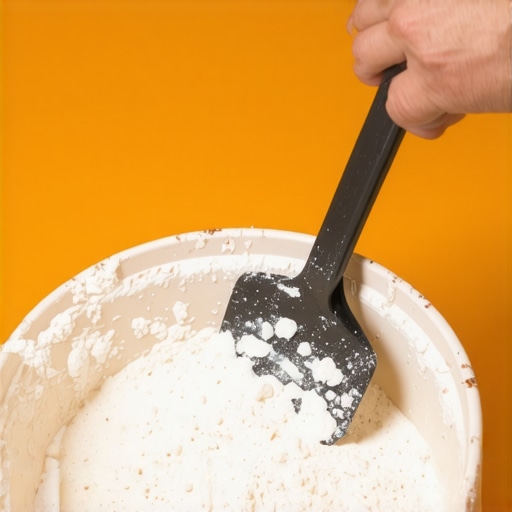
- Mix the self-leveling compound with a high-shear mixer to avoid lumps.
- Pour the leveler starting from the lowest point of the room.
Avoiding the snap and pop
The snap and pop sounds heard in laminate and LVP floors are almost always caused by air gaps between the flooring and an uneven subfloor. Leveling with a double-primed system eliminates these voids and ensures the locking mechanisms are not under constant stress. People buy waterproof LVP and think they are safe. They are not. If the subfloor is not level, the plastic locking joints will fatigue. Eventually, they will snap. Once they snap, the floor is no longer waterproof because water can seep through the broken joints. You have to be a stickler for the details. Check the moisture content of your plywood with a pin-meter. It should be within 2 percent of the flooring material you are installing. If the wood is too wet, the primer will not stick. If it is too dry, it will suck the primer dry too fast. It is a delicate balance. It is about the physics of the house. A house is a machine, and the floor is its most used part. Do not treat it like an afterthought. Spend the extra day on the prep. Your knees and your wallet will thank you later.